Noren
Responsive Shopify Theme
- created: 11/15/2015
- latest update: 05/20/2016
- by: EngoCreative .Ltd
- www,EngoTheme.com
- Email: [email protected]
THANK YOU FOR PURCHASING OUR THEME!
Here are some basics on installing, configuring and customizing the EngoTheme,
BEFORE WE GOThe theme and the sample data is provided "as is". Customizing code and other design related issues can be done as freelance work on a $50-100$ hourly rate only with Paypal and/or Skrill, if EngoTheme's available.
If you are new to Shopify, please understand I cannot fix your site for free. EngoTheme would love to help everyone but there is no time. I suggest reading documentation available online regarding using Shopify, server requirements, etc.
If you like this theme please rate it.
Have a wonderful rest of your day!
EngoTheme Team
Install Theme
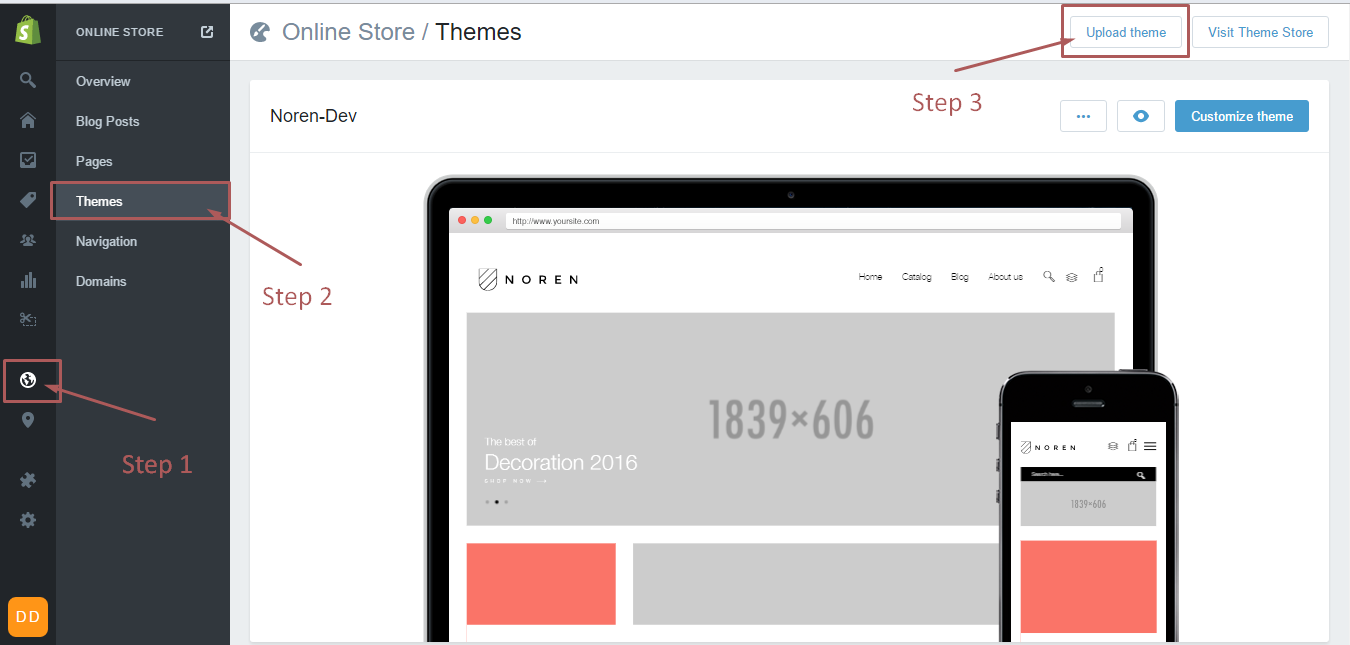
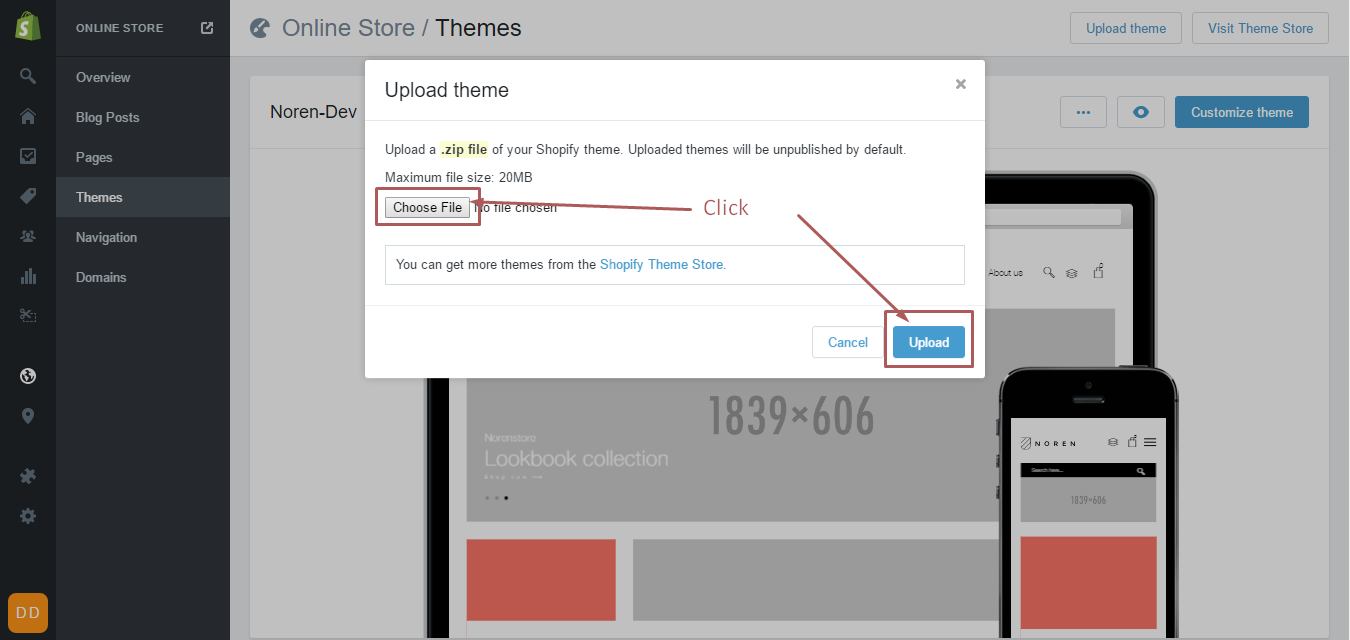
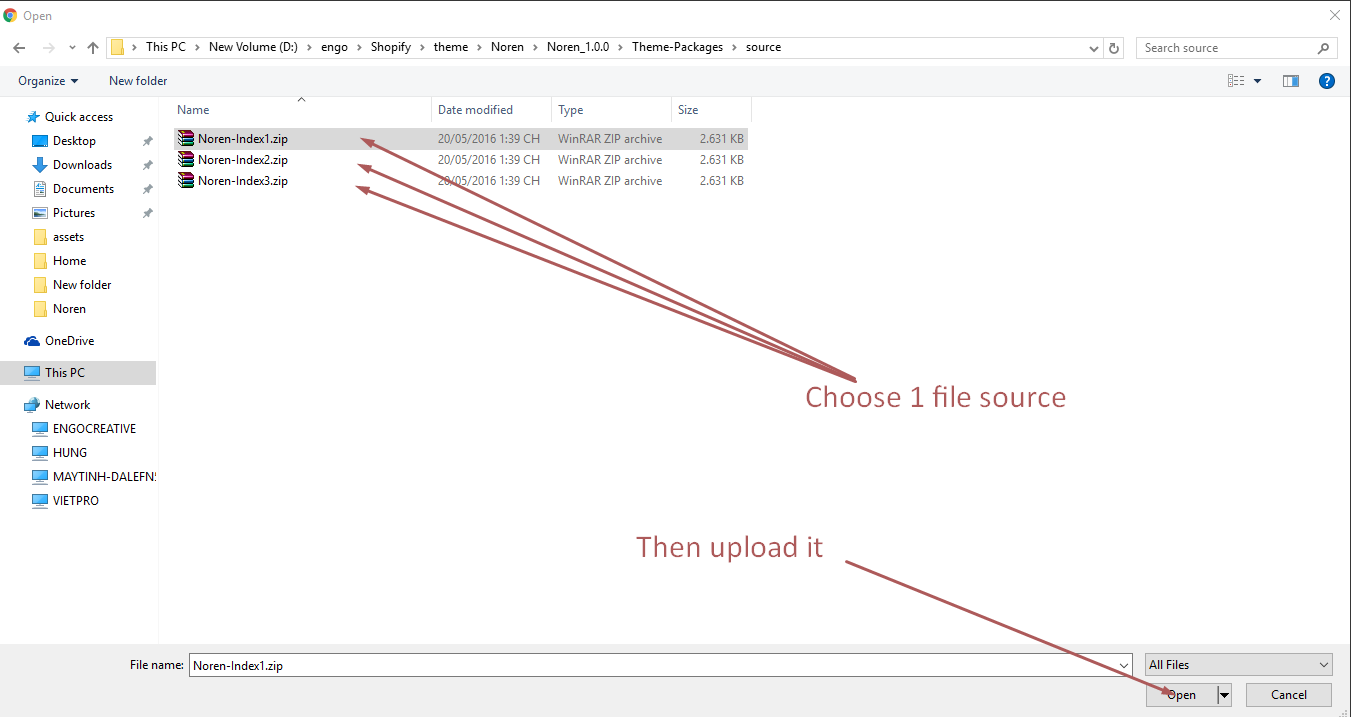
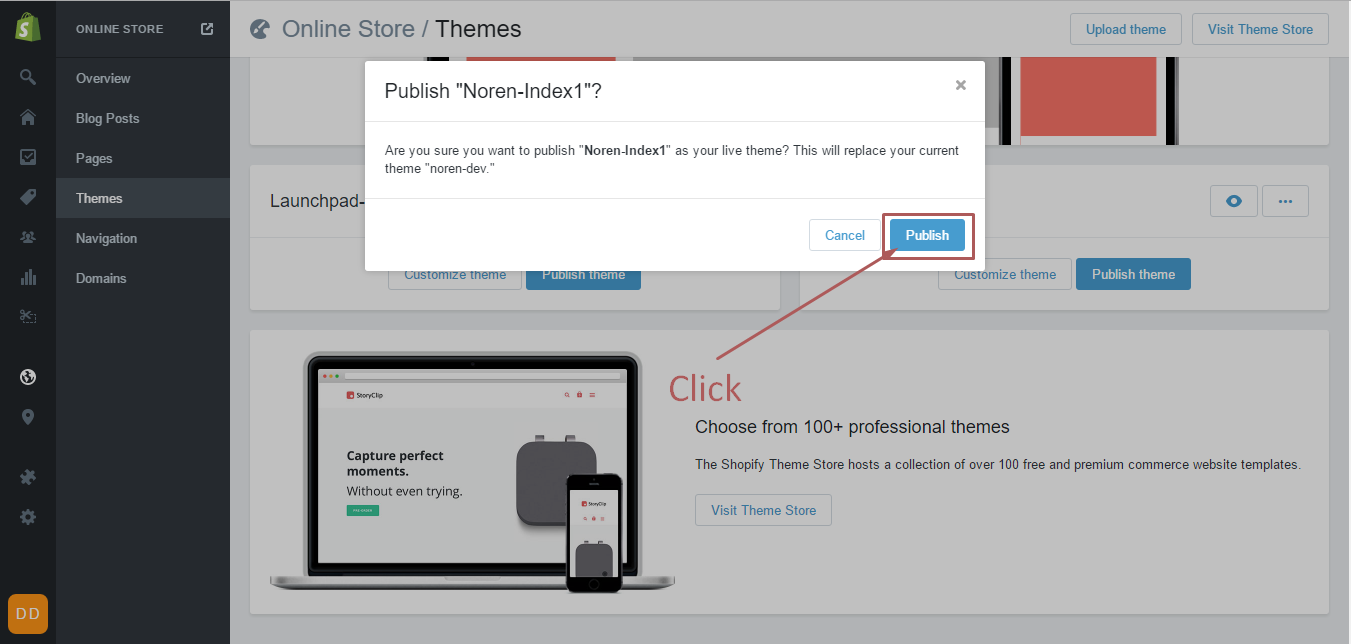
To install the theme, please log in to your Shopify store and go to the Online Store/Themes. From there, click on Upload a Theme and upload the .zip file from the ‘upload’ folder included with this package.
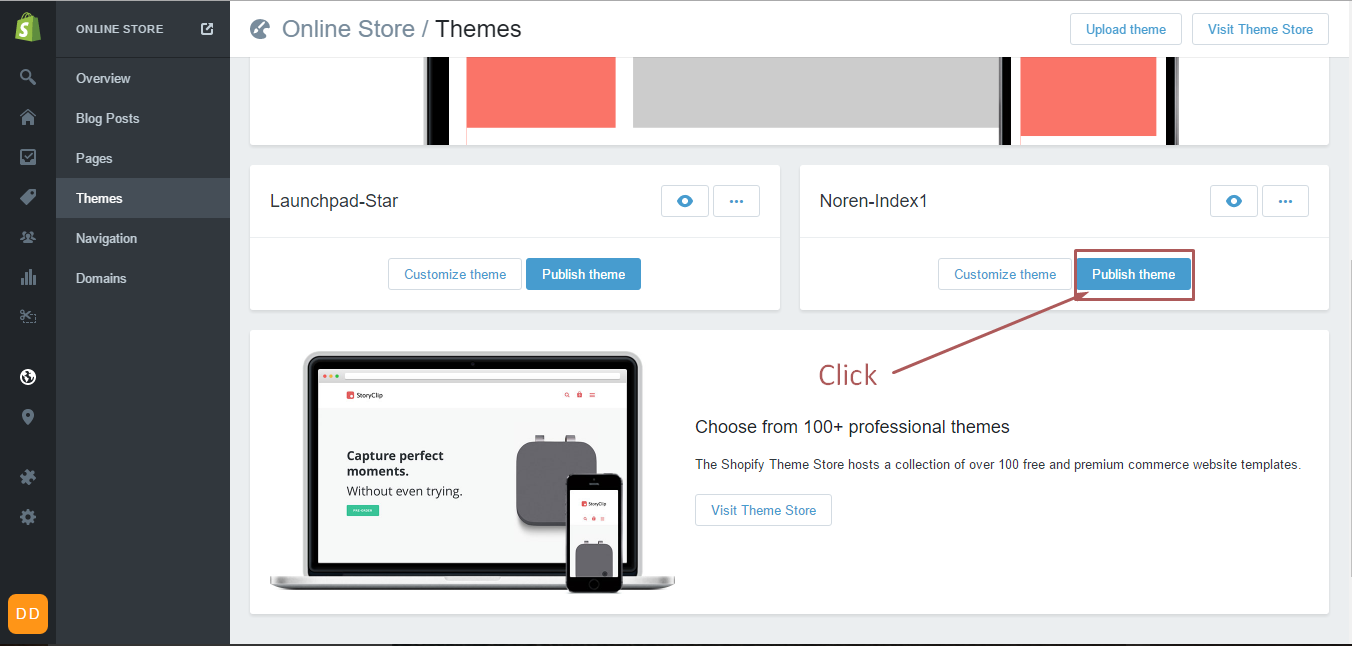
If your store is currently active and is using a different theme, you select button Publish theme what you have just upload.
Install Apps
Configuration
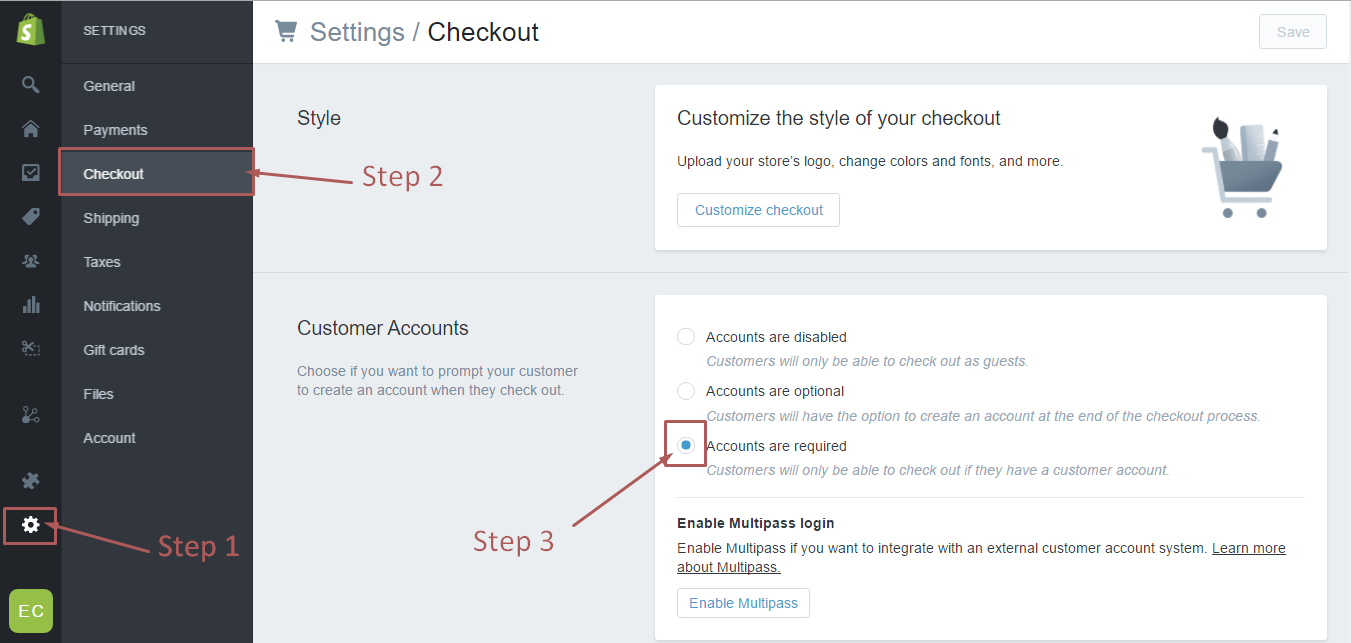
Enable Customer Registration Form
Setup
SETUP
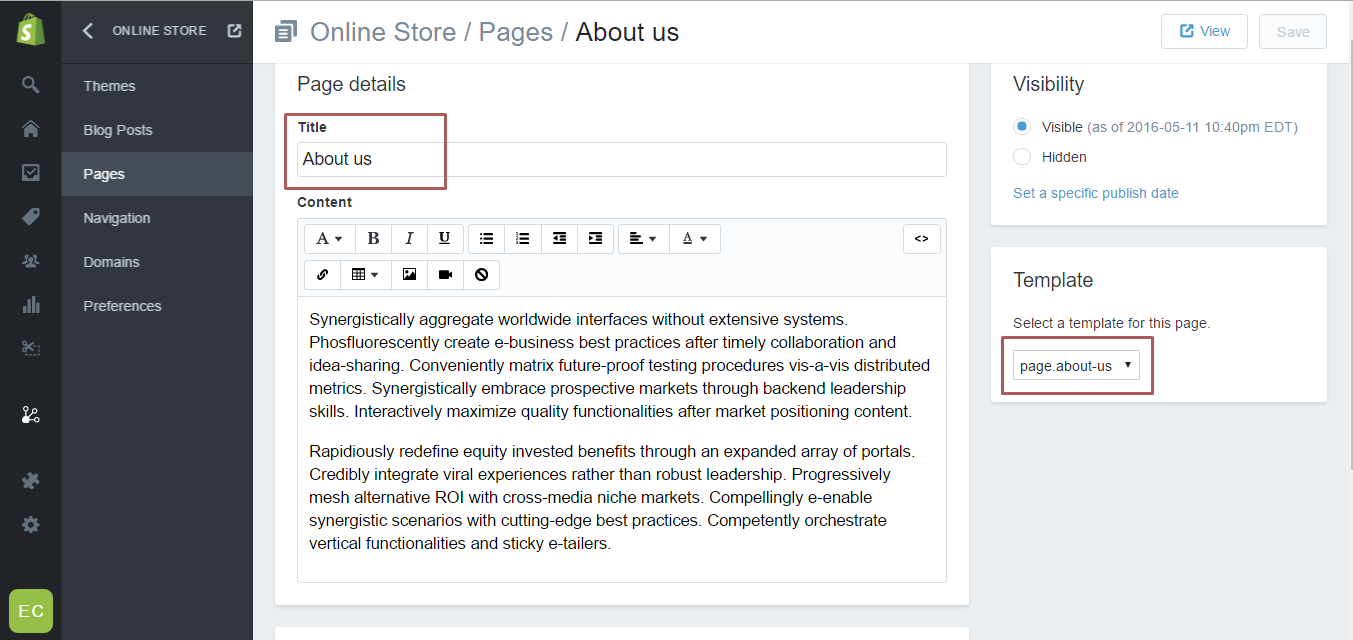
You will also need to create 5 pages, one for the textual content that can be placed on the ' Frontpage ' as a welcome message and another for the ' Contact Page ' which you can link to the 'page.contact' template and 'About us Page' you need to associate it with 'page.about-us' templete, 'Lookbook Page' you need to associate it with 'page.lookbook' templete, 'Page Wishlist' you need to associate it with 'page.wishlist' . Linking these pages to the correct template will be covered in their respective sections within this documentation. Here is the link which help you to create custom pages.
Navigation
Create a link list of collections in menu
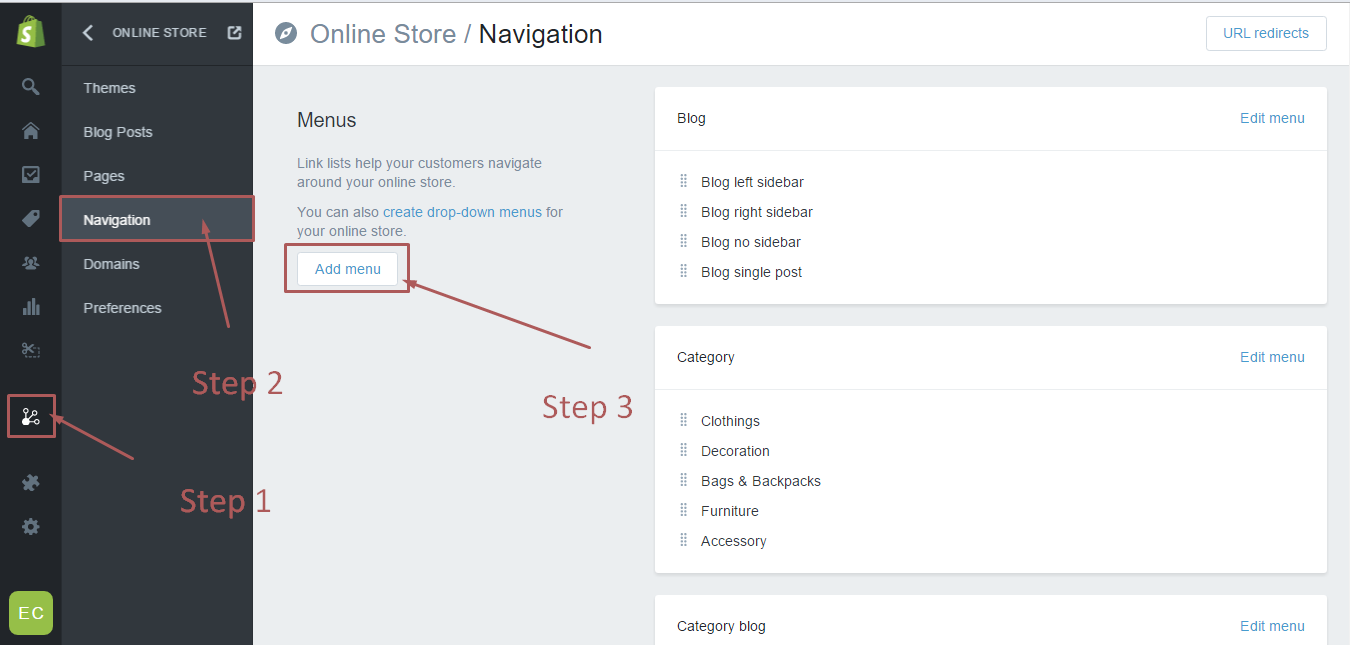
Click Add Another link to create a link in main menu

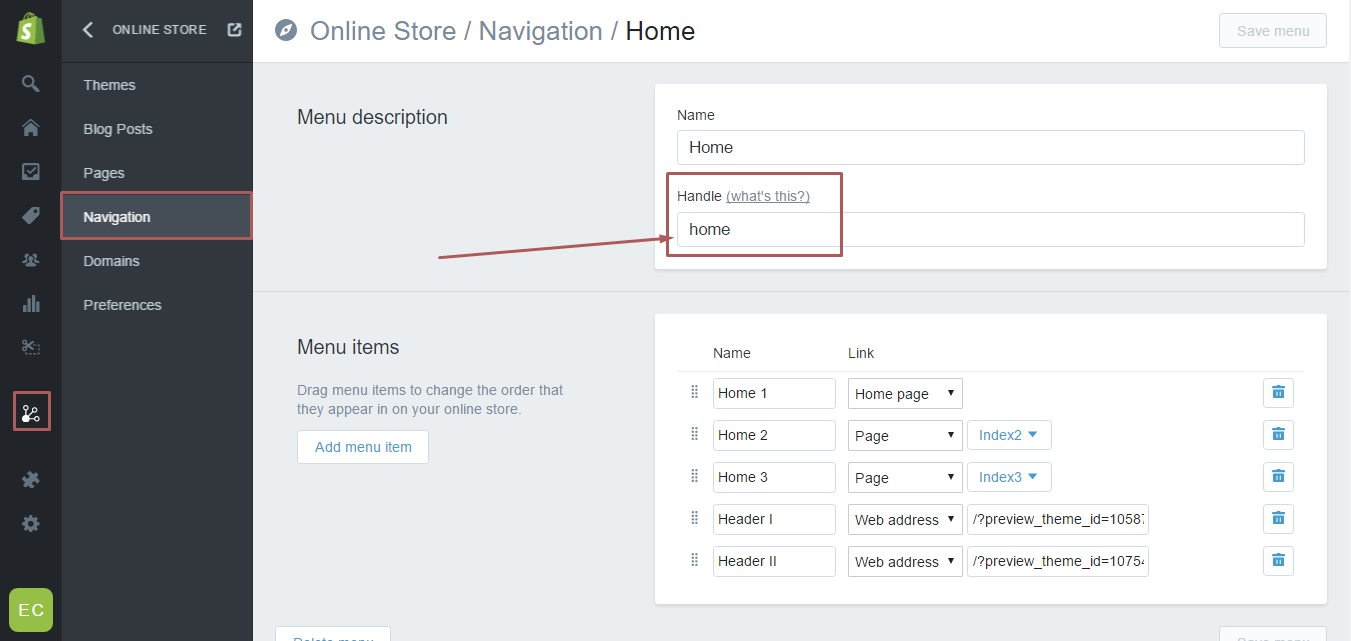
Create drop-down menus
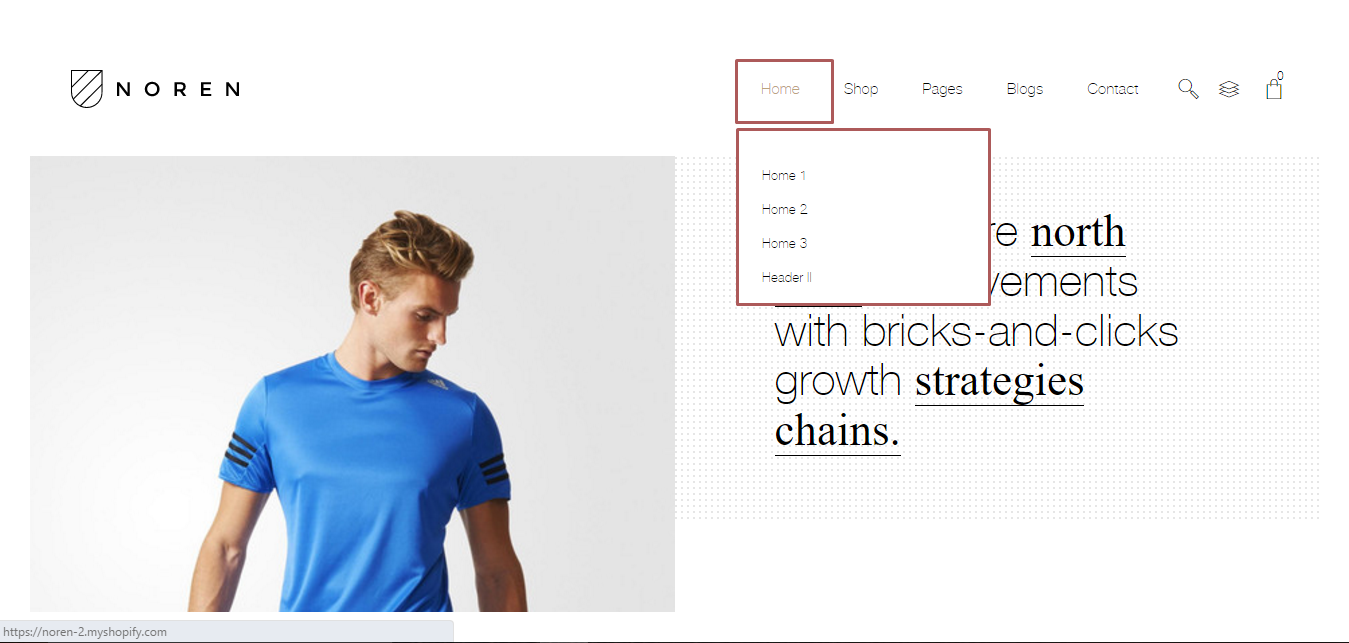
Example to create a drop-dow menu for "Home" item, please do following the steps:
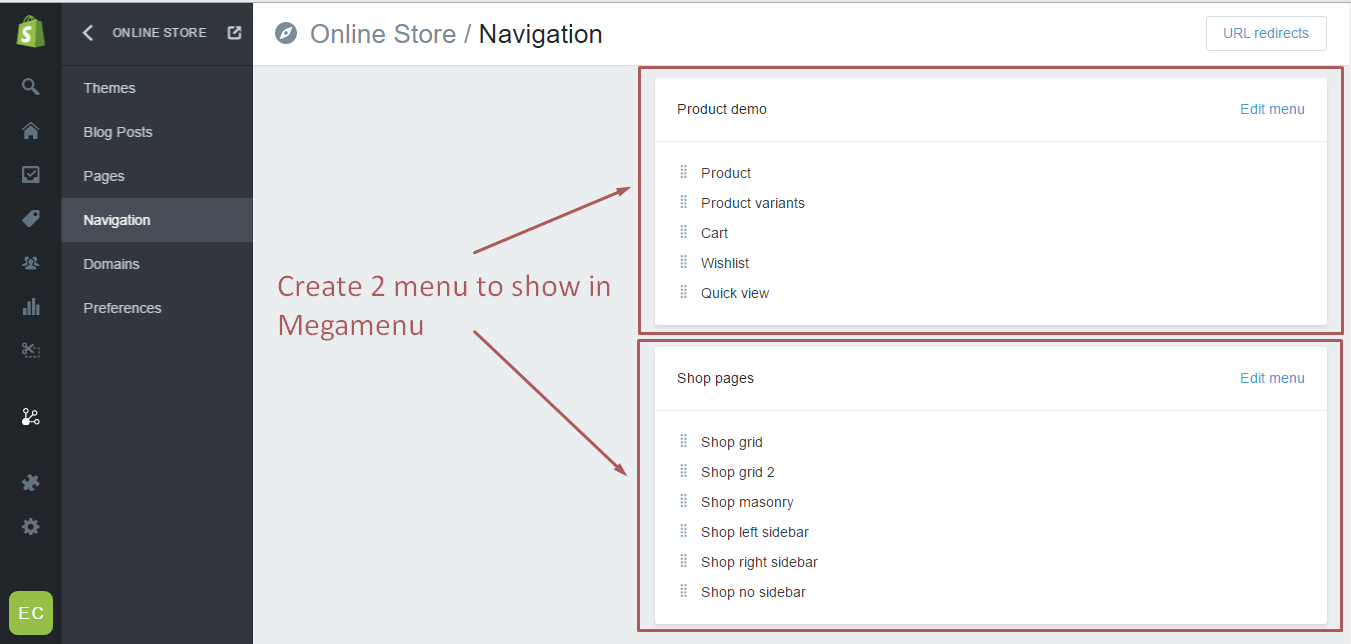
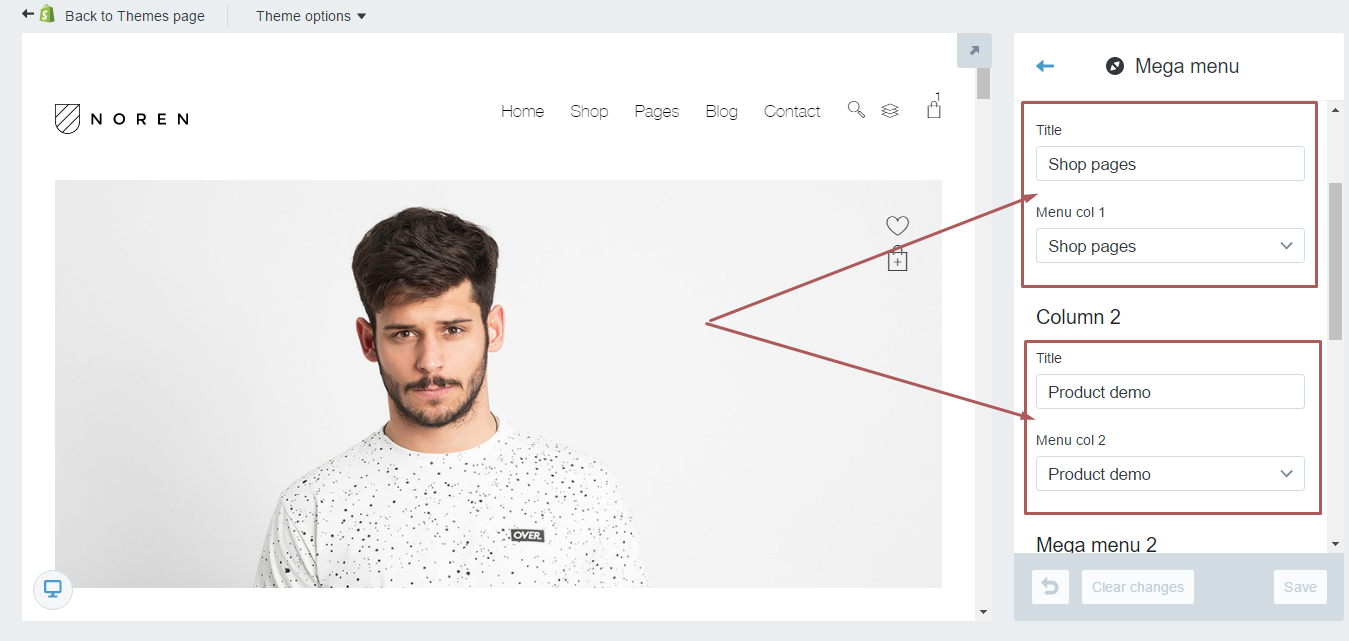
How to show Mega Menu
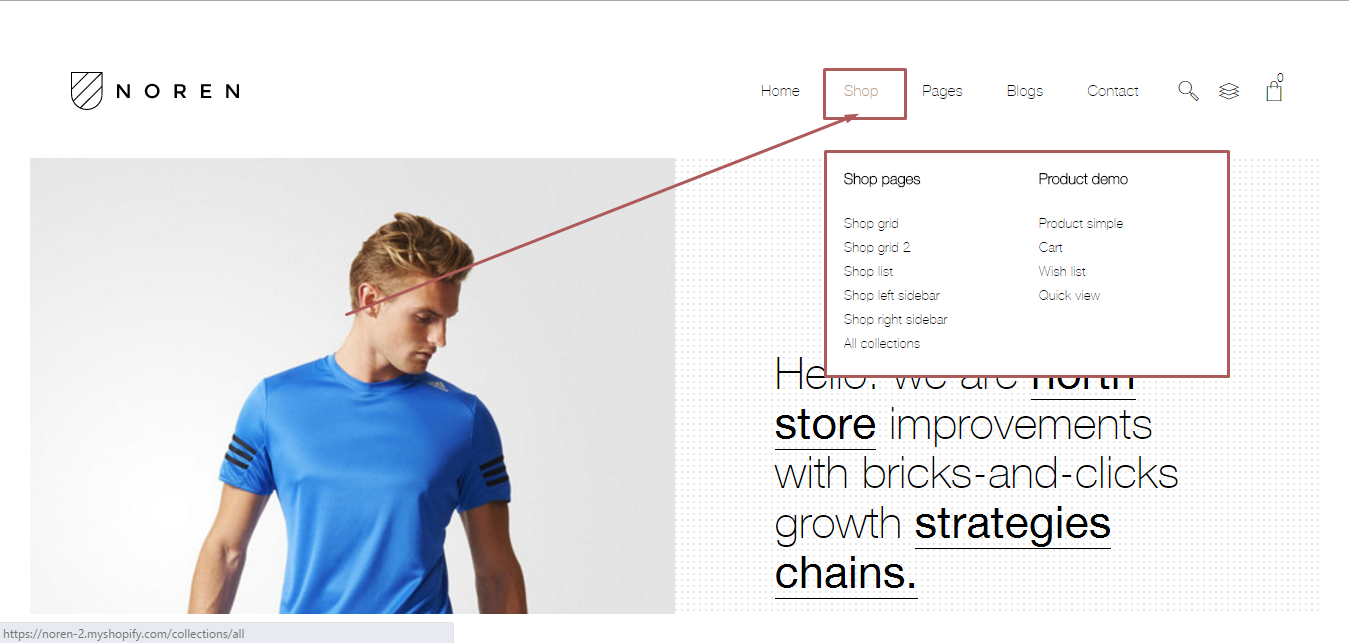
(We created 2 menu)
EX: Show in Shop.
Note: Write lowercase letters , Not to write uppercase
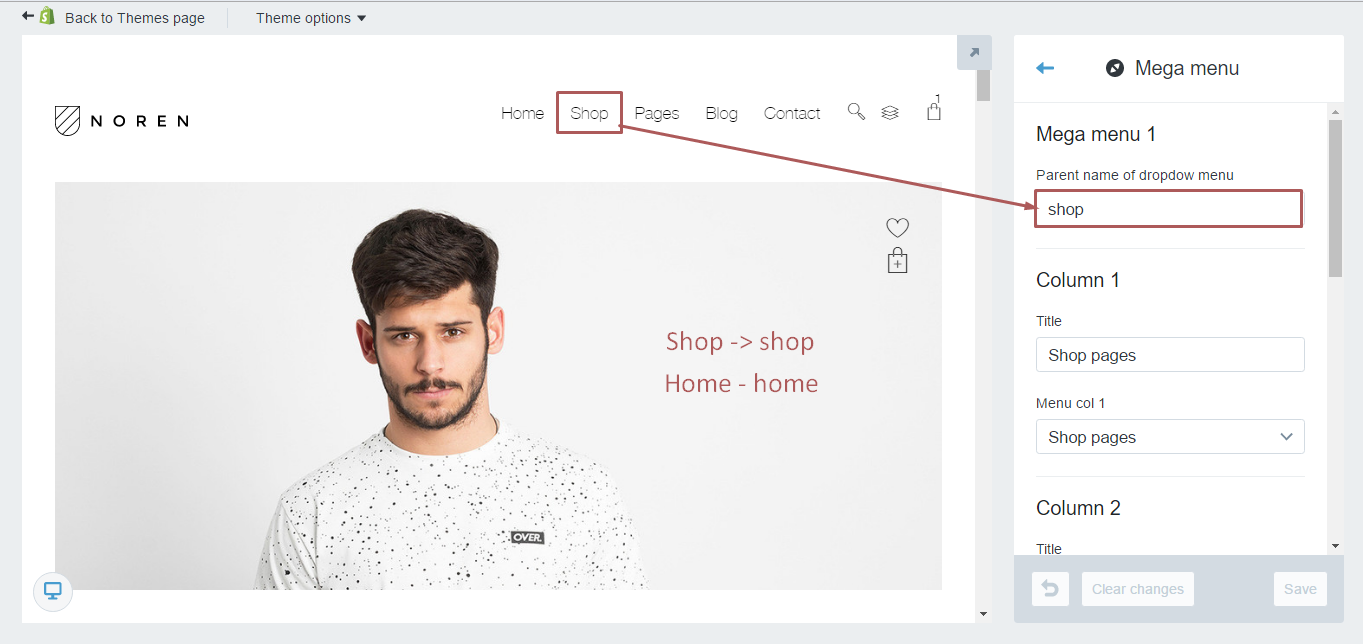
Select menu to show in Megamenu:
Contact us page
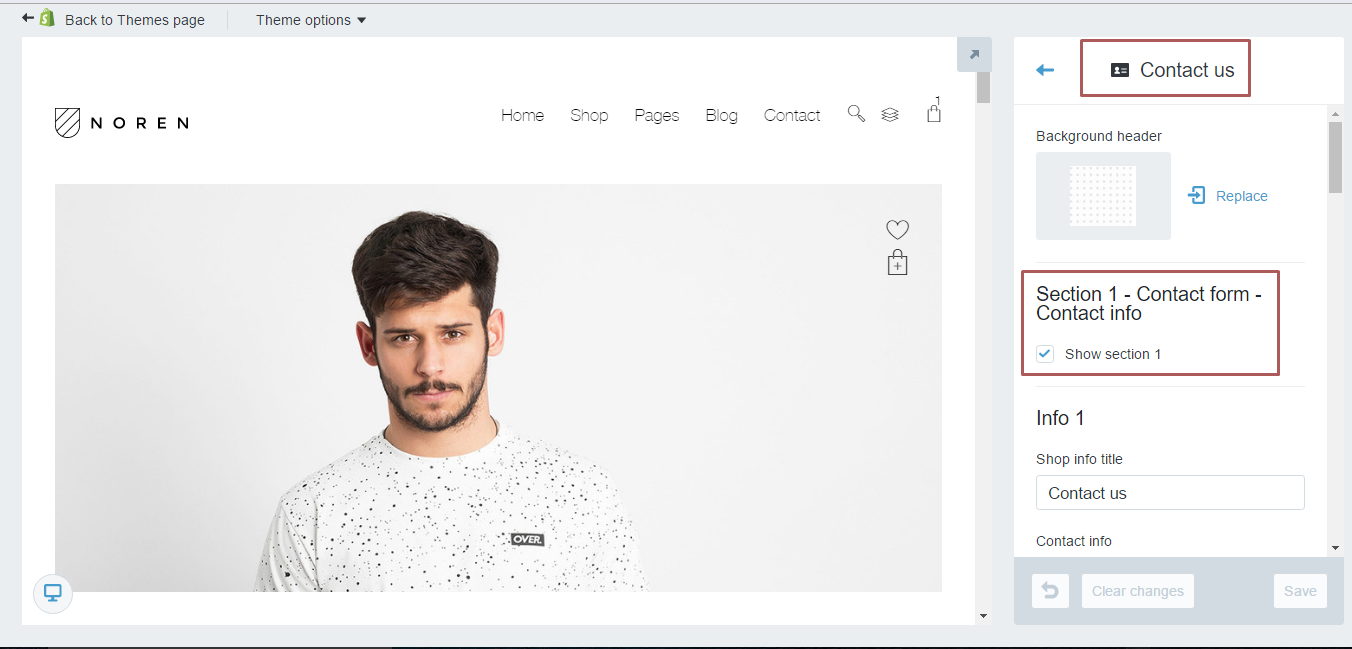
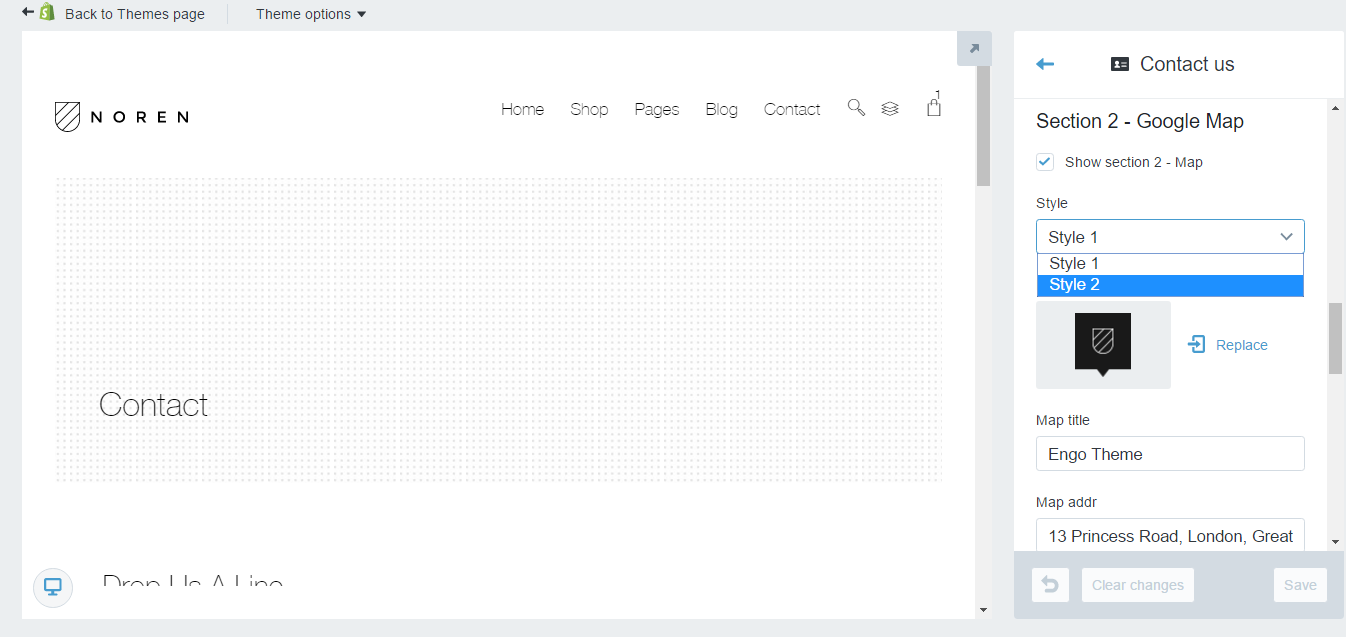
Create Contact Us Page
Currently, we support 2 style Contact page: Style 1, Style 2.
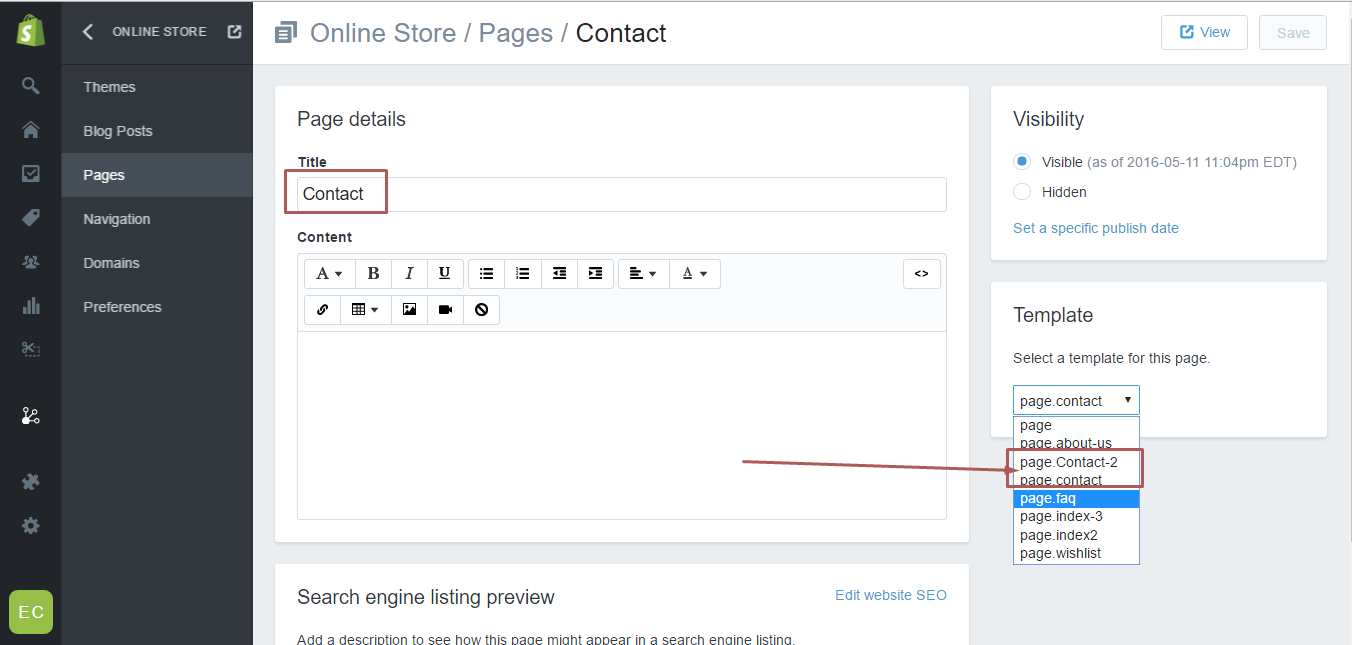

NOTE:
You just CUSTOM CONTACT PAGE when you select template page.contact.
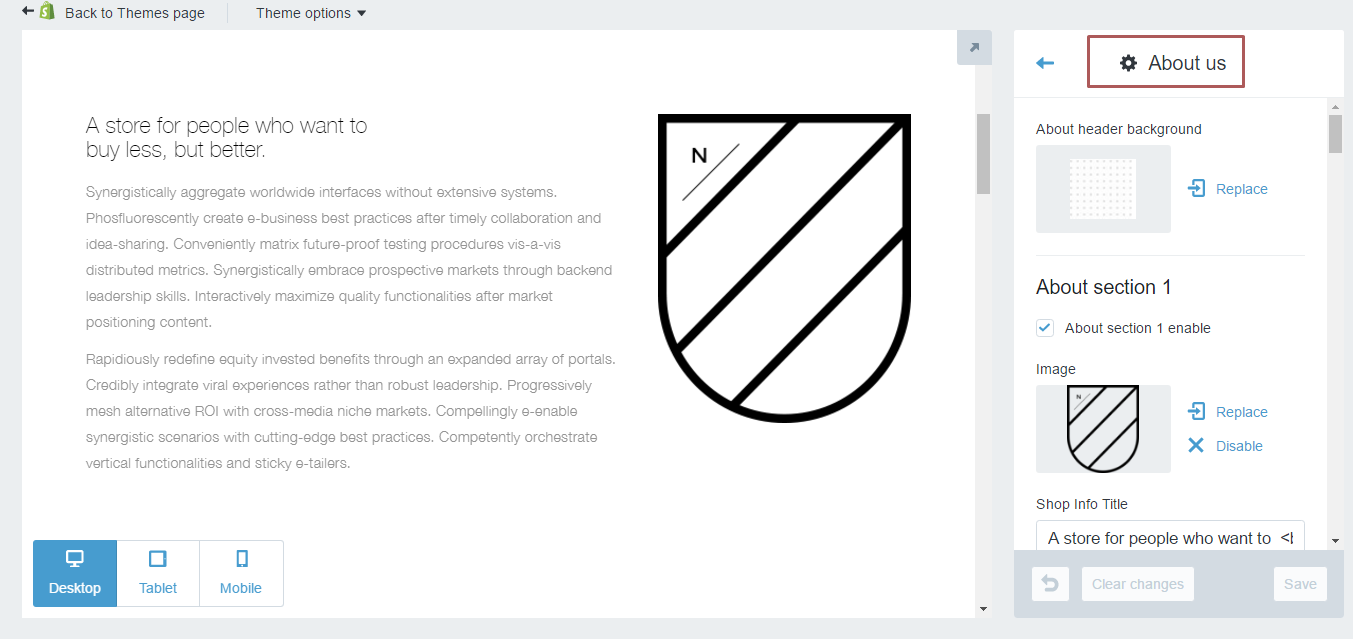
About us page
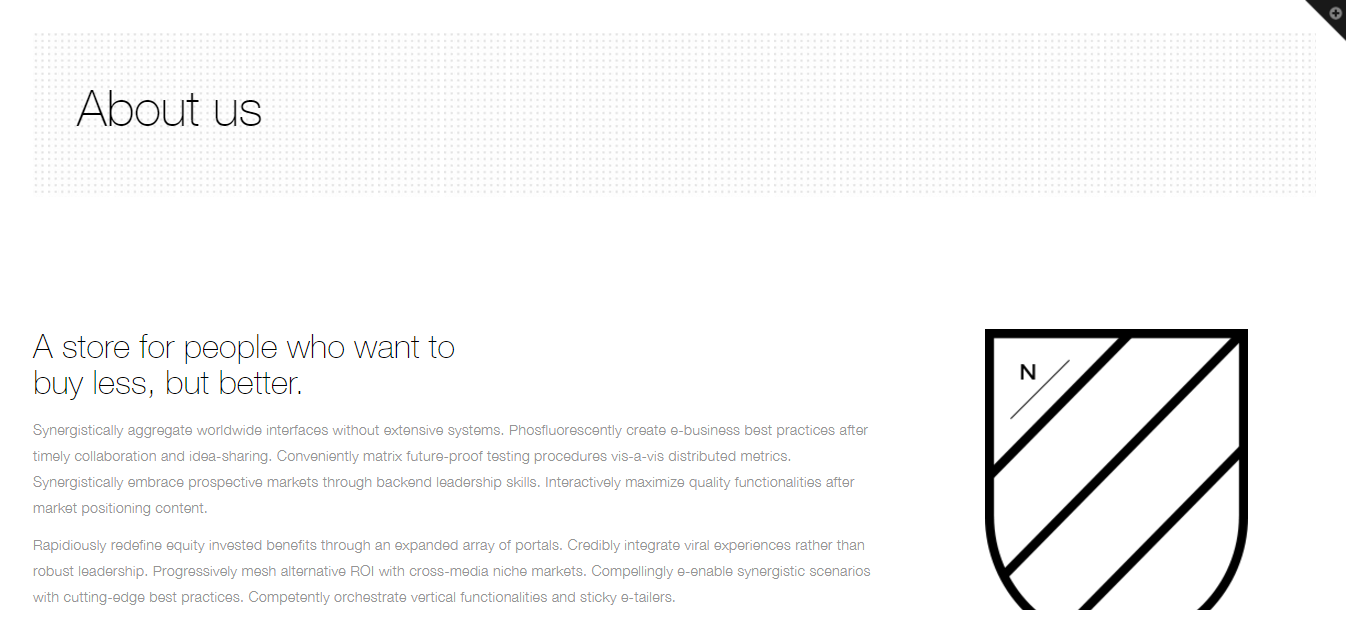
Create new page:
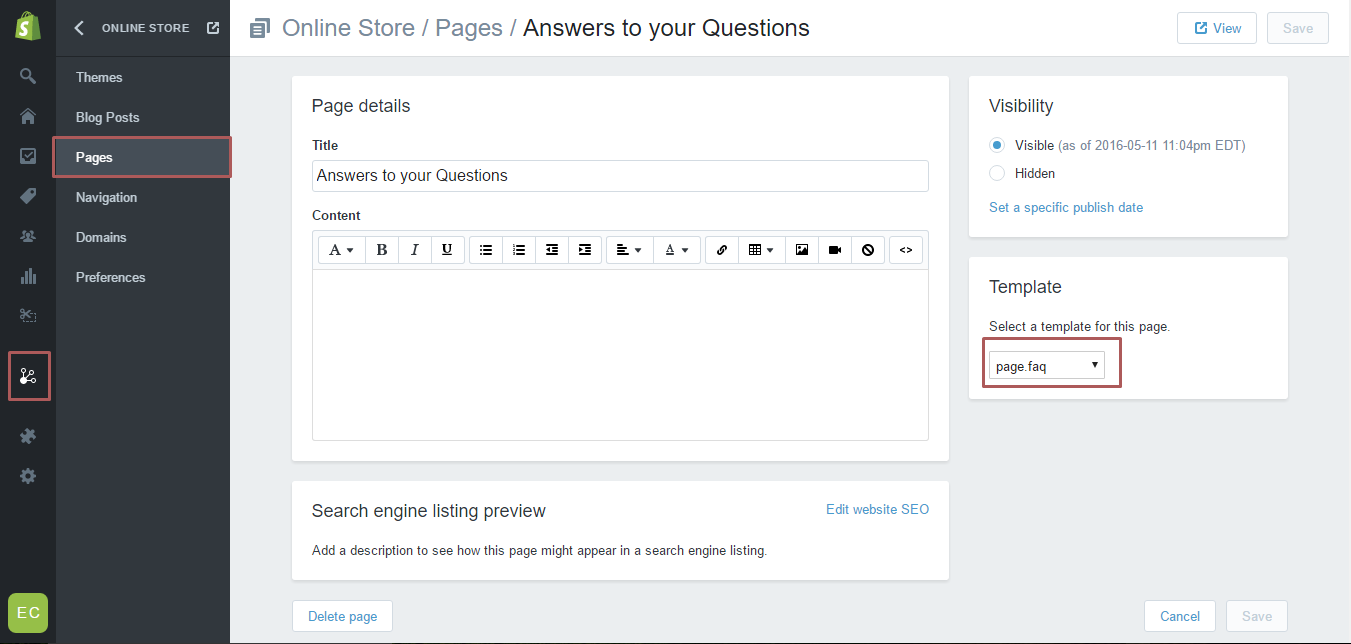
FAQ PAGE
Create new page:
Wishlist page
Create new page:
Create a page and put the template set page: page.wishlist:
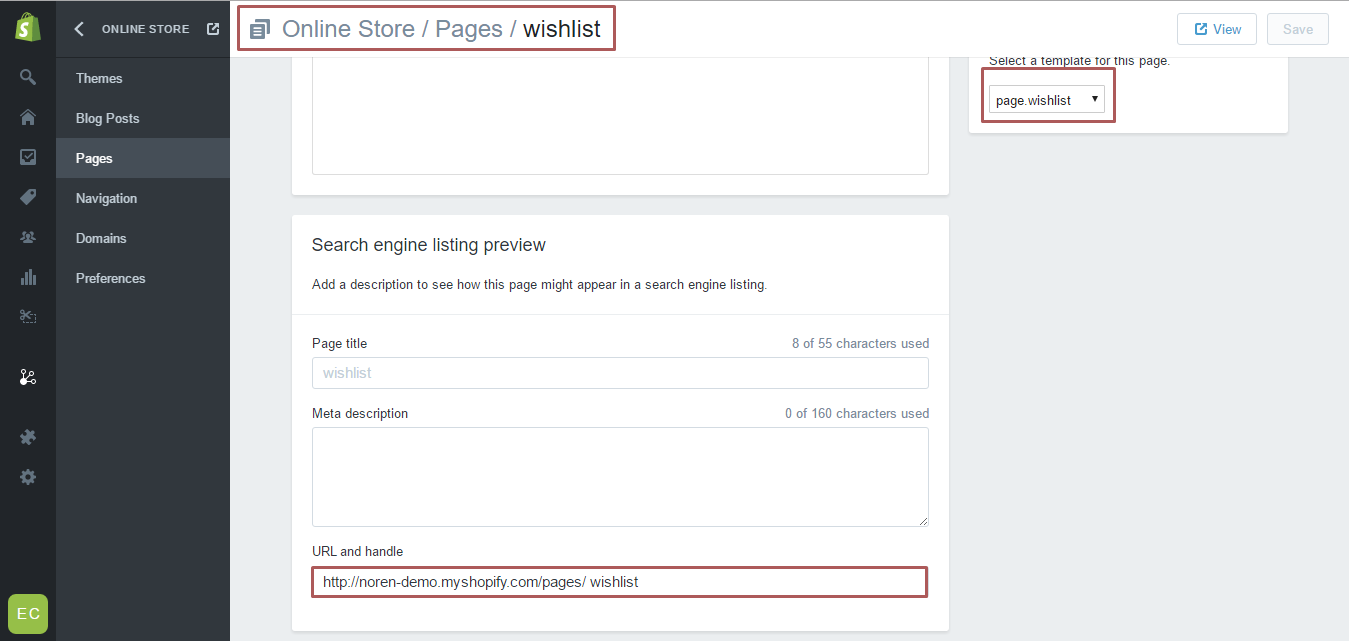
Simply, only that, you do not need anything more settings anymore!
General settings
-
Gerenal:
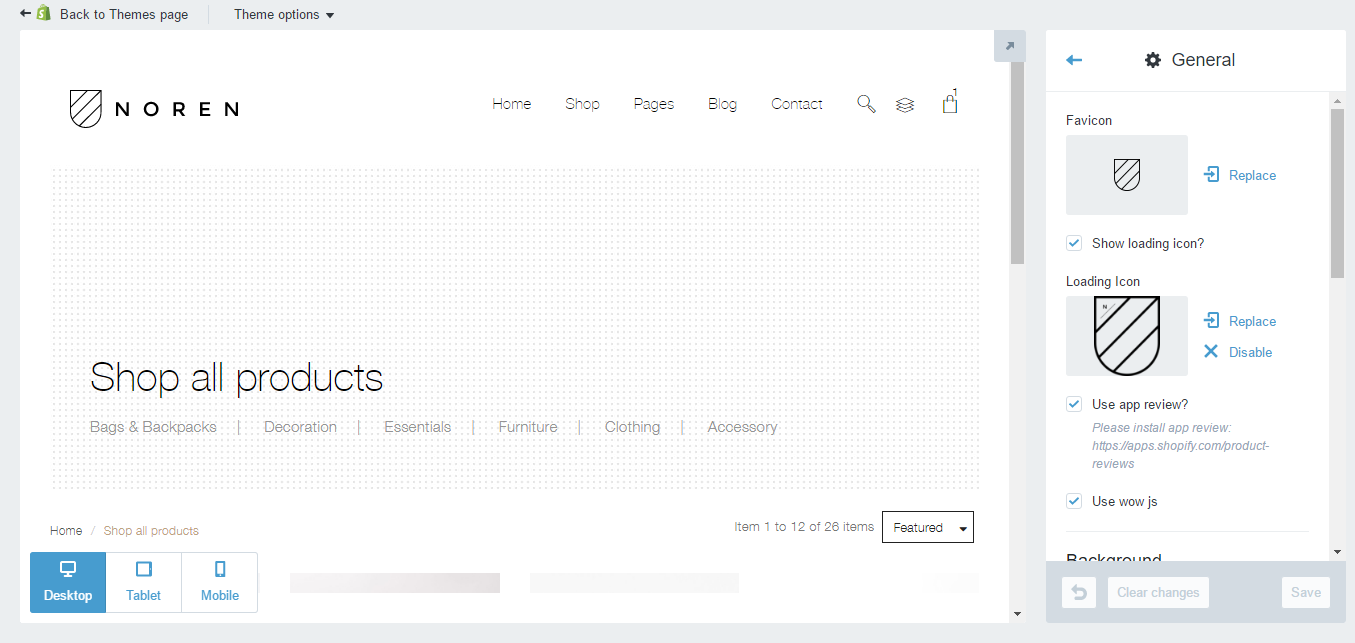
We allow you to edit:
- Favicon
- Loadding icon.
- Wow js
- Background(color, image)
- Custom image
-
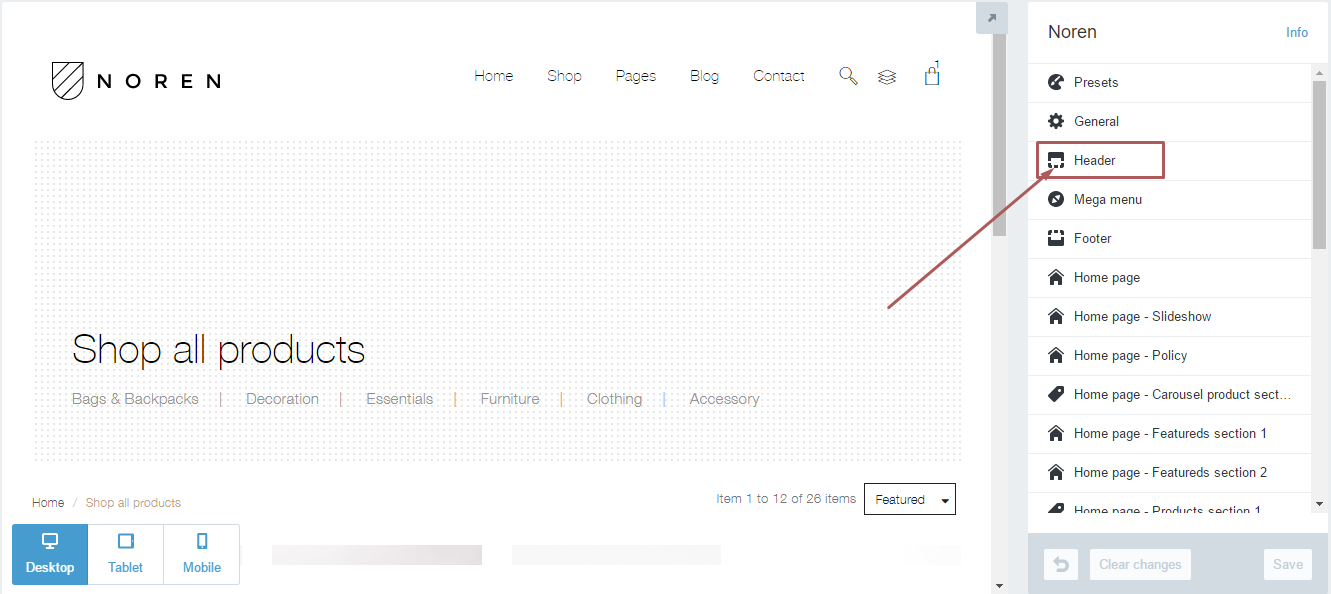
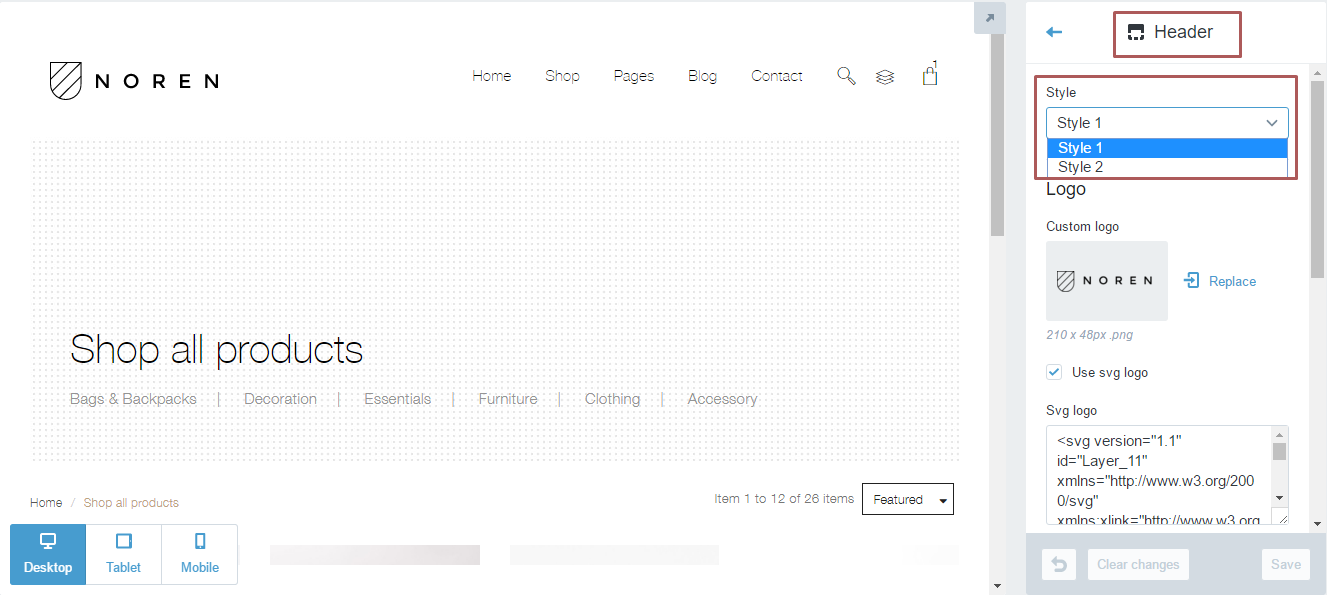
Header
Access the Header tab in the custom theme:
-
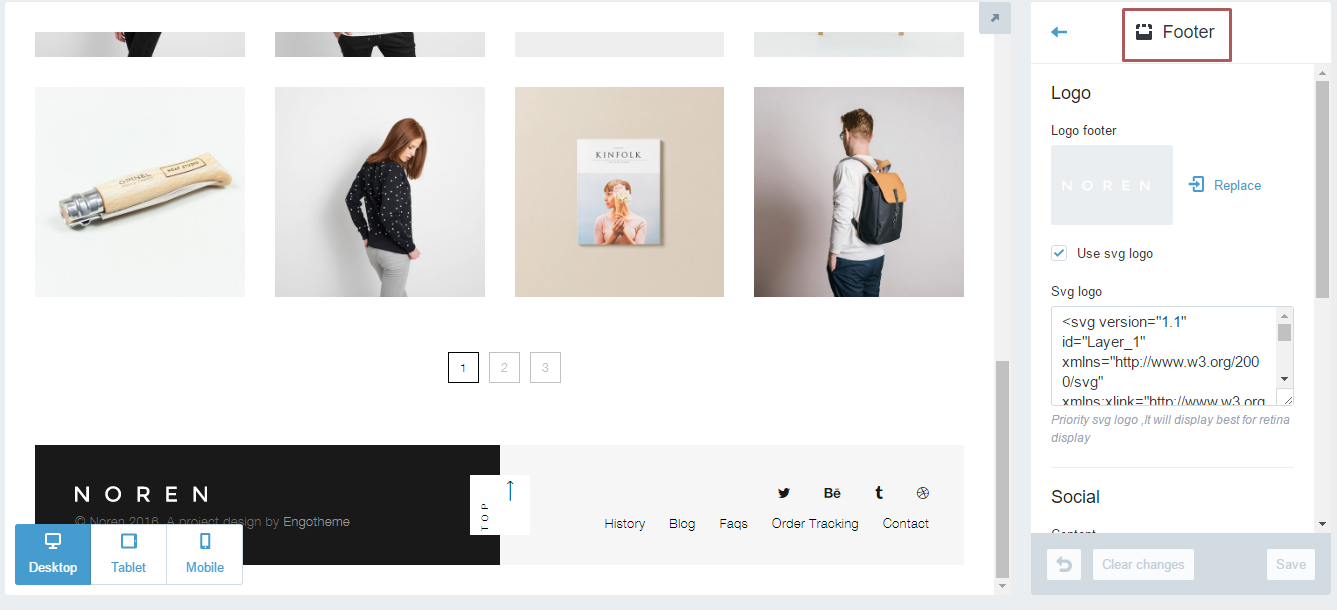
Footer
You can edit the footer in CUSTOMIZE:
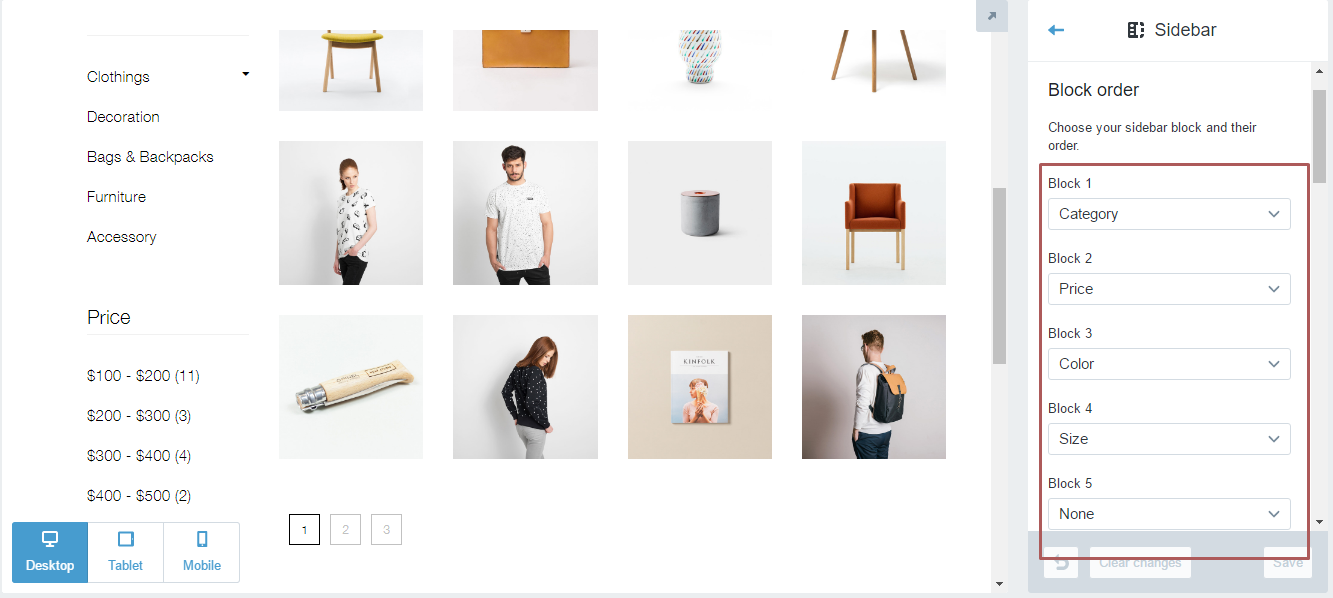
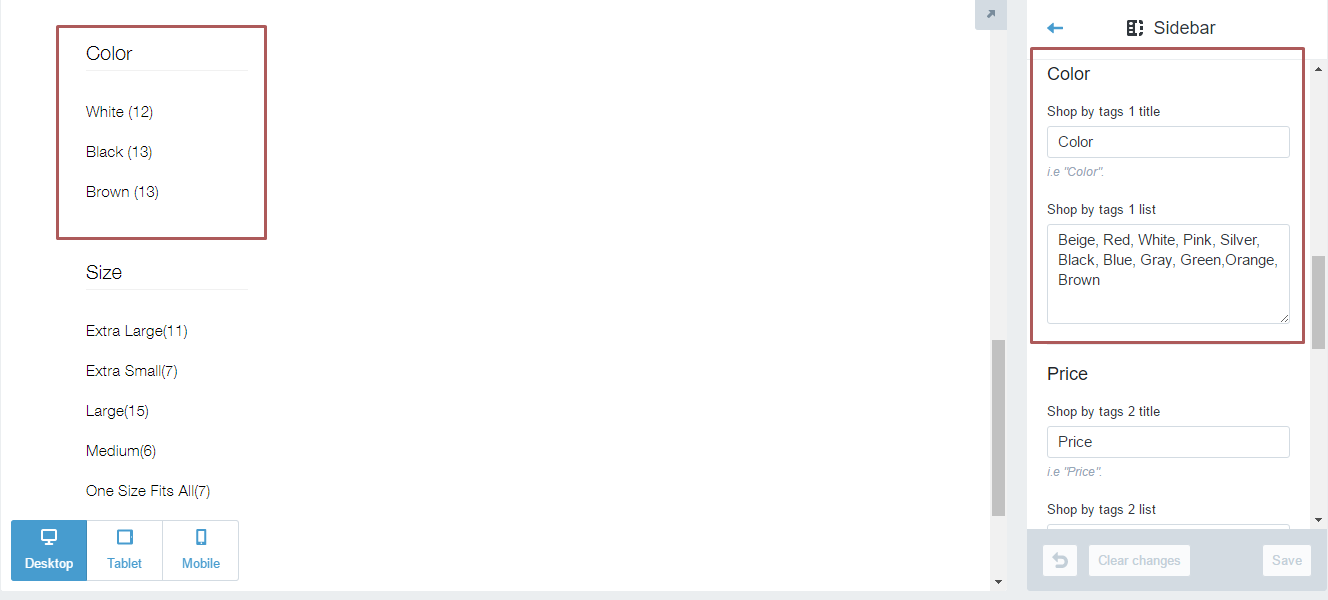
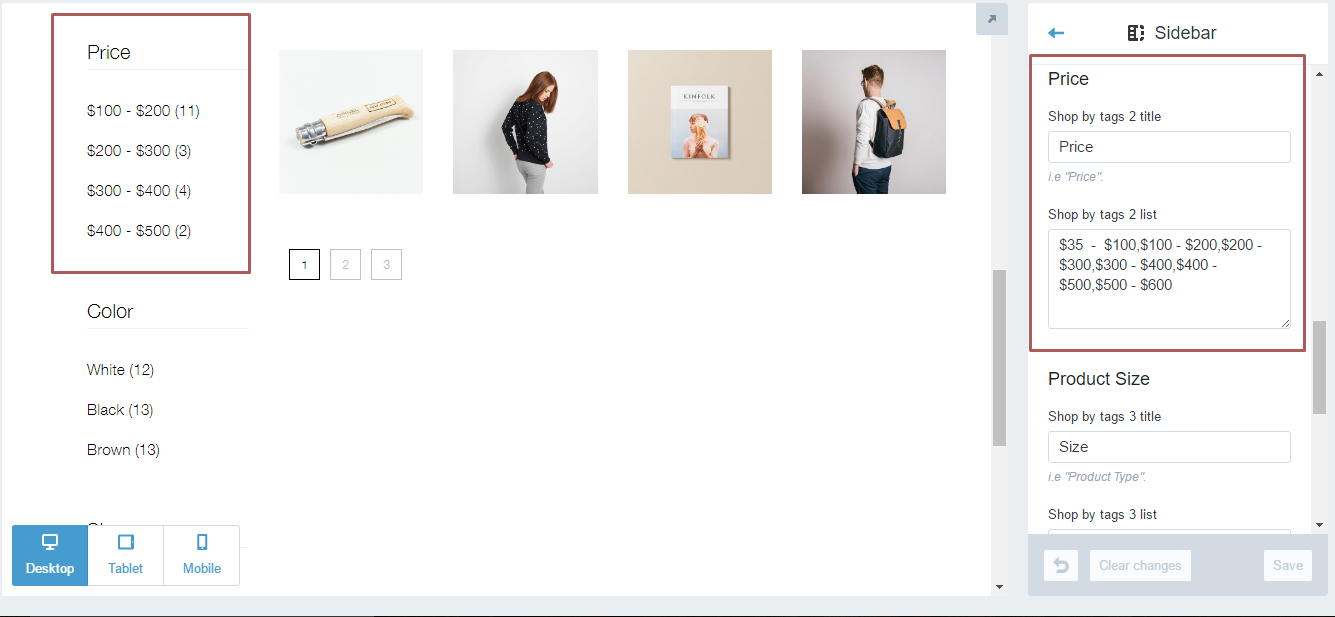
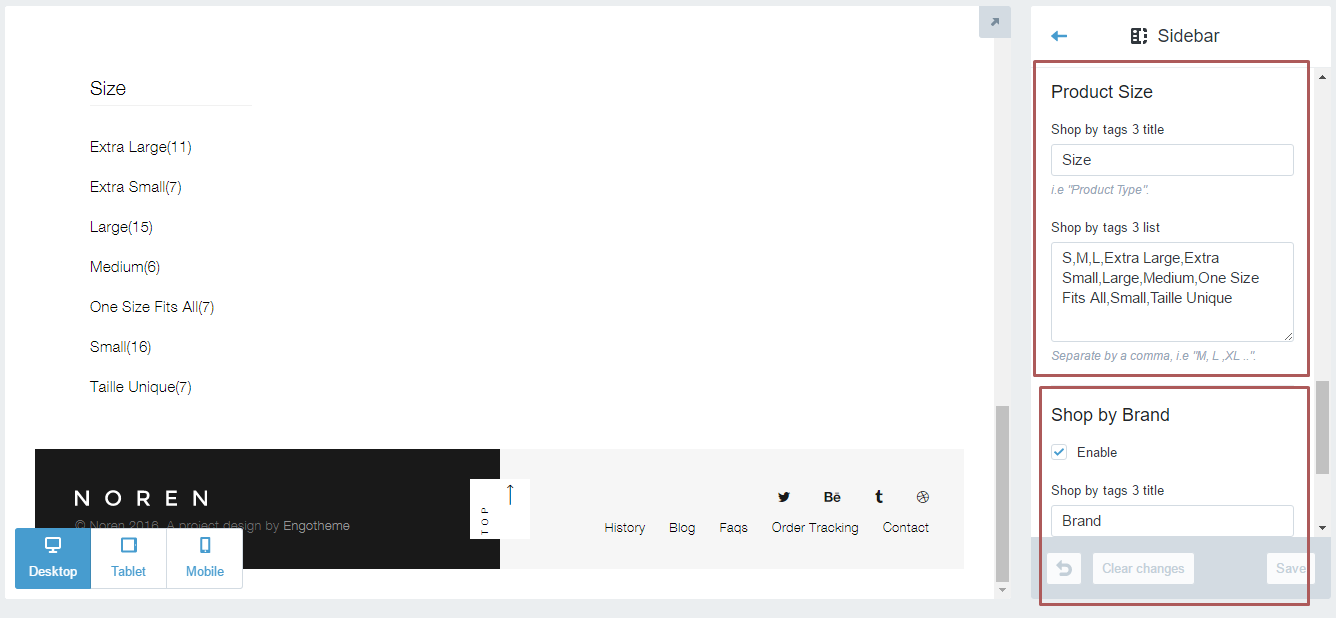
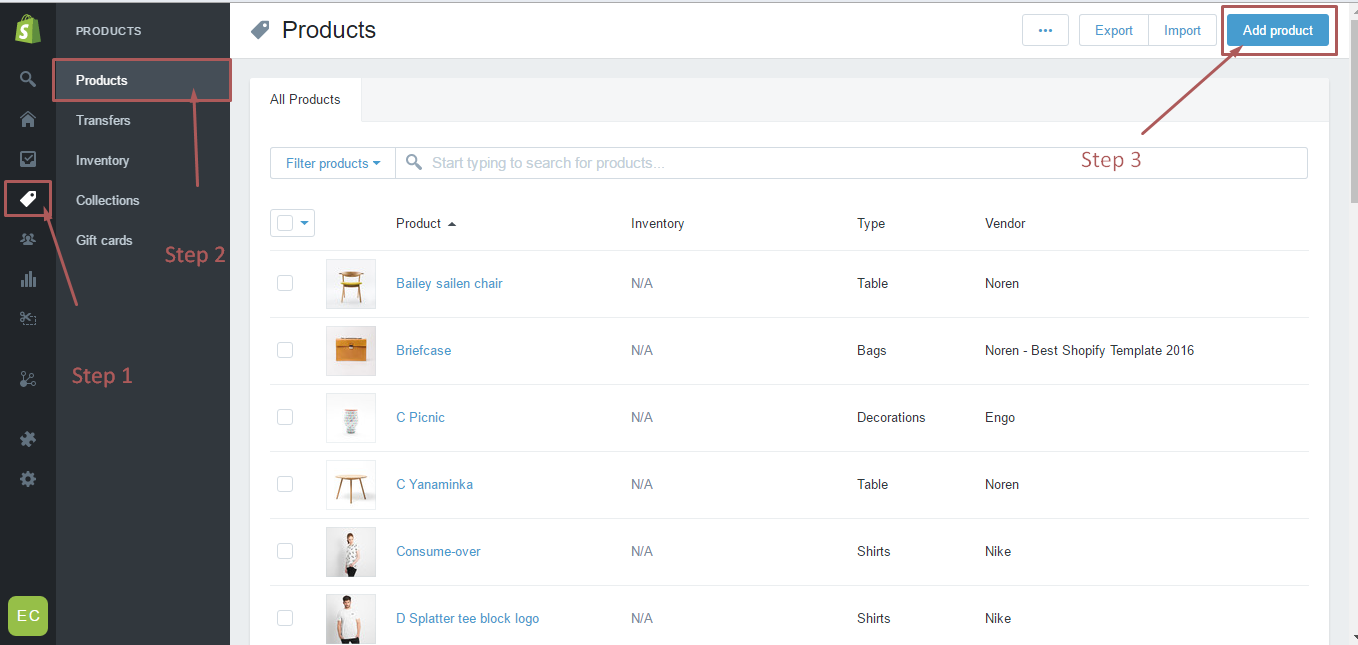
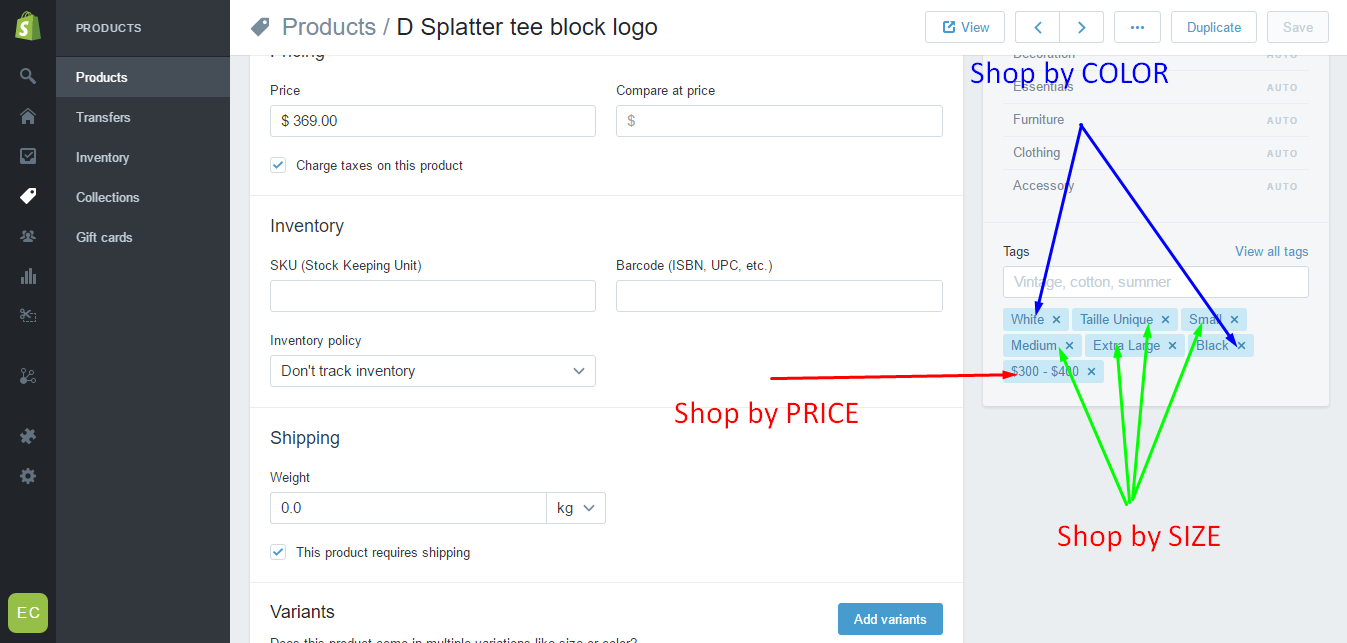
Advanced Filtering
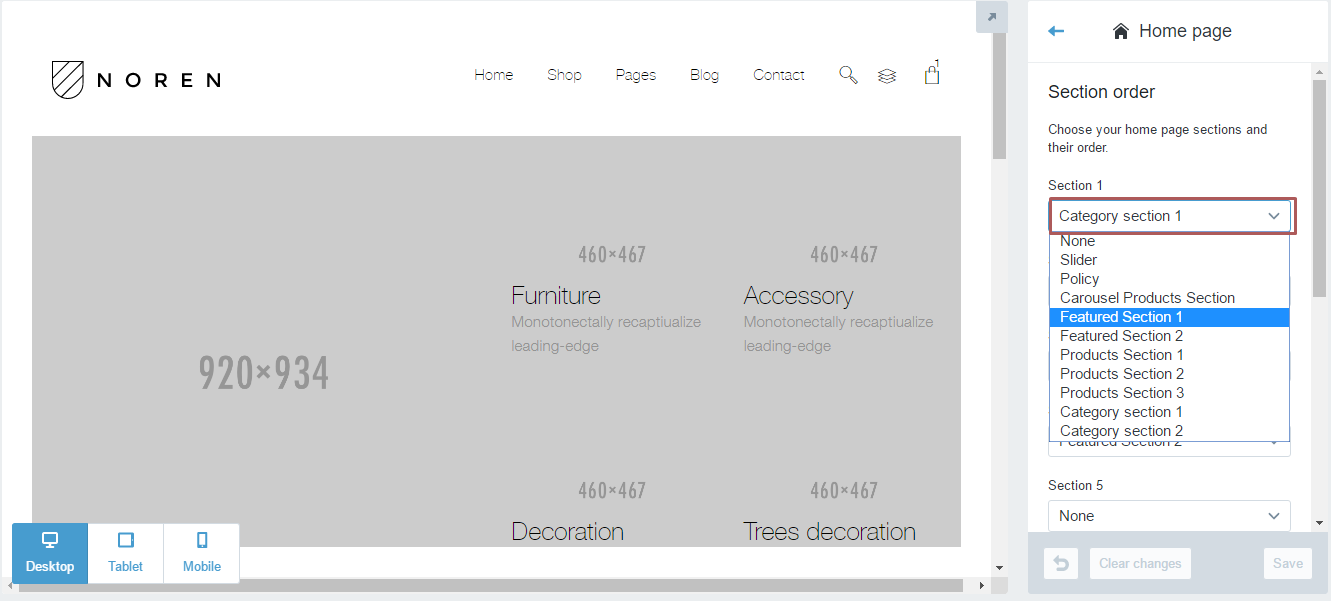
Home page settings
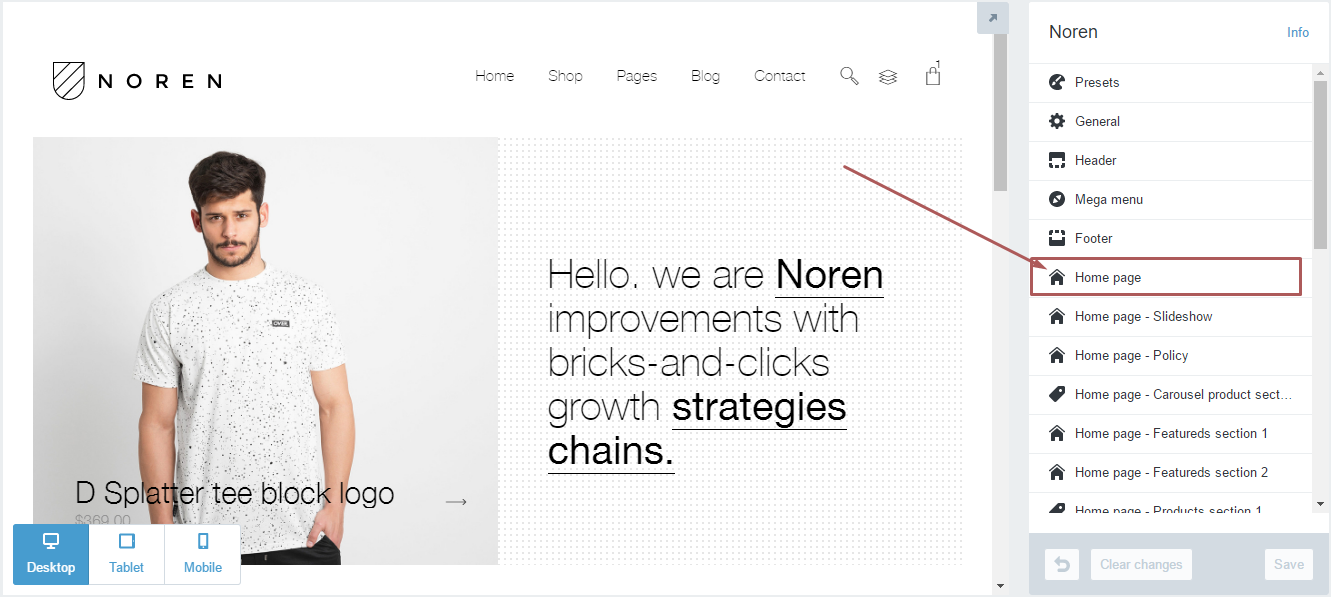
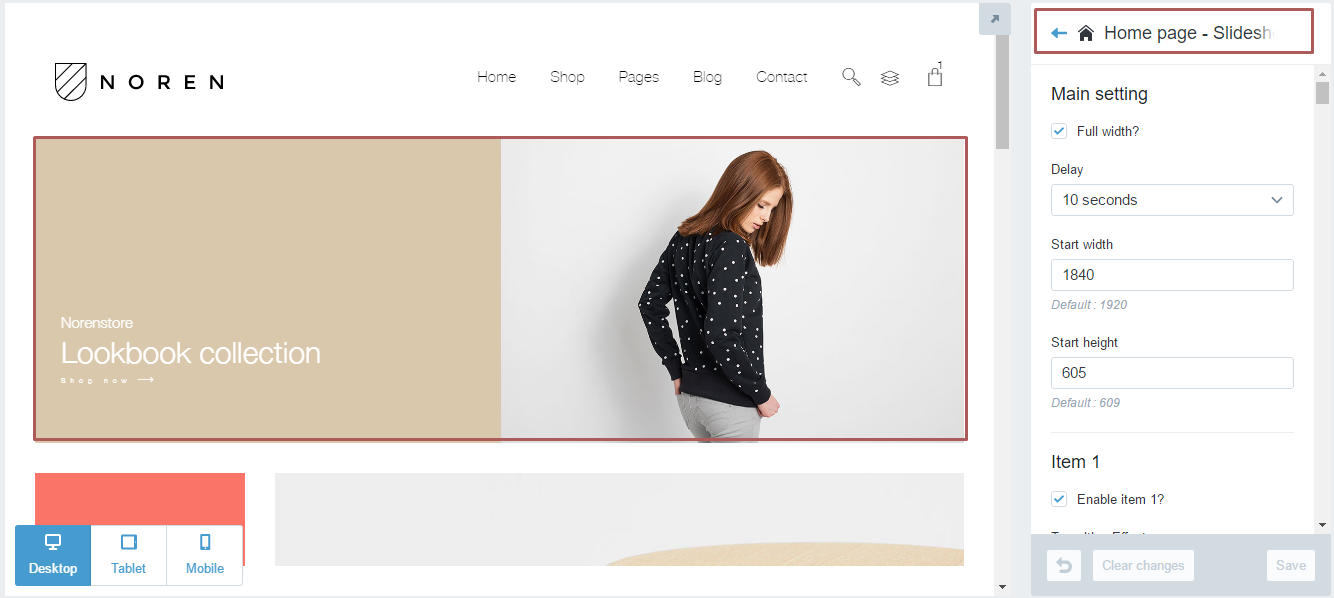
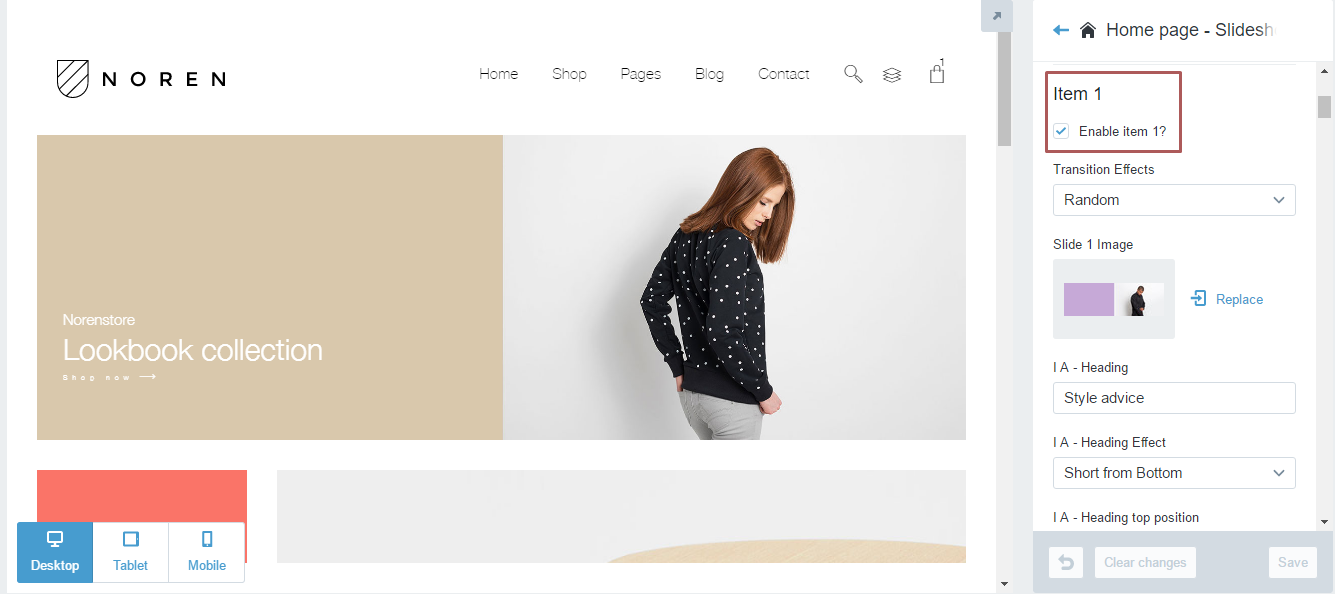
Slideshow settings
Visit Homepage tab - in custom slideshow theme:
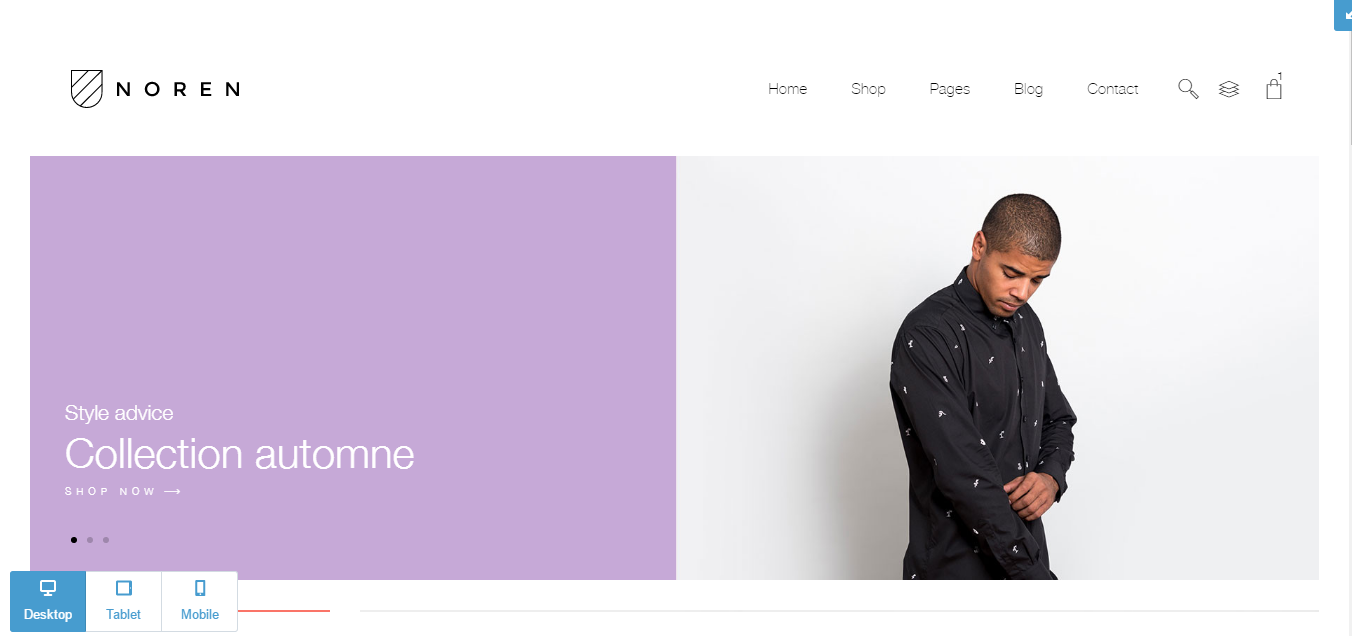
Here, get all the information and upload the pictures of the slider. We allow you to adjust the size, position, effects of components .. slider:

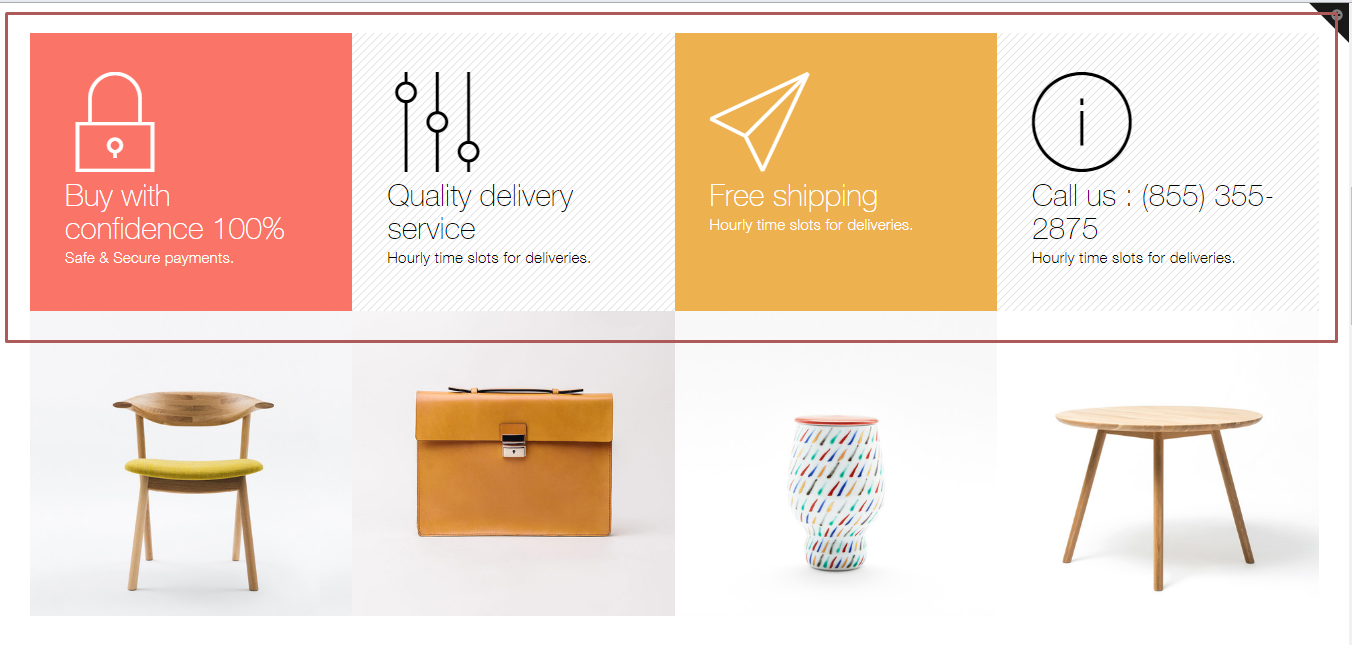
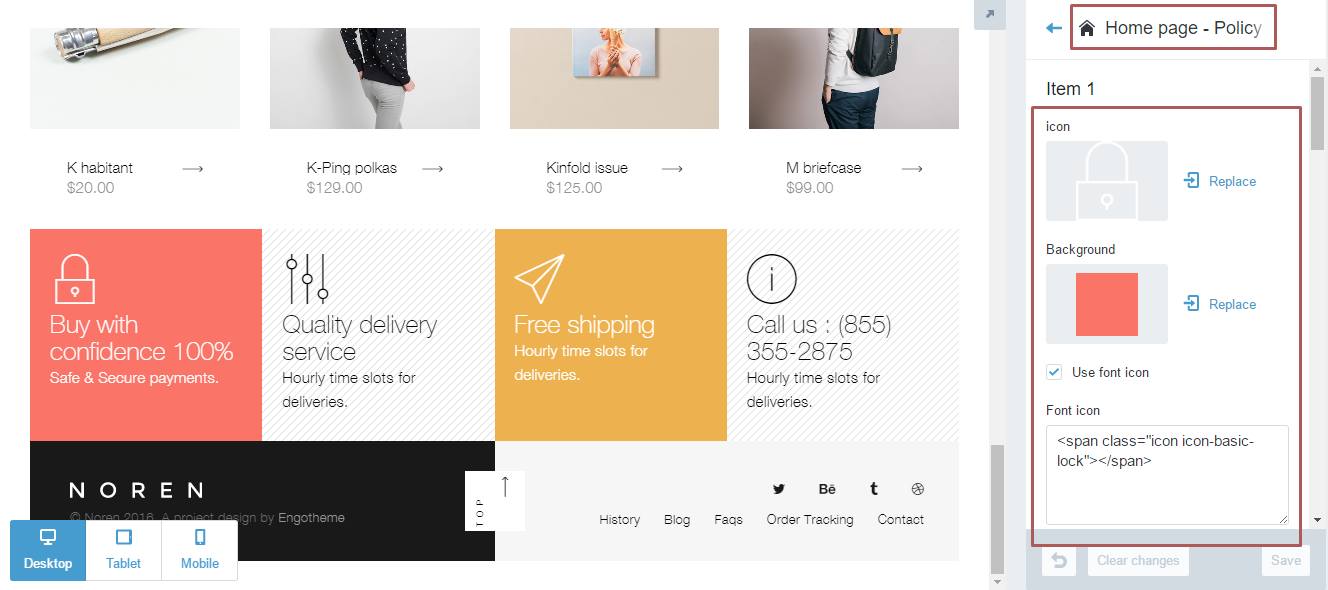
Policy settings
Carousel products
Carousel products section
Access tab Carousel products sections in the Customize Theme:
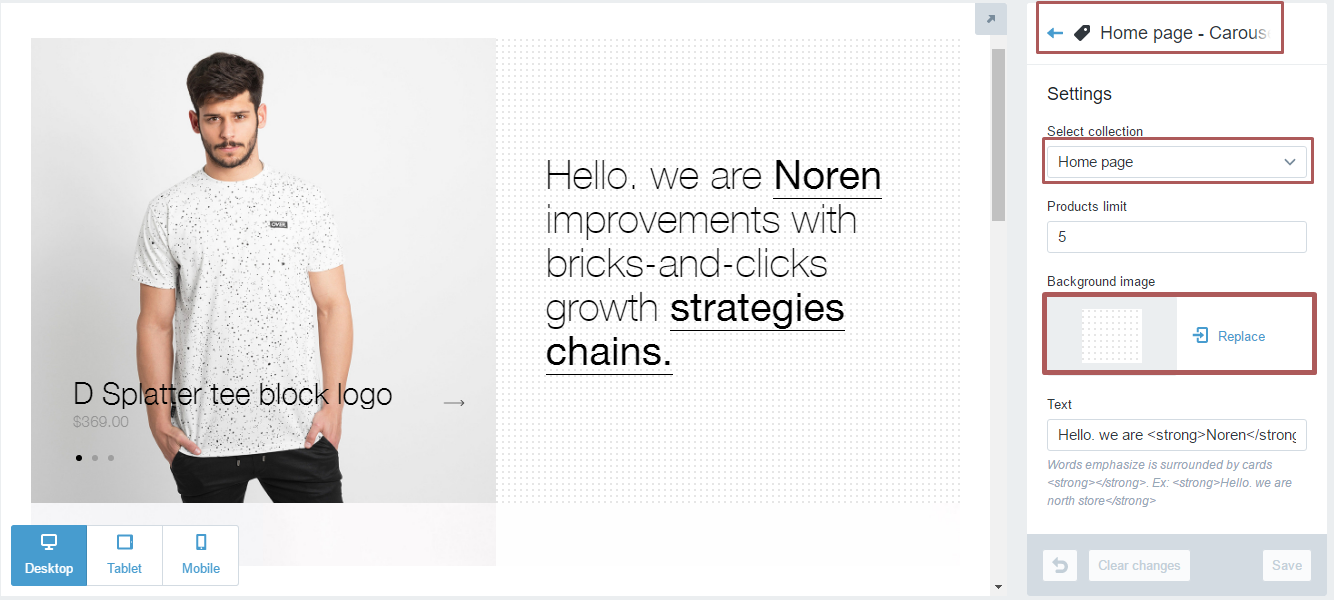
Enter files, photos, and other information fields.
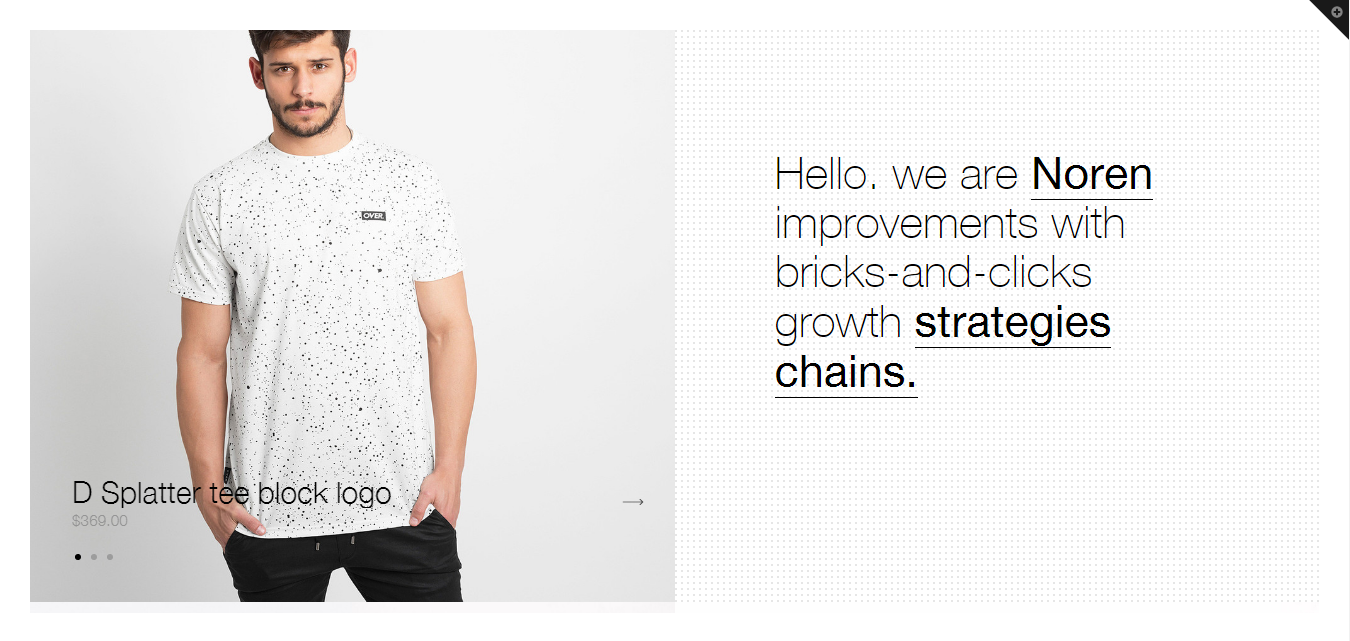
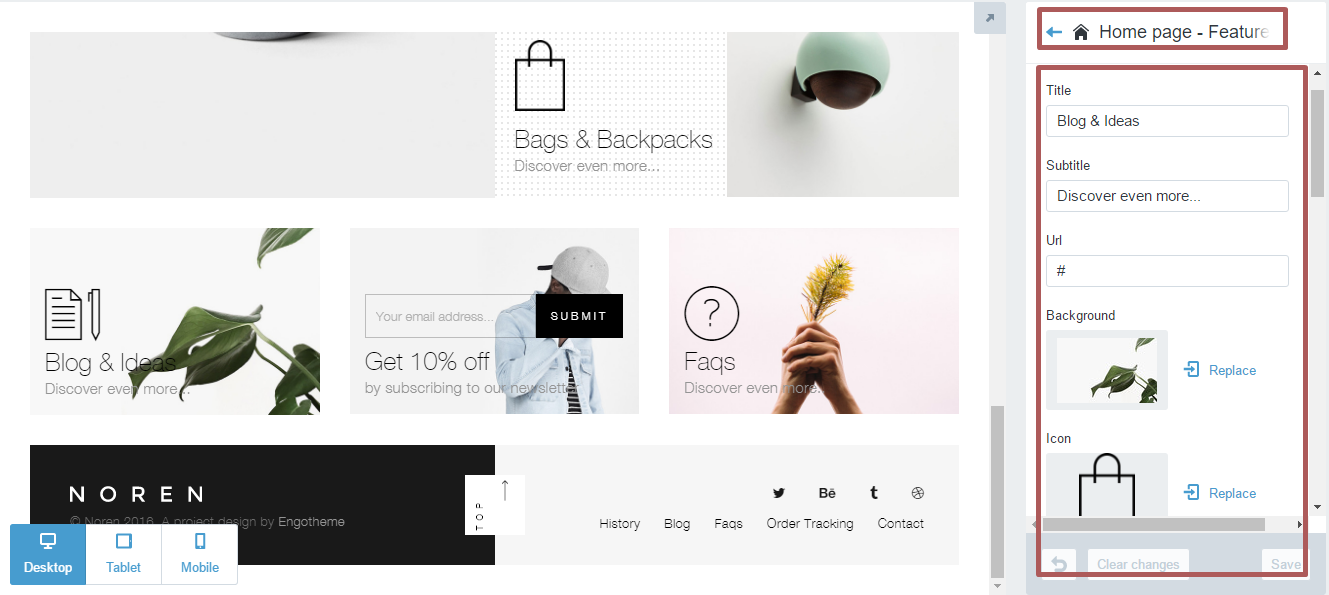
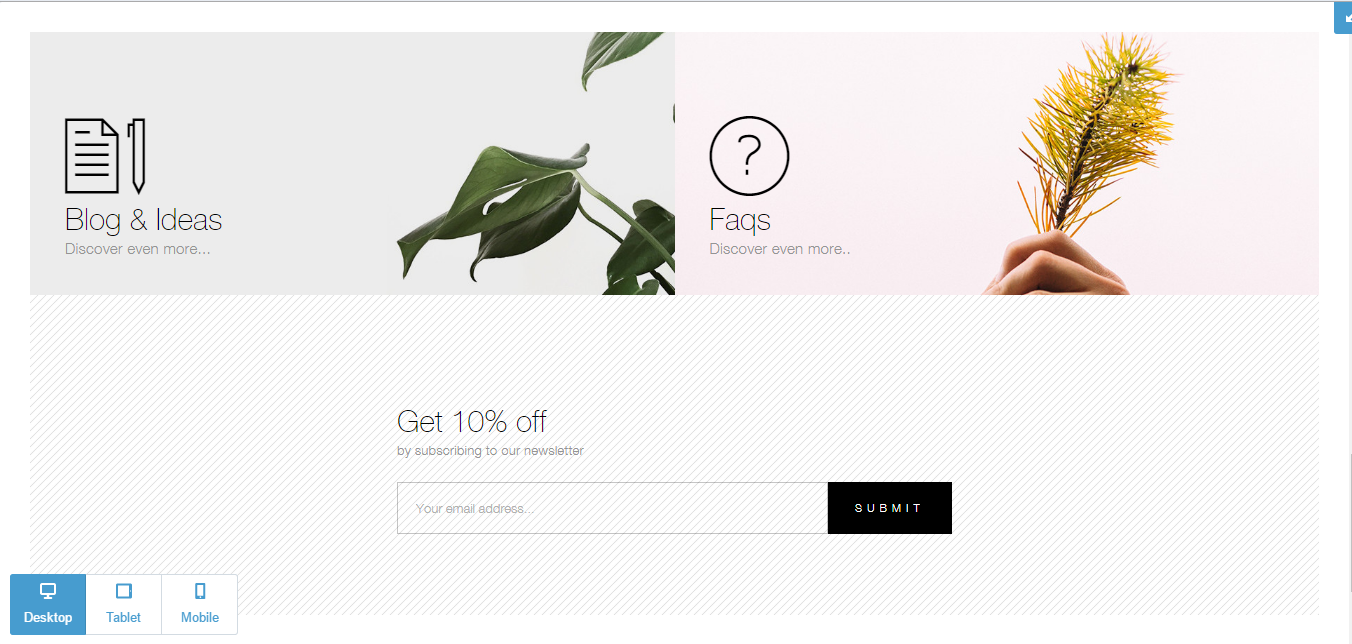
Featureds Section style 1
Home page Featureds Section 1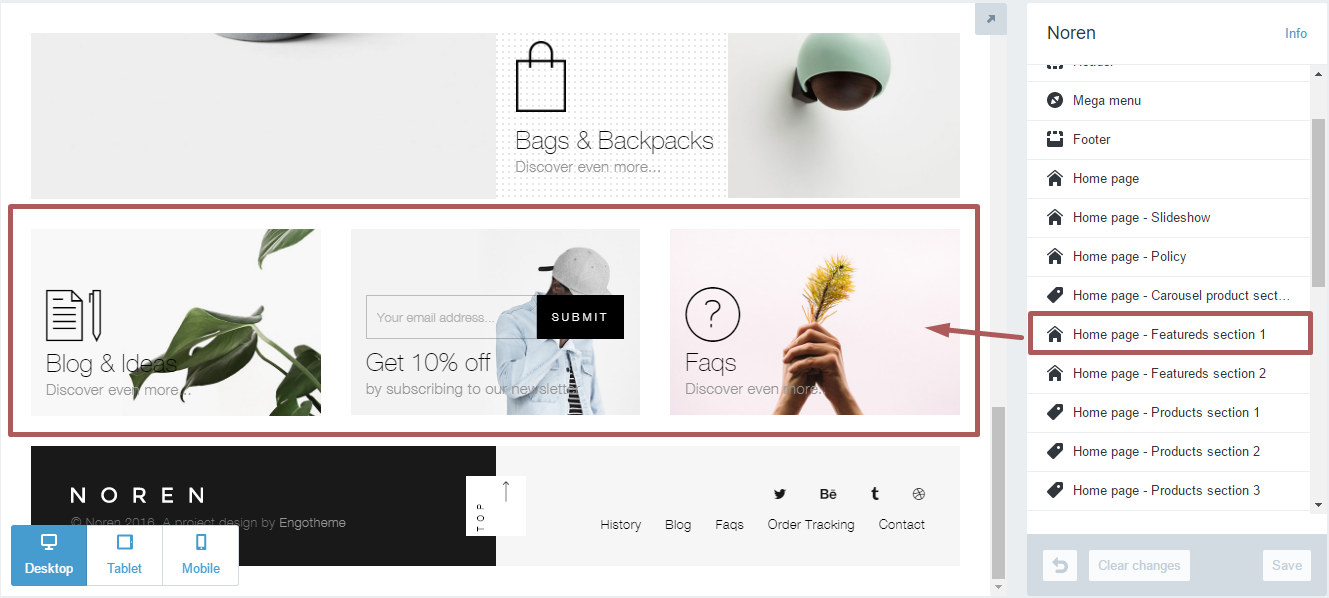
Access tab Homepage - Featured section 1 in the Customize Theme:
Enter files, photos, and other information fields:
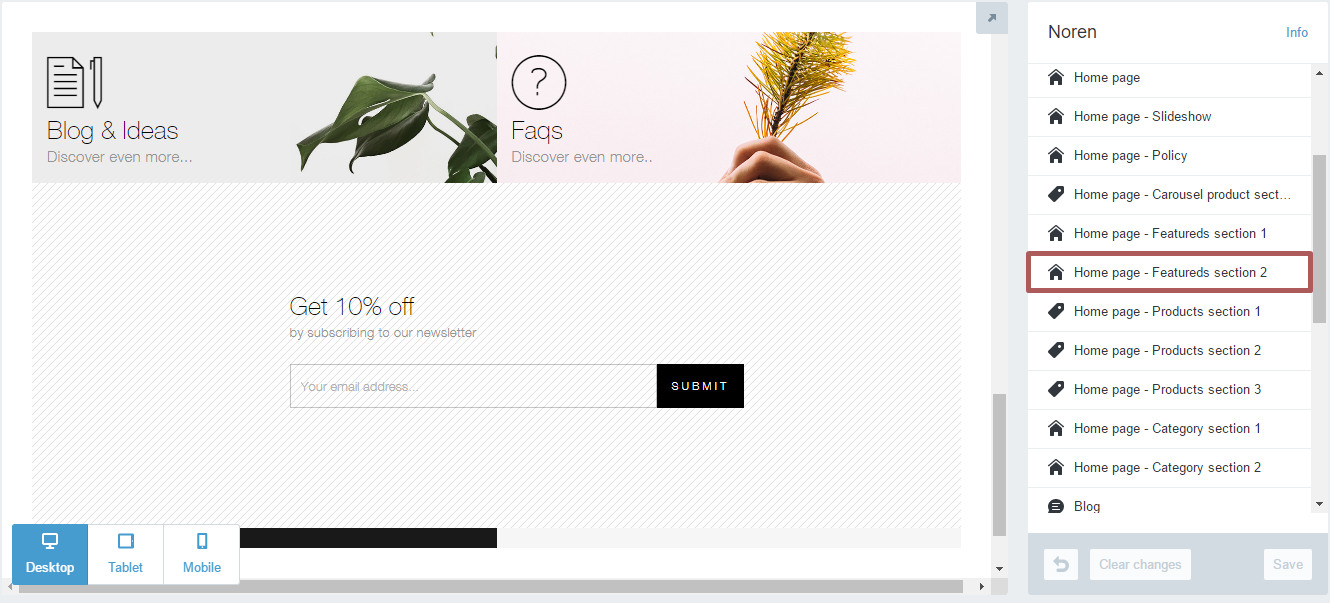
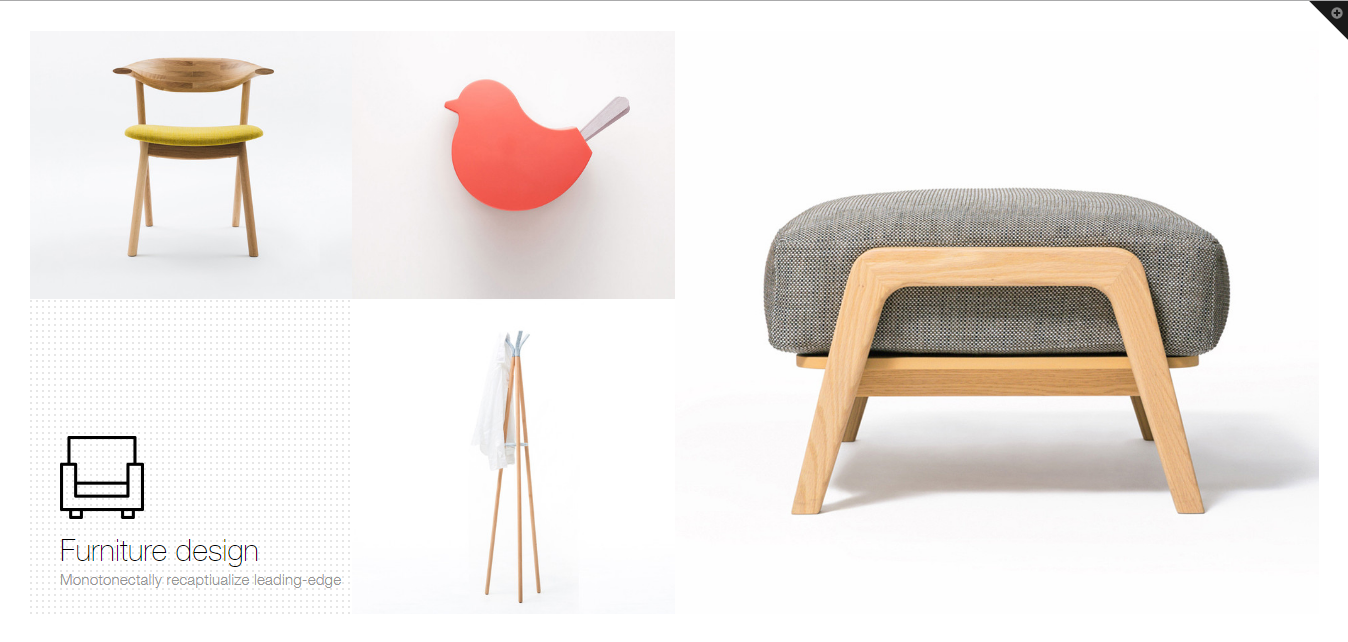
Featured section style 2
Featured section 2
You neen go to CUSTOMIZE, then custom it:
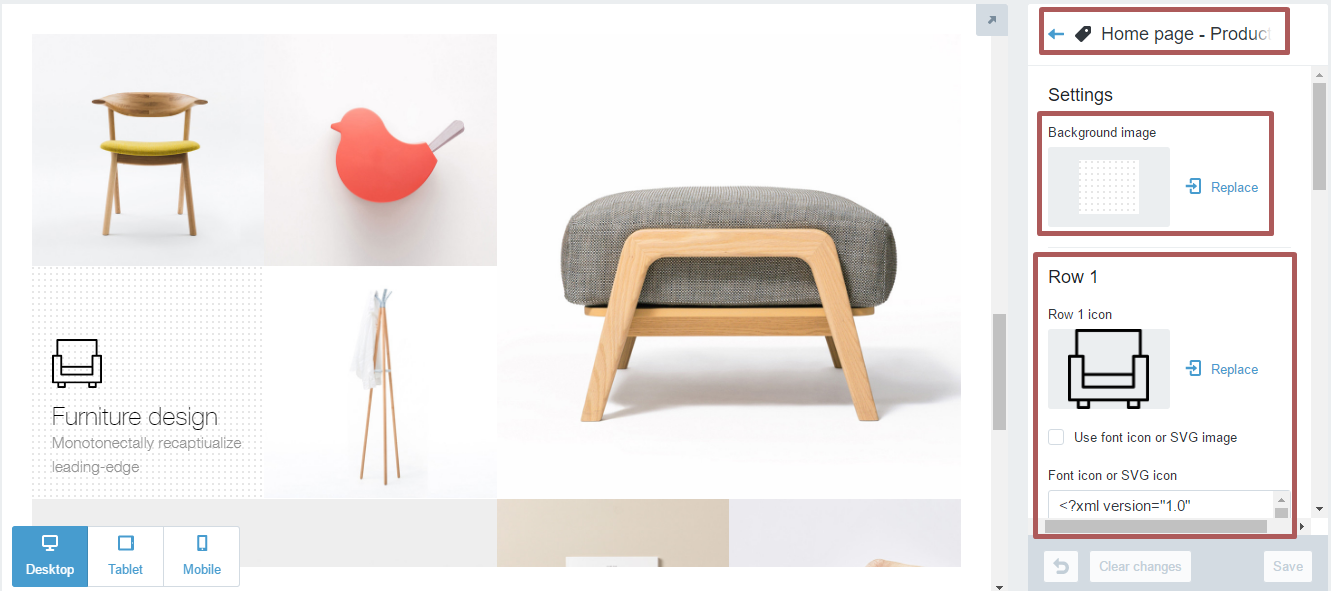
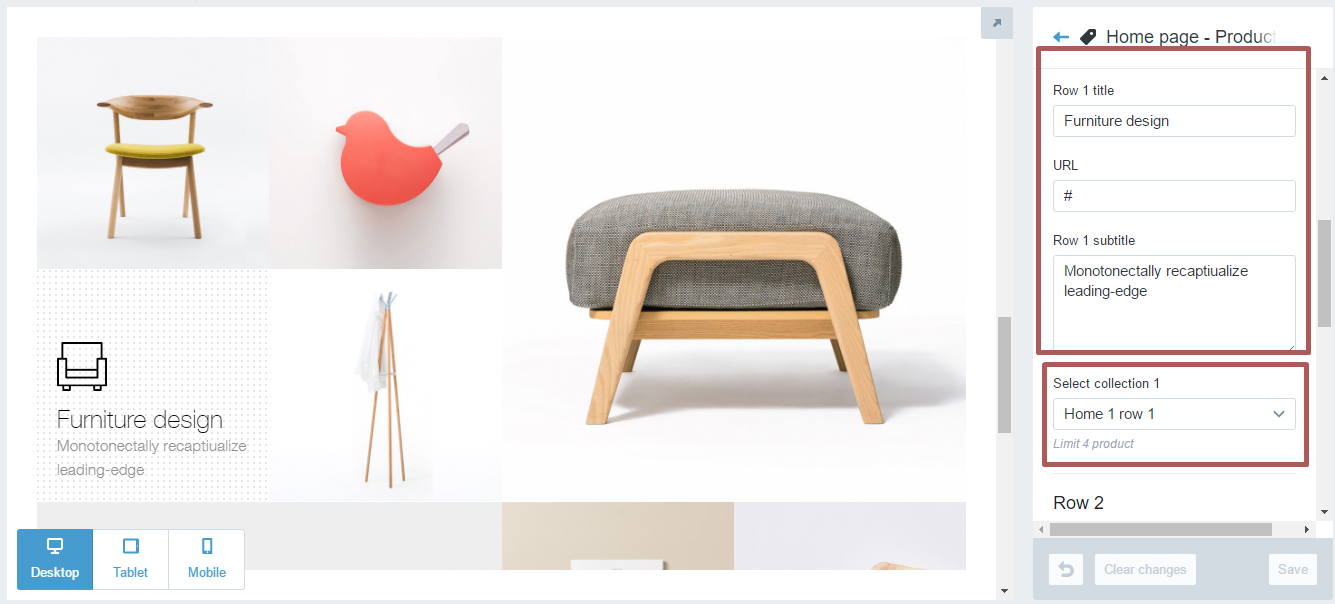
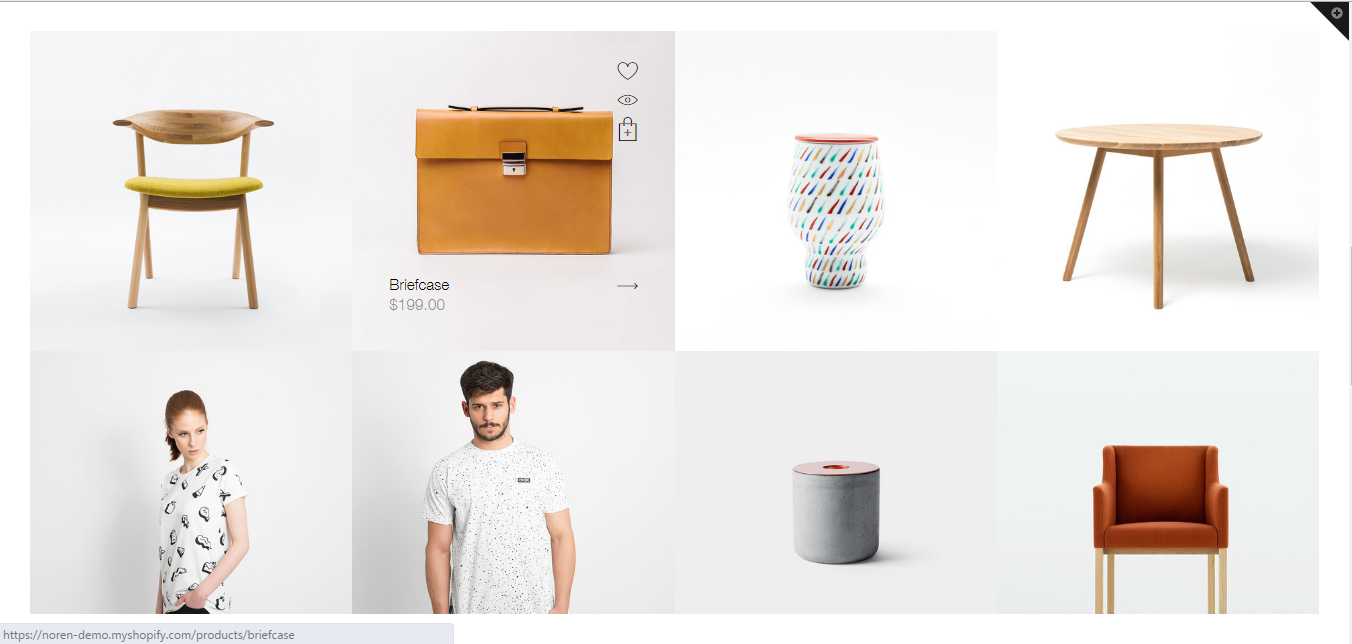
Products section style 1
Access tab Homepage - Products section 1 in the Customize Theme:
Enter files, photos, and other information fields.
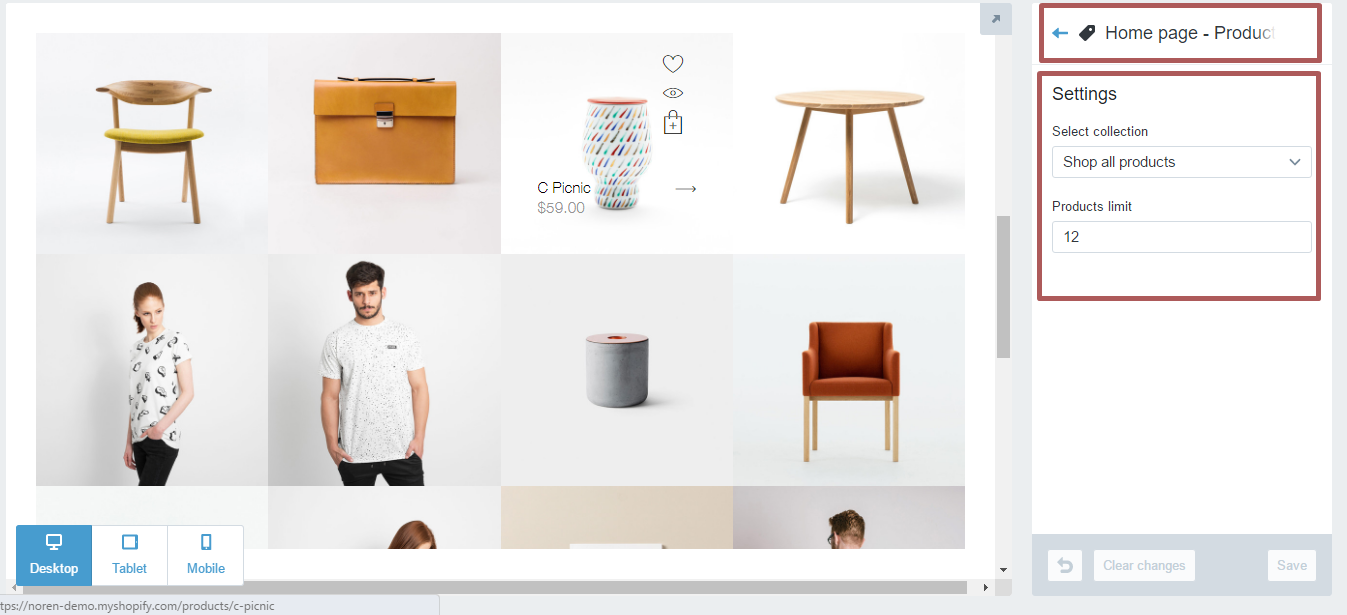
Products section style 2
Access tab Homepage - Products section 2 in the Customize Theme:
Enter files, photos, and other information fields.
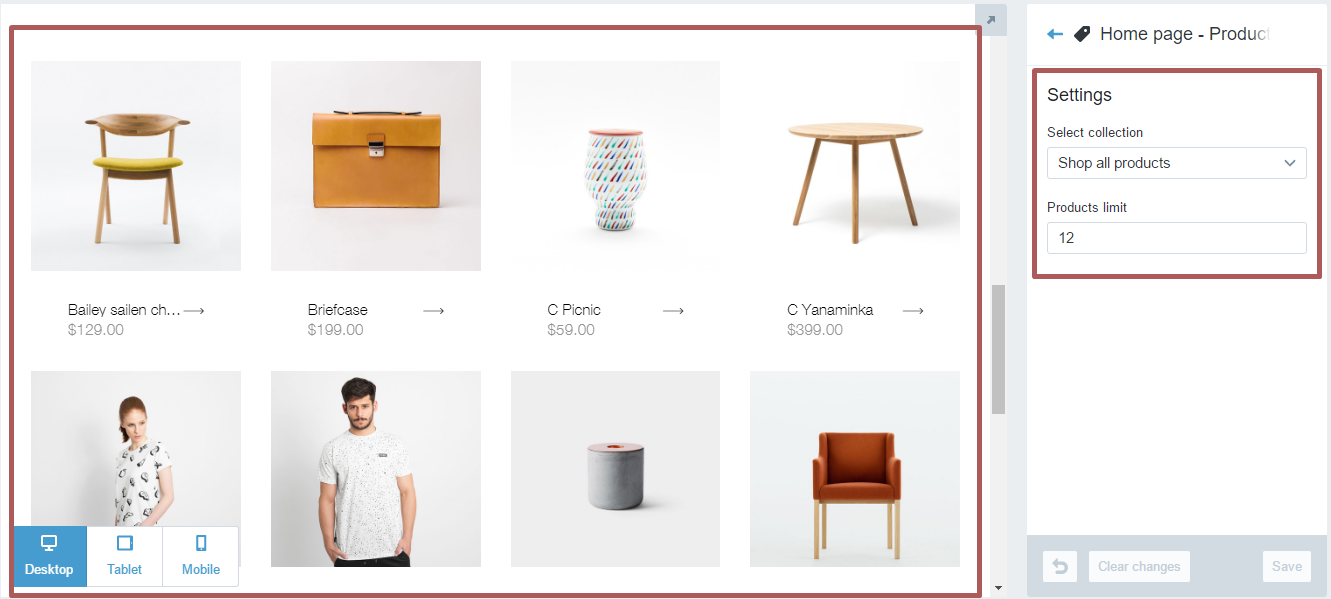
Products section style 3
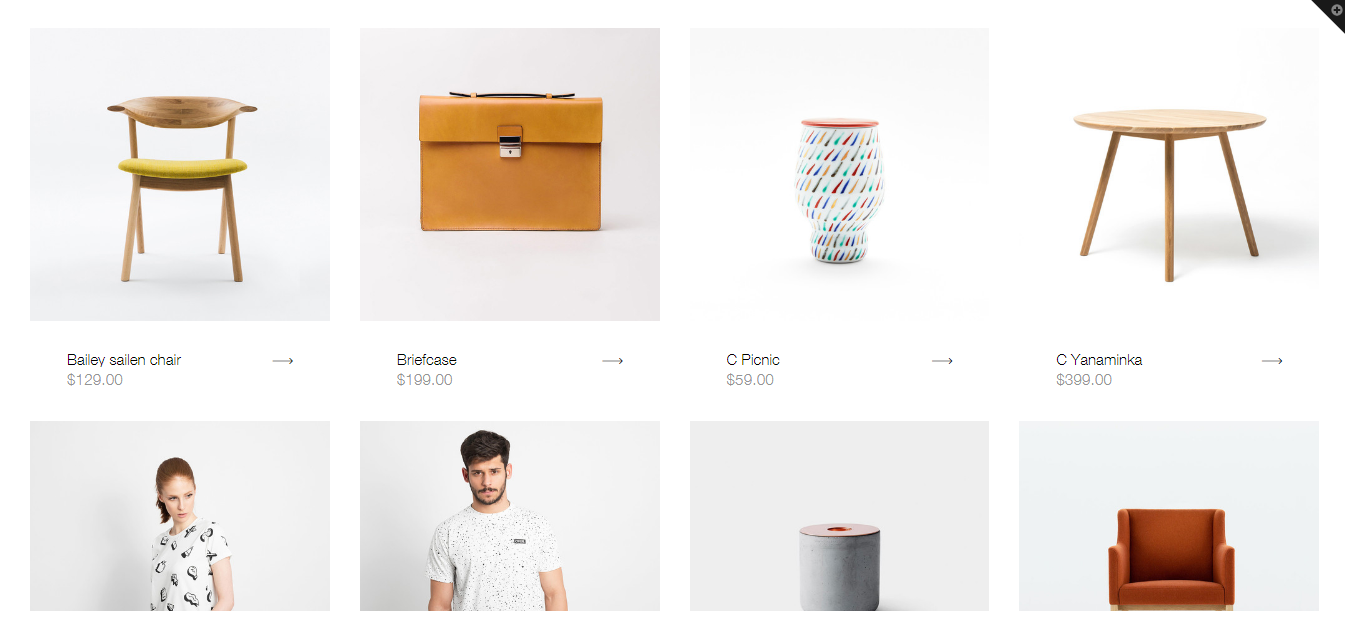
Access tab Homepage - Products section 3 in the Customize Theme:
Enter files, photos, and other information fields.
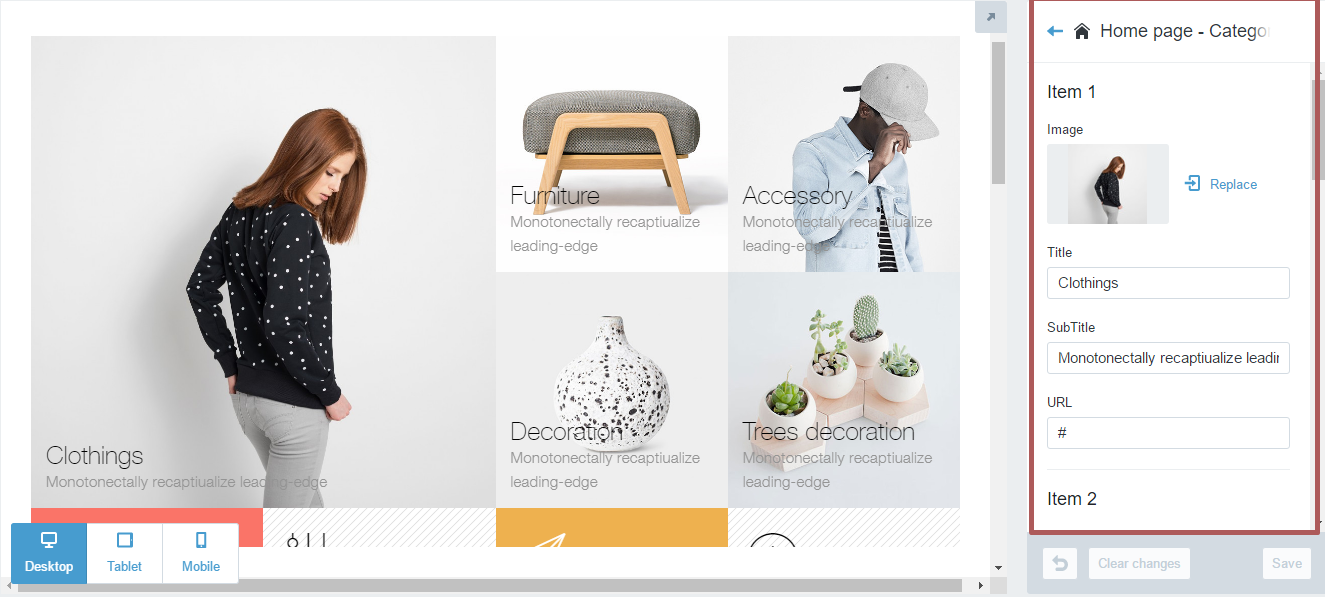
Category style 1
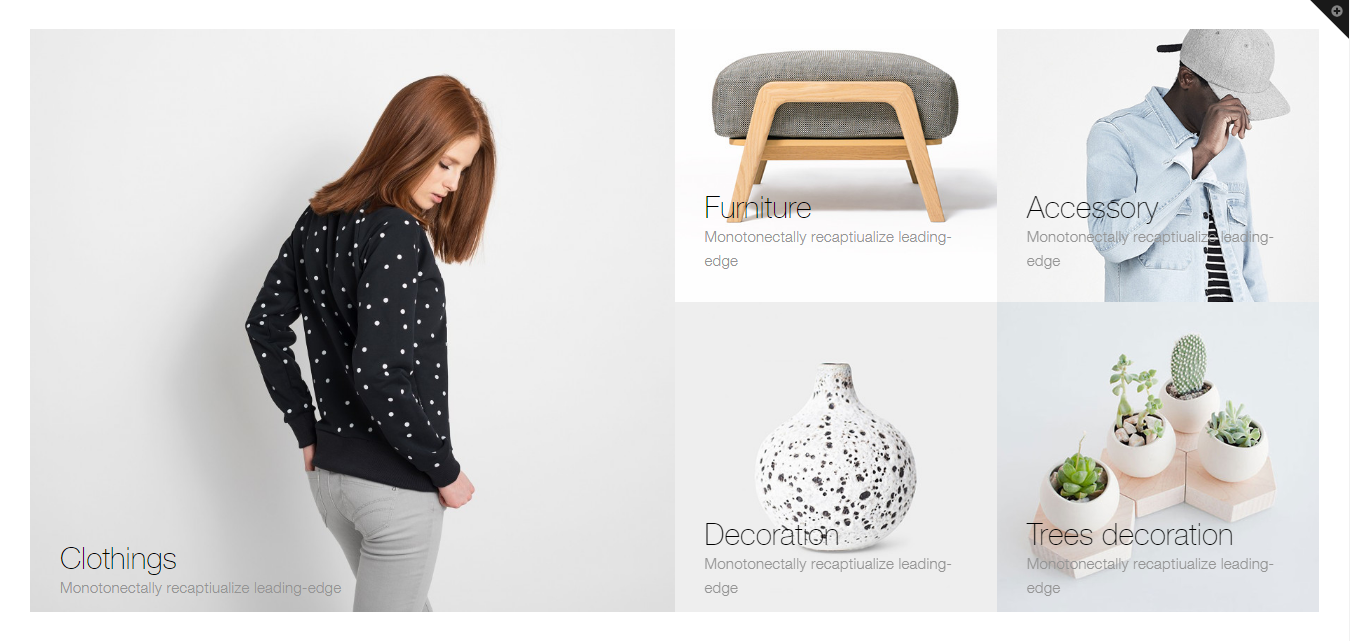
Access tab Homepage - Category style 1 in the Customize Theme:
Enter files, photos, and other information fields:
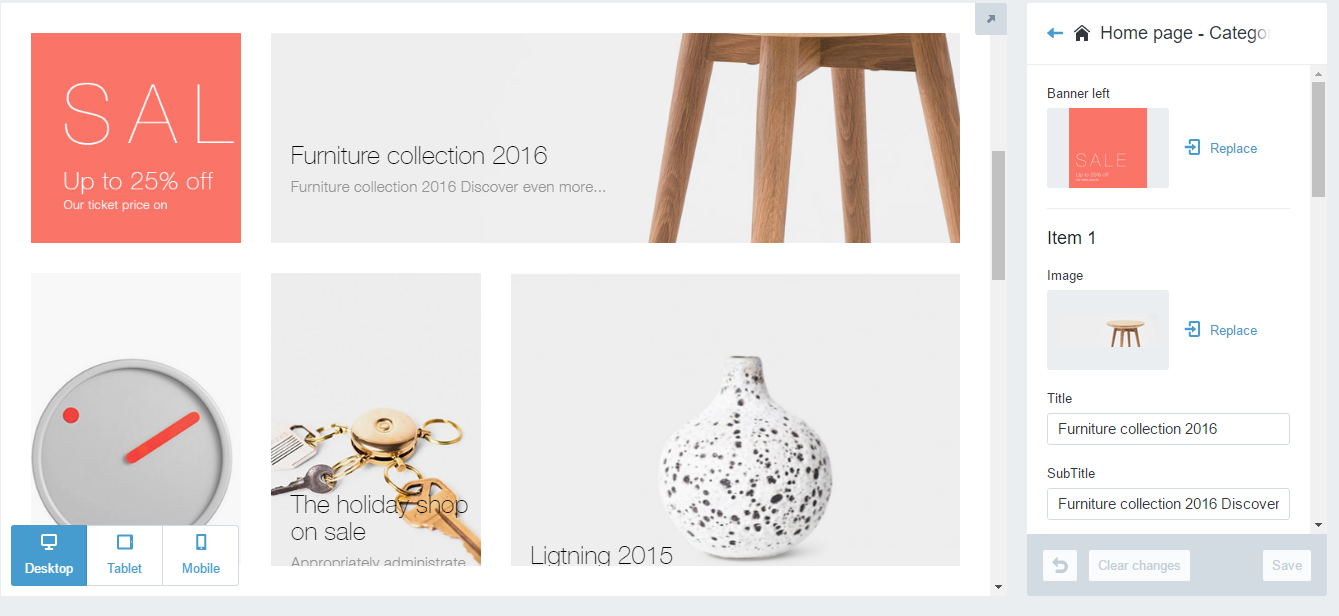
Category style 2
Start Here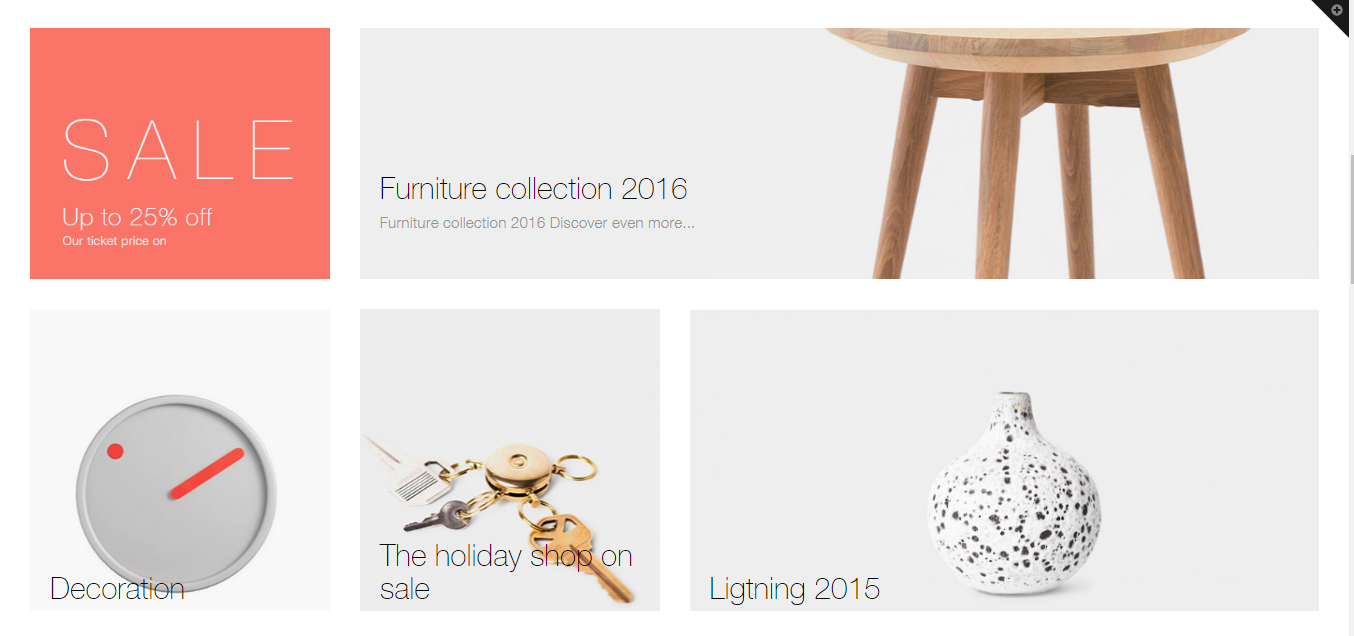
Access tab Homepage - Category style 1 in the Customize Theme:
Enter files, photos, and other information fields:
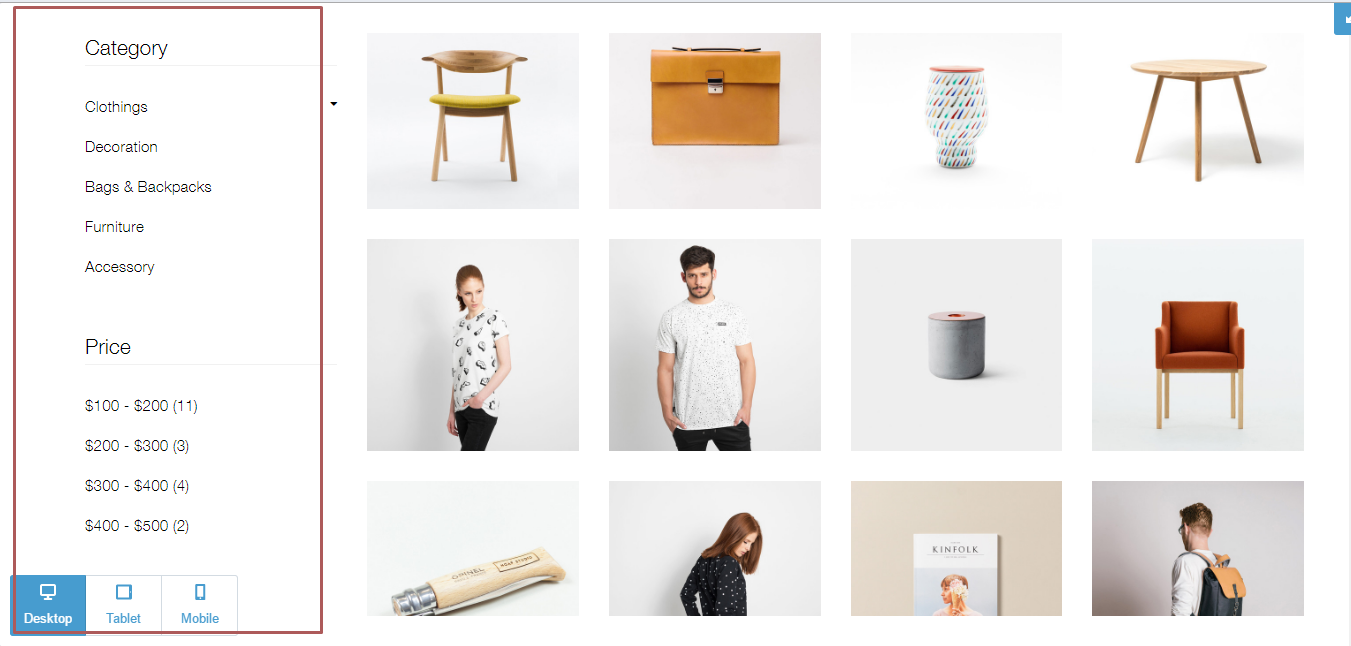
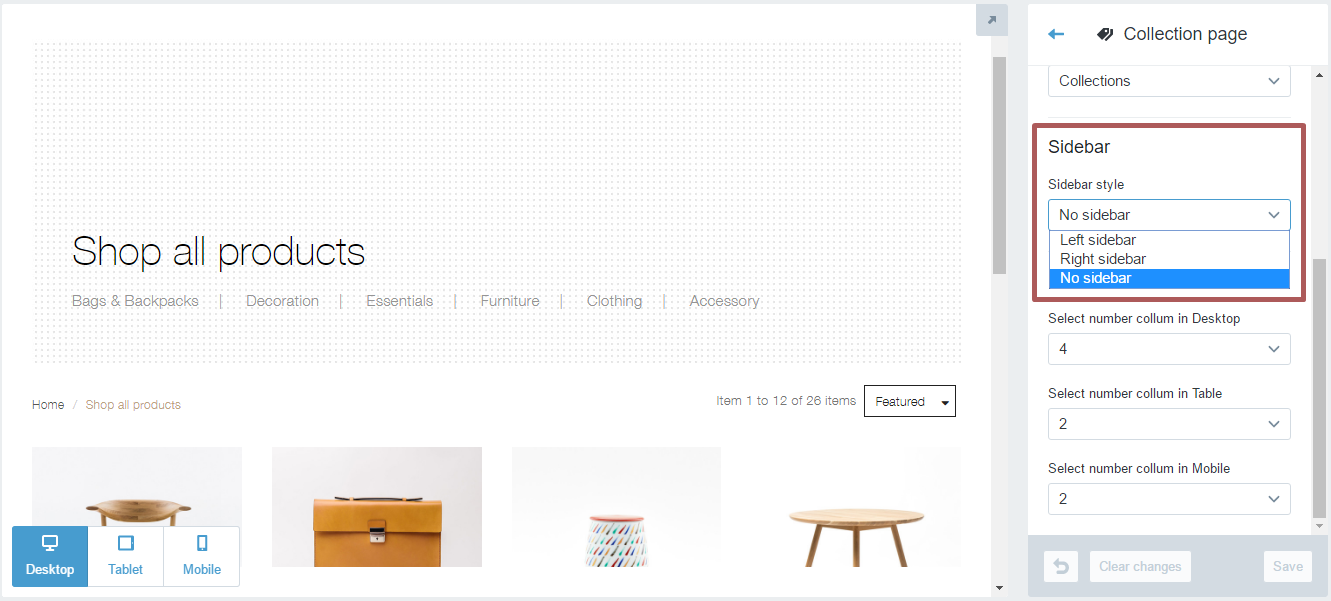
Collection settings
Access tab Collection in the Customize Theme:
Setting number of products displayed on the site collection.
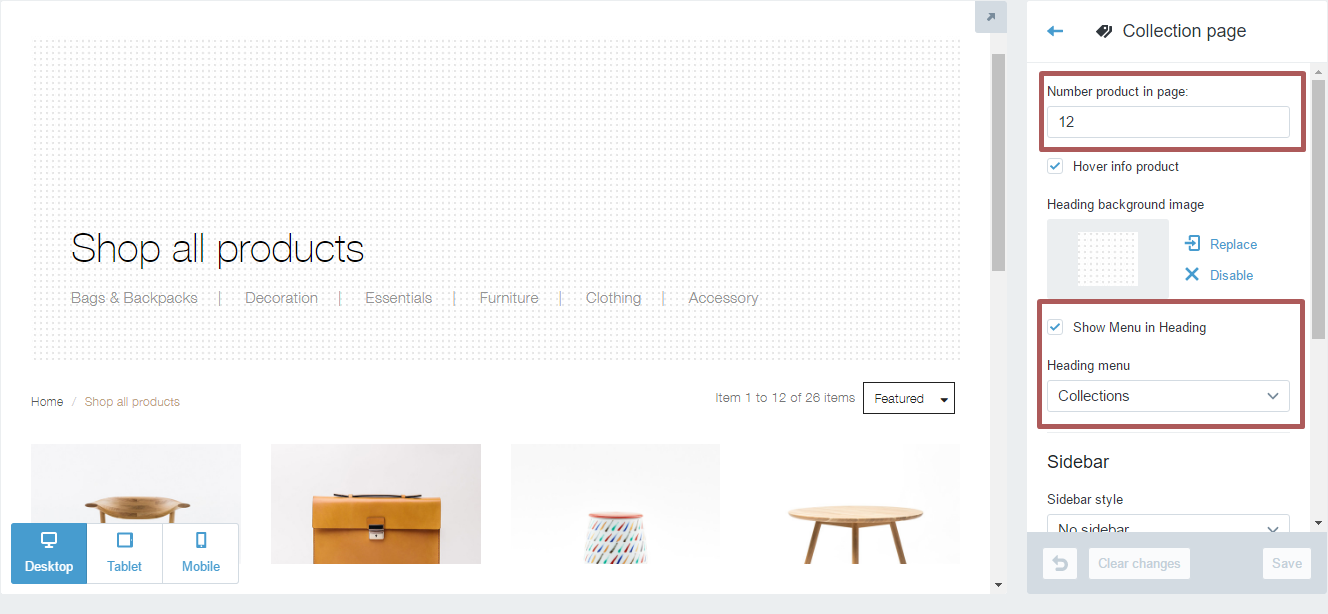
You can choose 3 style sidebar:
Product detail settings
Access tab Product detail in the Customize Theme:
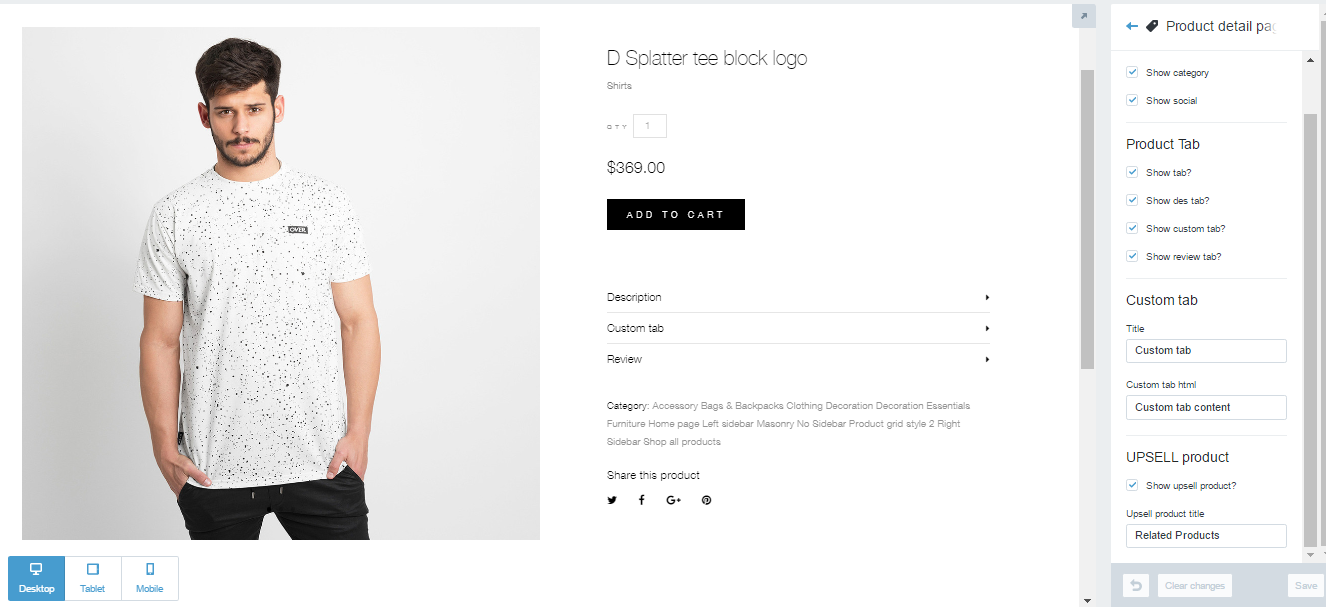
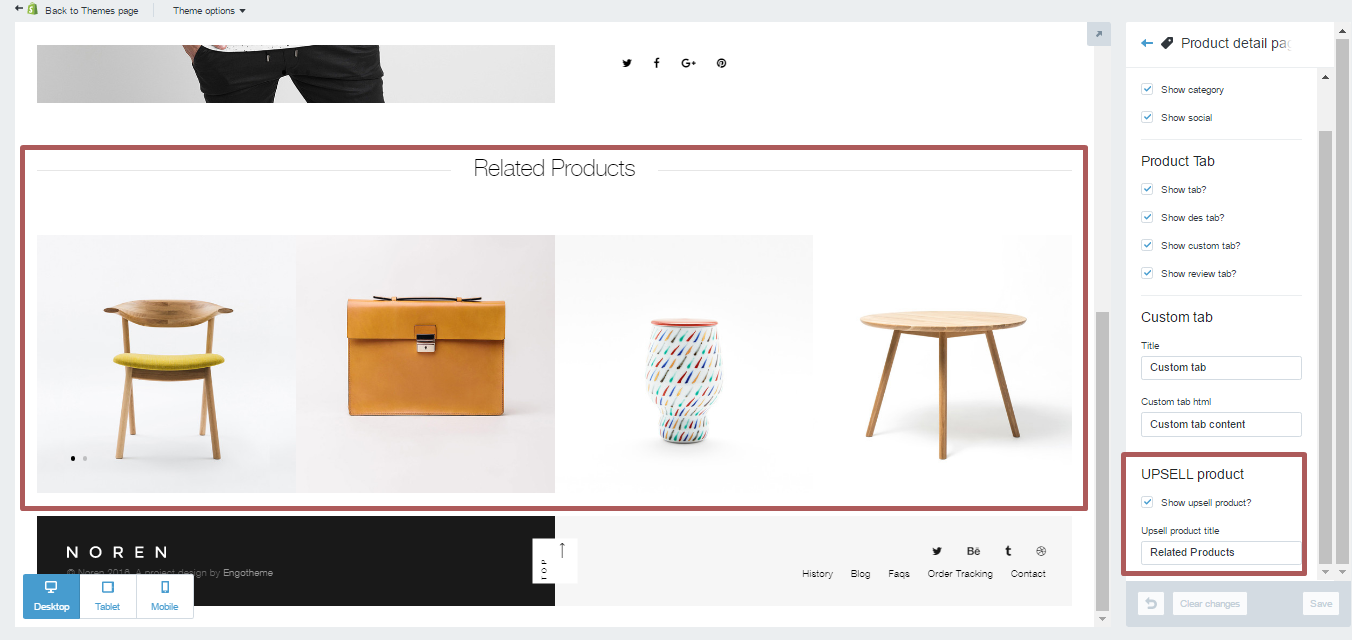
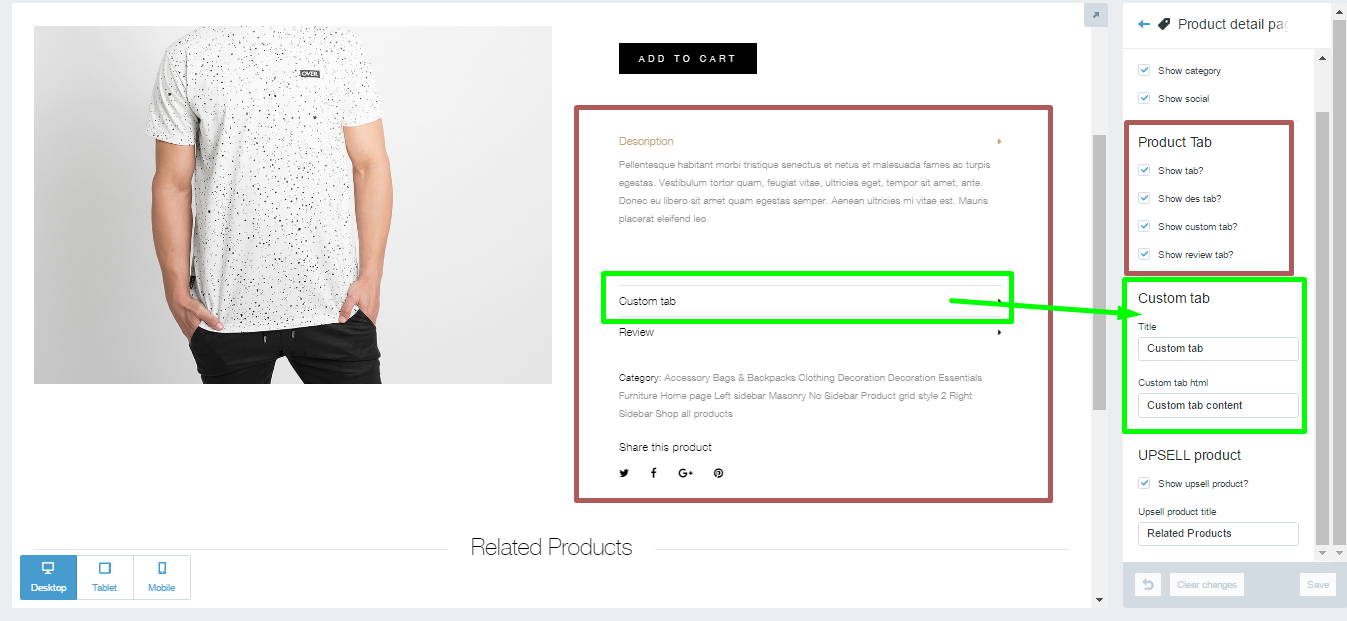
Enter files, photos, and other information fields.
Blog settings
Access tab Blogin the Customize Theme:
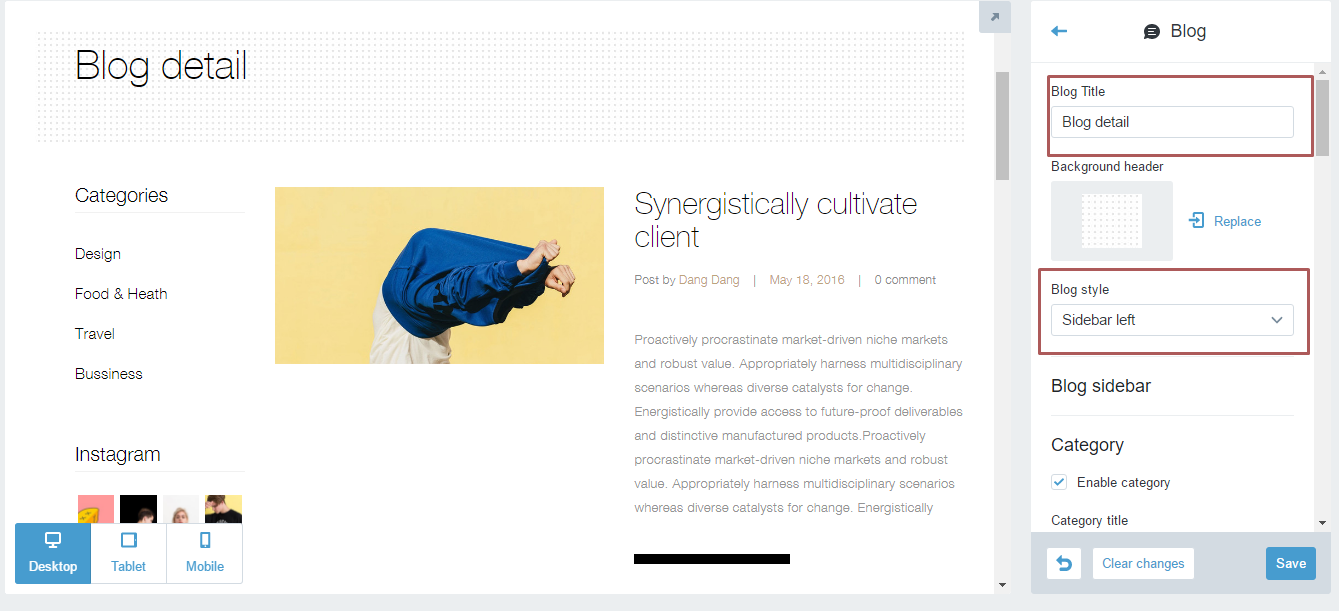
Please enter a title, and upload a background image for the header.
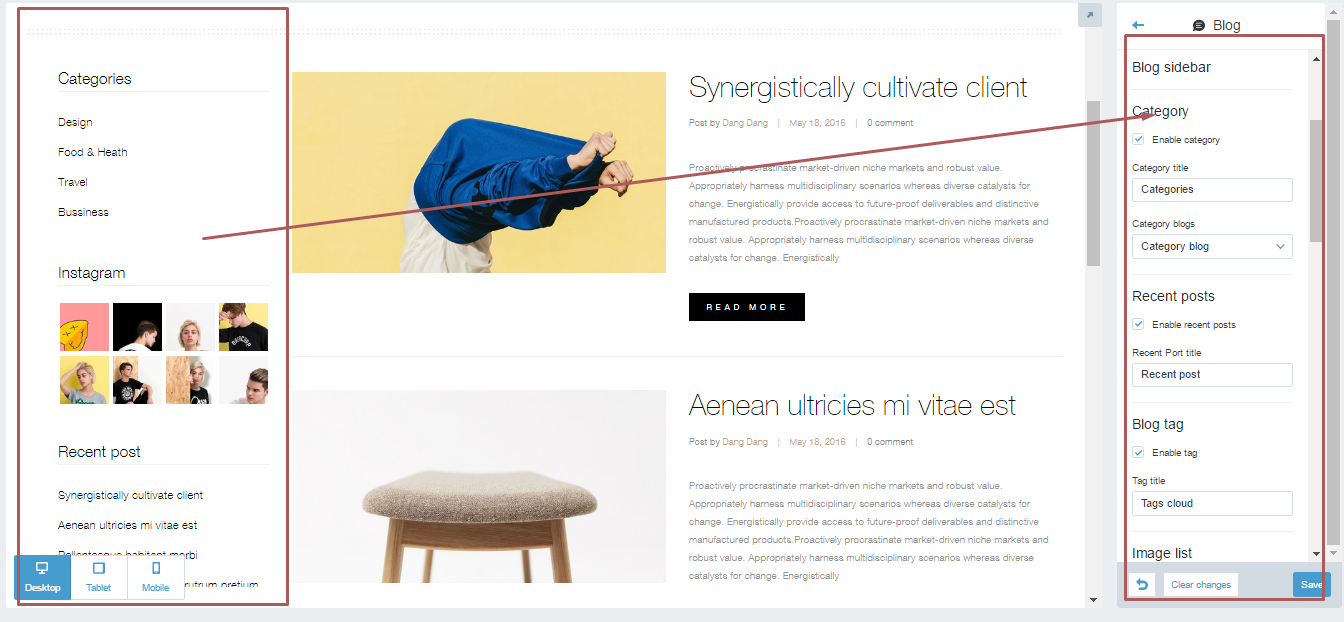
You can CUSTOM Sidebar in BLOG:
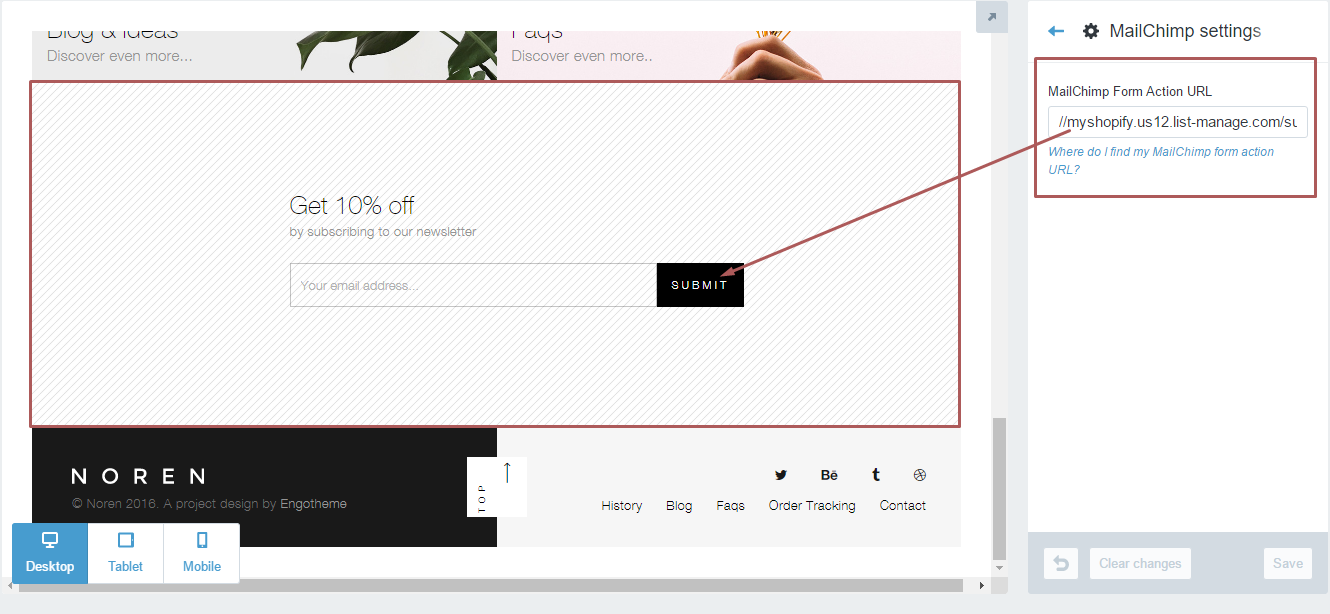
Mailchimp settings
Access tab Mailchimp in the Customize Theme:
Enter files, photos, and other information fields.
Theme support
If you have any questions, please do not hesitate to contact us at [email protected] or support.engotheme.com. We are happy to help!
Social share product settings
Social share only work in Product pages:
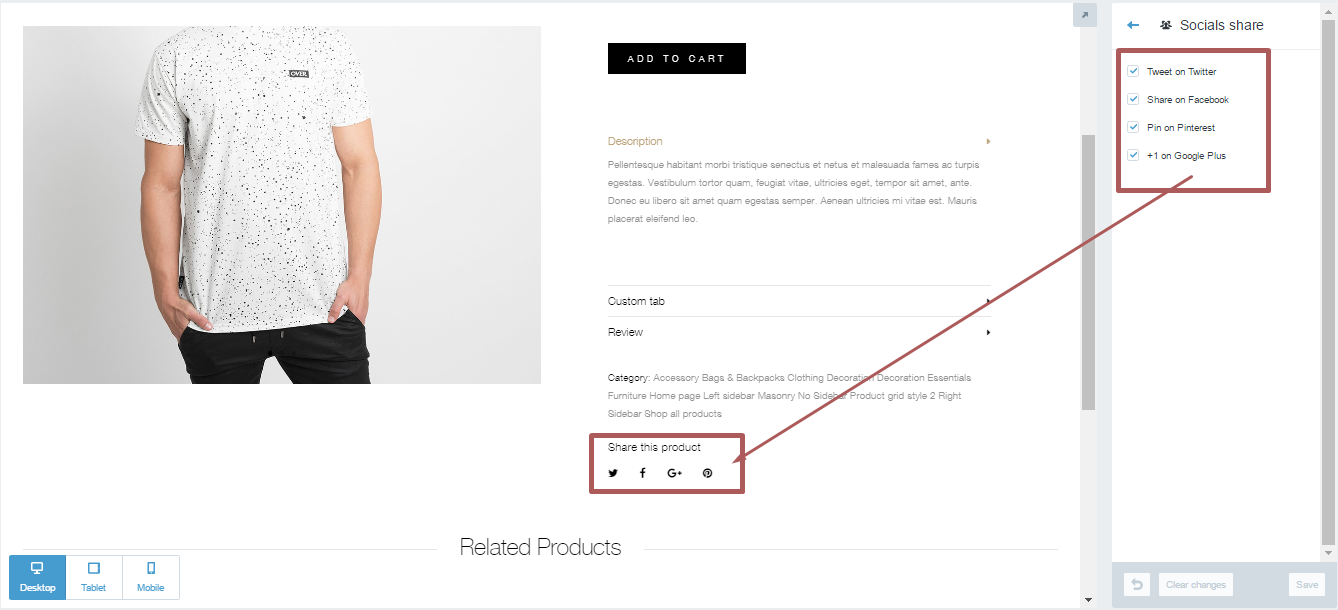
Width more SOCIAL #:
Social in footer:
Social in header style 2:
Currently we are using font icons:
https://fortawesome.github.io/Font-Awesome/cheatsheet
Code:
Footer:
For each line on an icon.
To link , simply replace your url in the ”#”.
Ex:
<li><a href=”https://www.facebook.com/engocreative/” title=””><i class=”icon icon-facebook”></i></a></li>
Also you can add other icons in the font icon:
Instagram:
<li><a href=”#” title=””><i class=”fa fa-instagram”></i></a></li>
Youtube:
<li><a href=”#” title=””><i class=”fa fa-youtube”></i></a></li>
Google Plus:
<li><a href=”#” title=””><i class=”fa fa-google-plus”></i></a></li>
.........