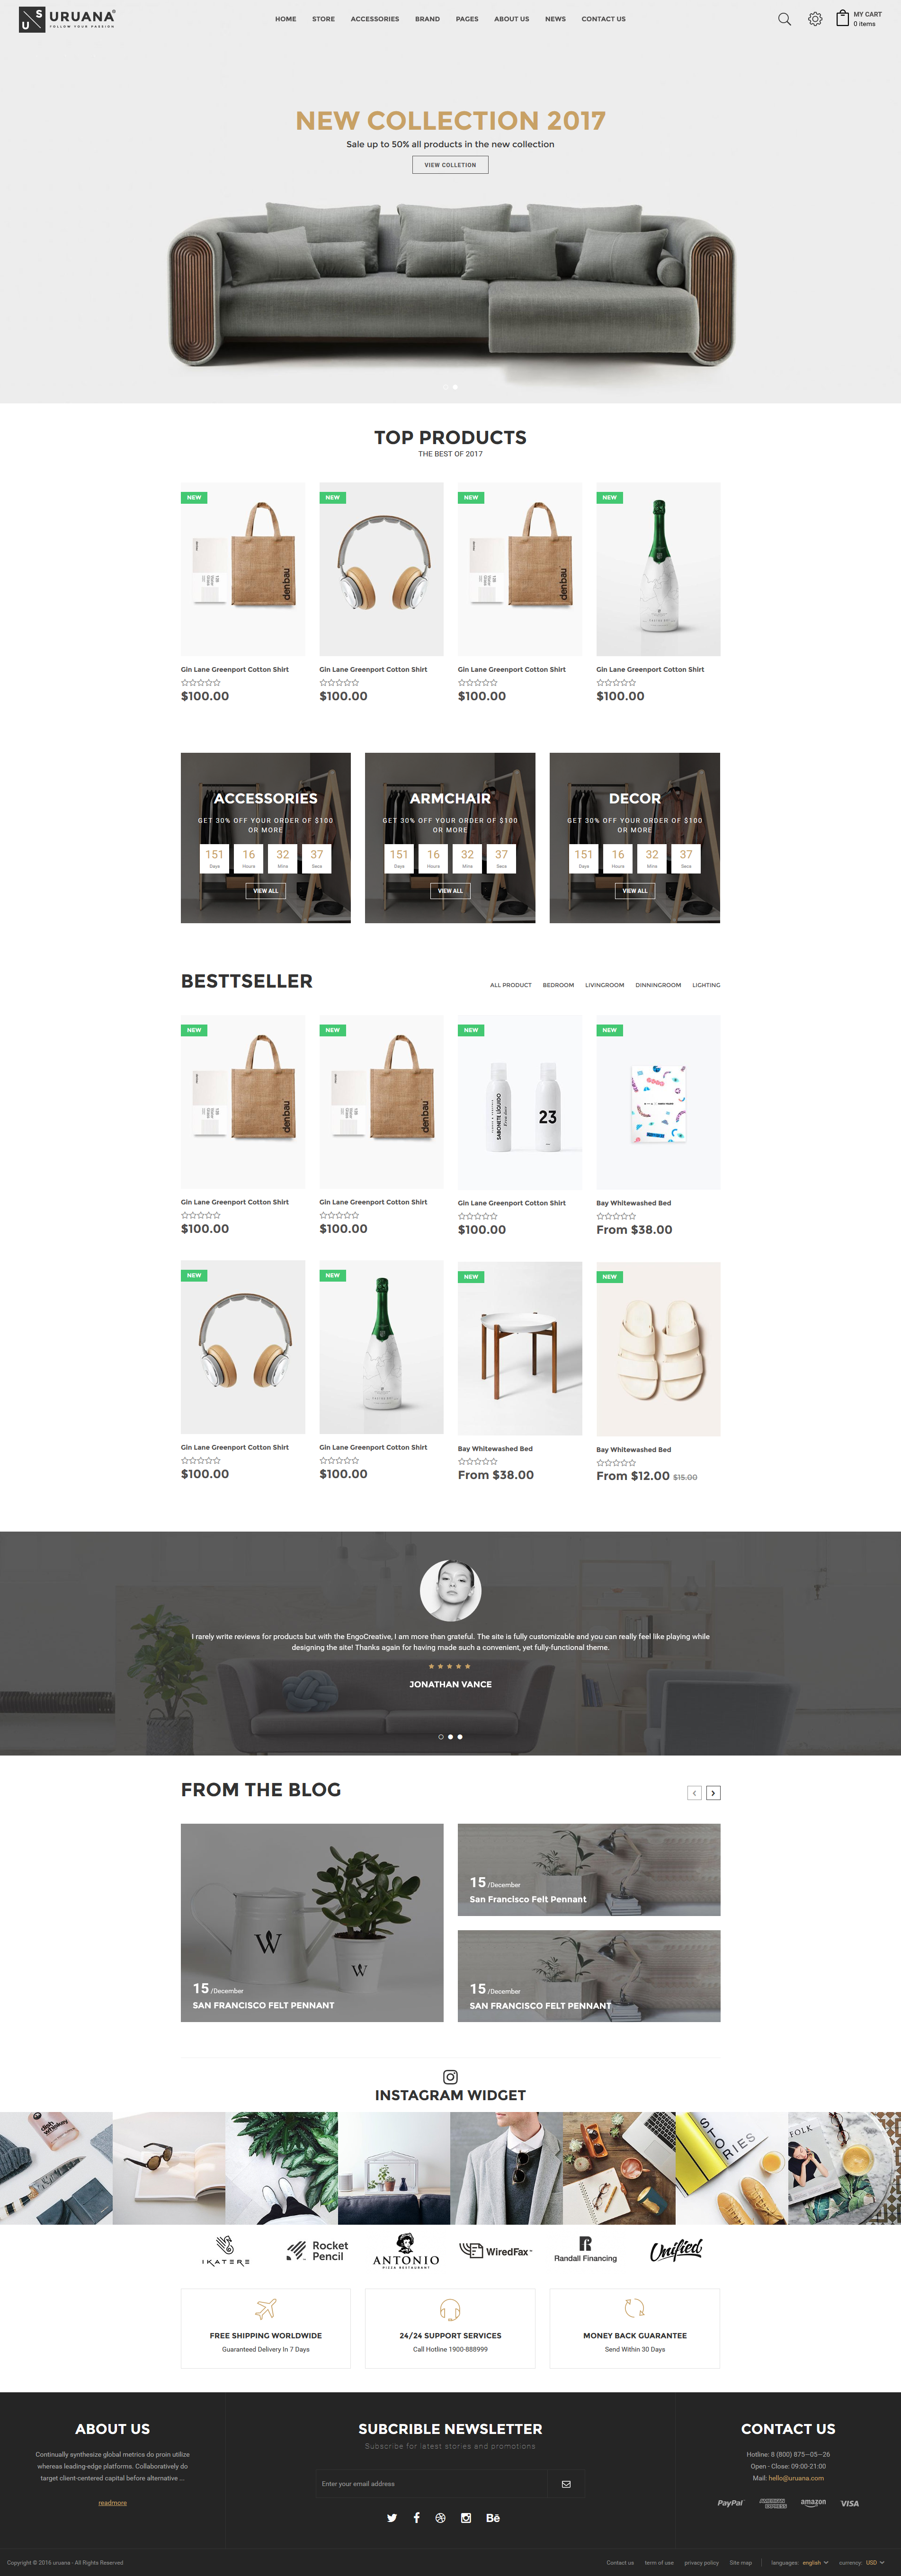
Uruana - Responsive Shopify Theme
Made with love by EngoTheme
THANK YOU FOR PURCHASING OUR THEME!
Here are some basics on installing, configuring and customizing the EngoTheme,
BEFORE WE GO
The theme and the sample data is provided "as is". Customizing code and other design related issues can be done as freelance work on a $50-100$ hourly rate only with Paypal and/or Skrill, if EngoTheme's available.
If you are new to Shopify, please understand I cannot fix your site for free. EngoTheme would love to help everyone but there is no time. I suggest reading documentation available online regarding using Shopify, server requirements, etc.
If you like this theme please rate it.
Have a wonderful rest of your day!
EngoTheme Team
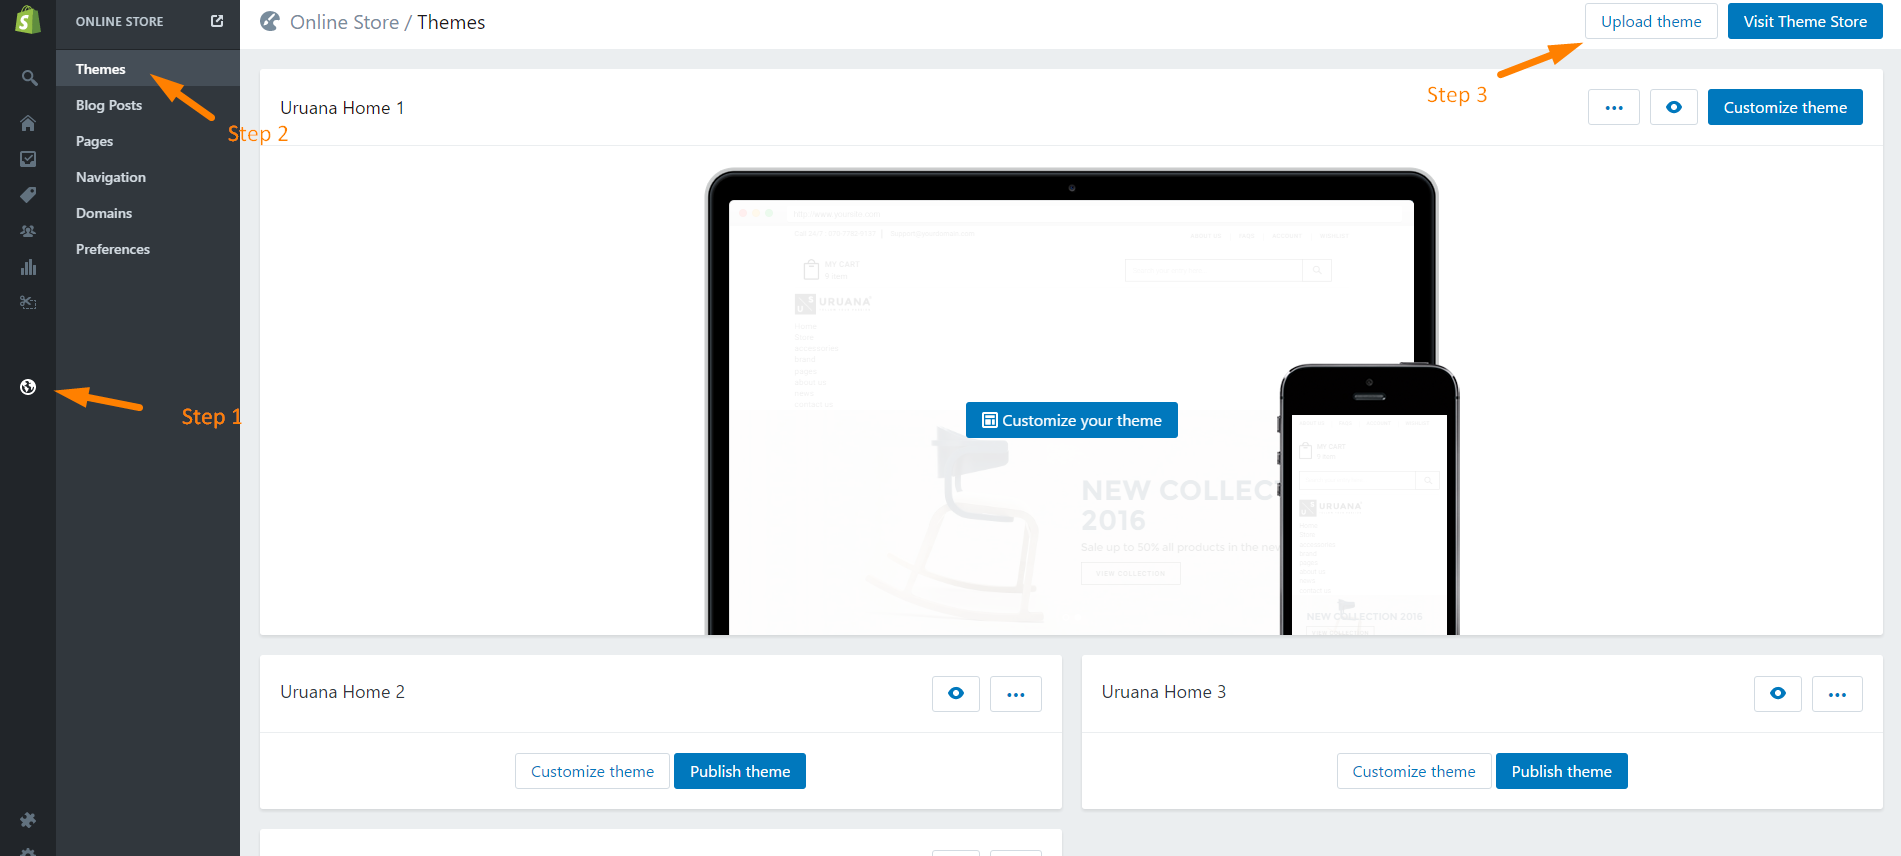
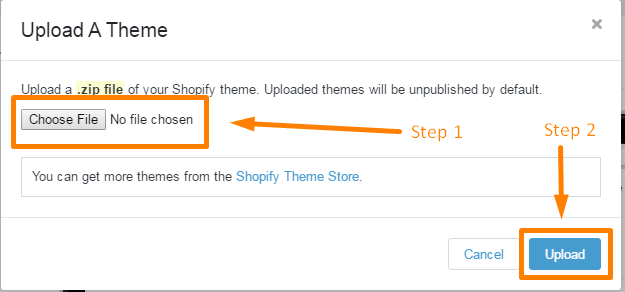
To install the theme, please log in to your Shopify store and go to the Online Store/Themes. From there, click on Upload a Theme and upload the .zip file from the ‘upload’ folder included with this package.
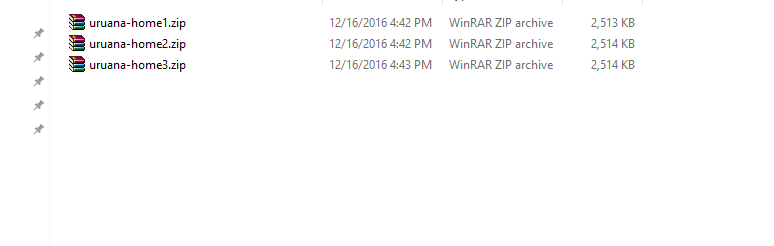
Please note that the theme file is one of the following files:
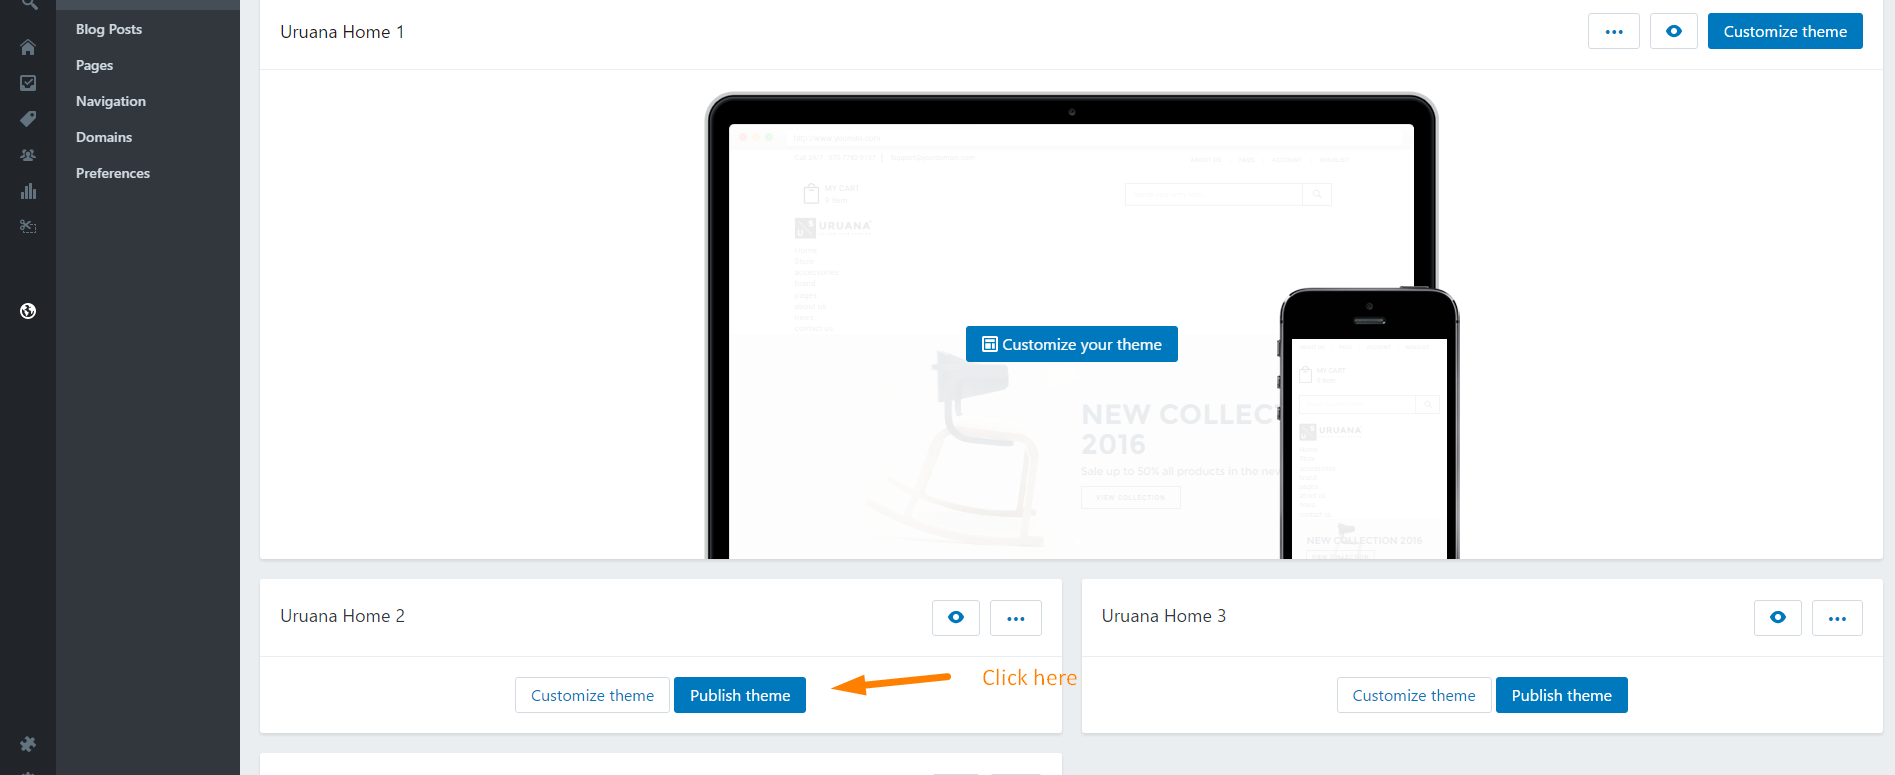
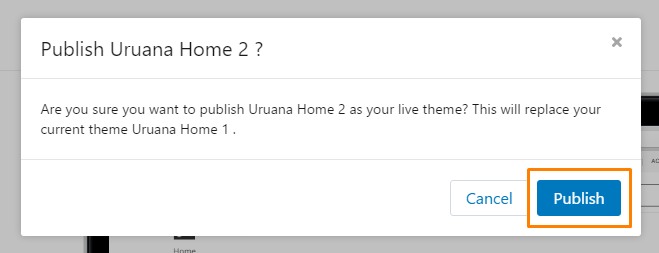
If your store is currently active and is using a different theme, you select button Publish theme what you have just upload.
Install Apps
To enable product review, please install below app:
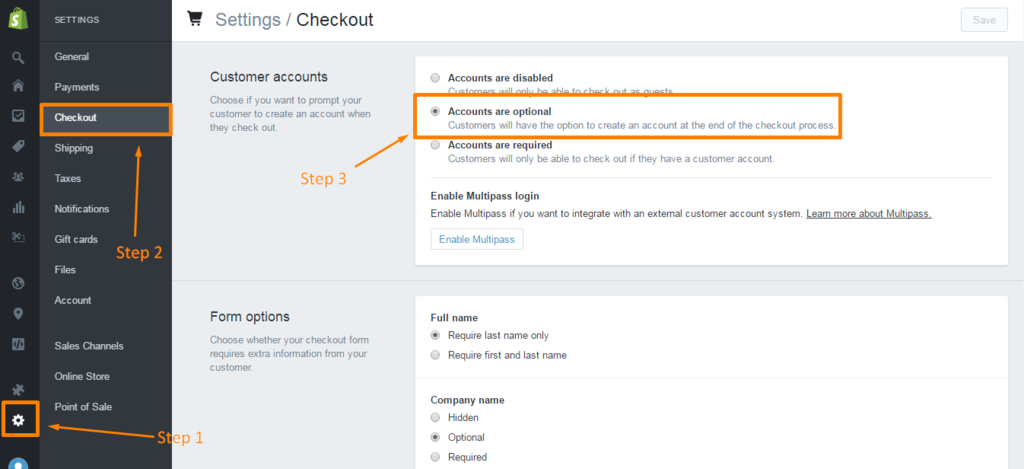
Enable Customer Registration Form
From your shop admin, go to the Settings > Checkout at the sidebar
On Customer accounts section. Check Accounts are optional and click Save.
Set up shipping rates
To enable shipping calculator, please configure your shipping rates by following below guide:
Set up shipping rates
SETUP
To customize the theme, go to your Themes Page in your stores Admin Panel. Next to the theme you wish to customize there are two links 'Theme Settings' and 'Theme Editor', click 'Theme Settings'.
Before we begin customizing your store, we would like to notice that this section will help you to have some collections and products added and a blog article written. So if you already had an active store and you are just updating your design, you don't need to read this part. Otherwise, here are some links to help you to setup your new store:
You will also need to create 5 pages, one for the textual content that can be placed on the ' Frontpage ' as a welcome message and another for the ' Contact Page ' which you can link to the 'page.contact' template and 'About us Page' you need to associate it with 'page.about-us' templete, 'Lookbook Page' you need to associate it with 'page.lookbook' templete, 'Page Wishlist' you need to associate it with 'page.wishlist' . Linking these pages to the correct template will be covered in their respective sections within this documentation. Here is the link which help you to create custom pages.
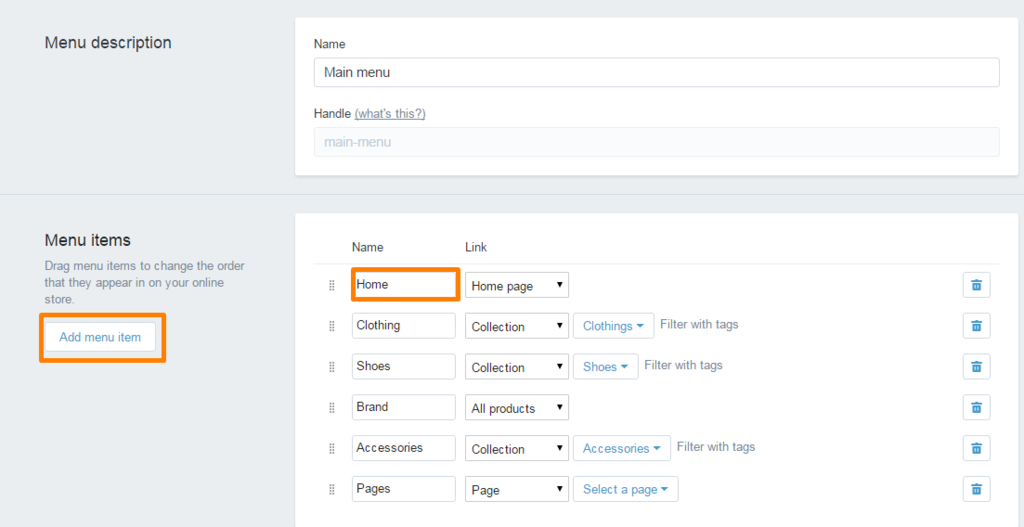
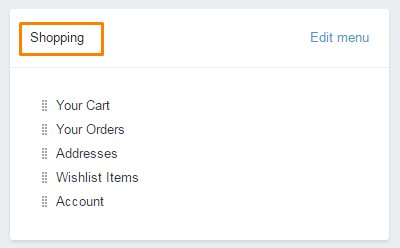
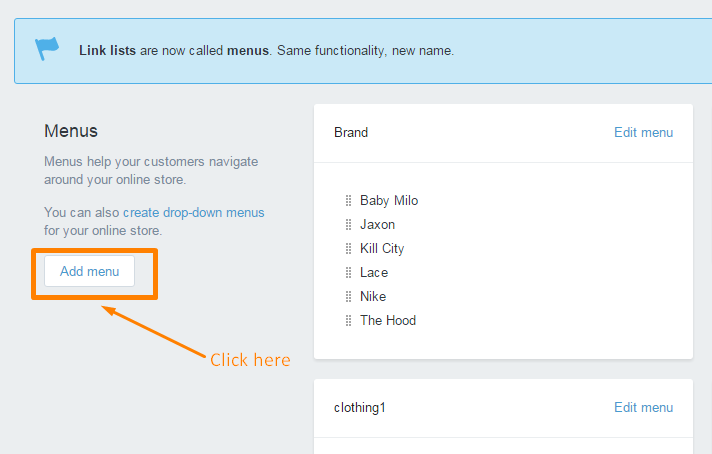
Create a link list of collections in menu
Click Add Another link to create a link in main menu
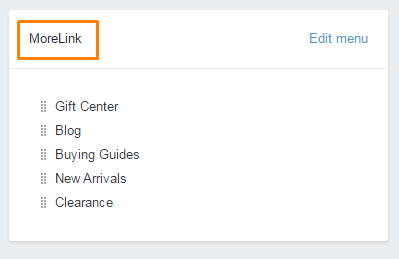
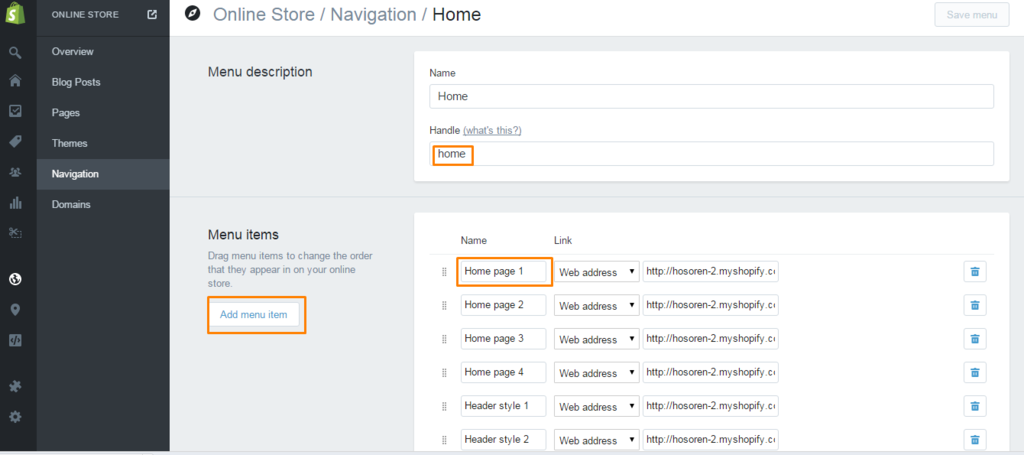
Create drop-down menus
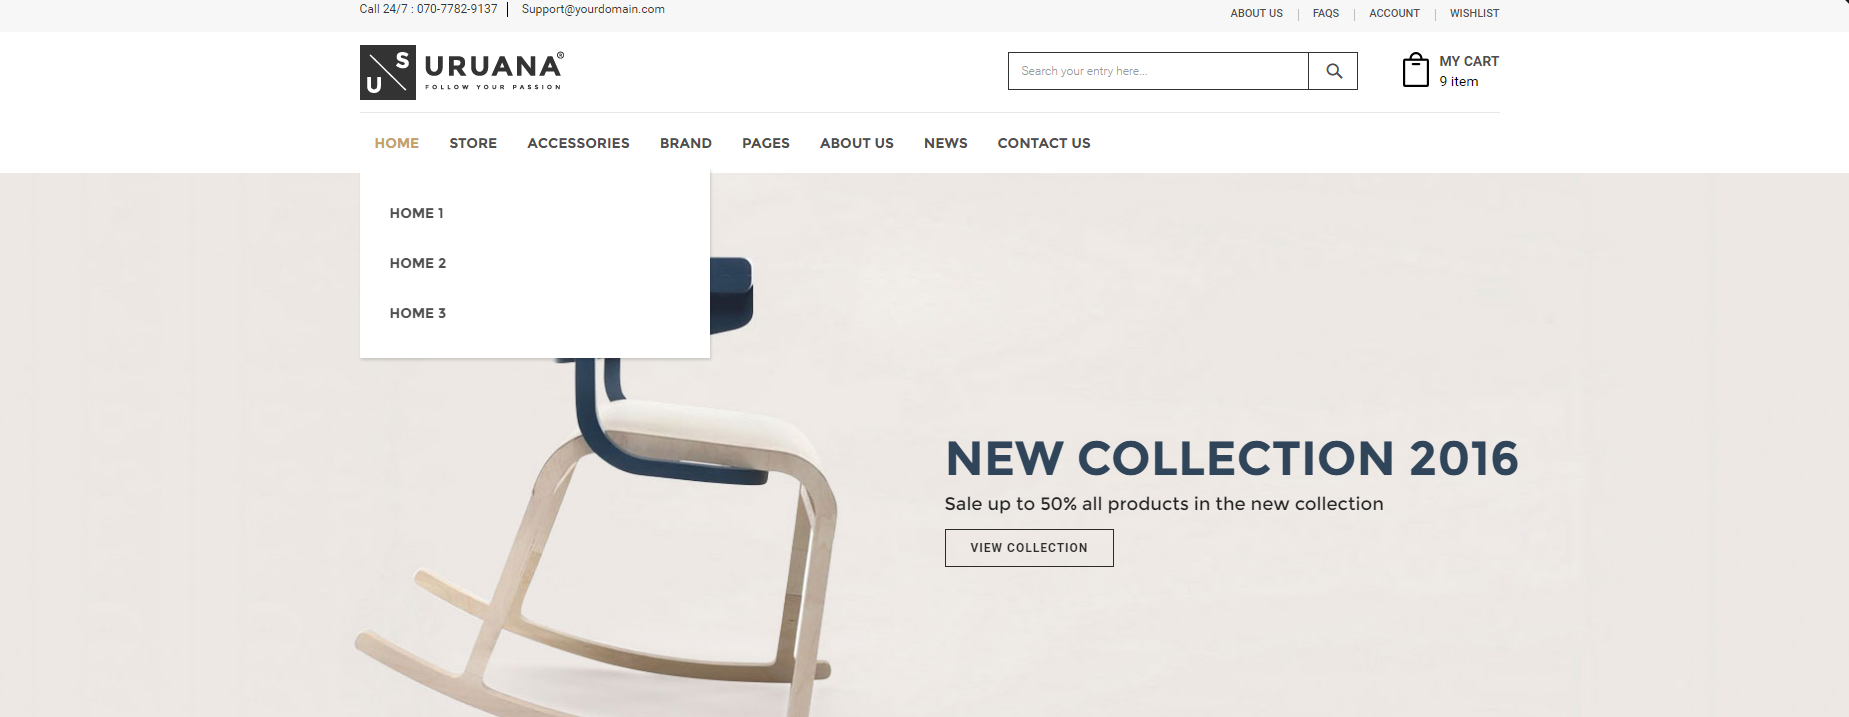
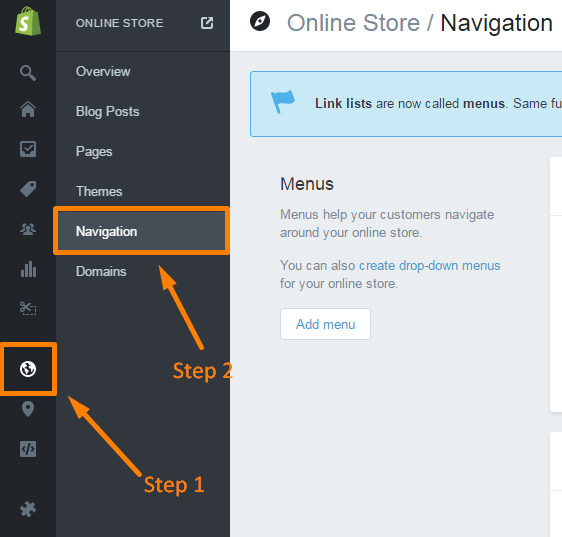
Example to create a drop-dow menu for "Home" item, please do following the steps:
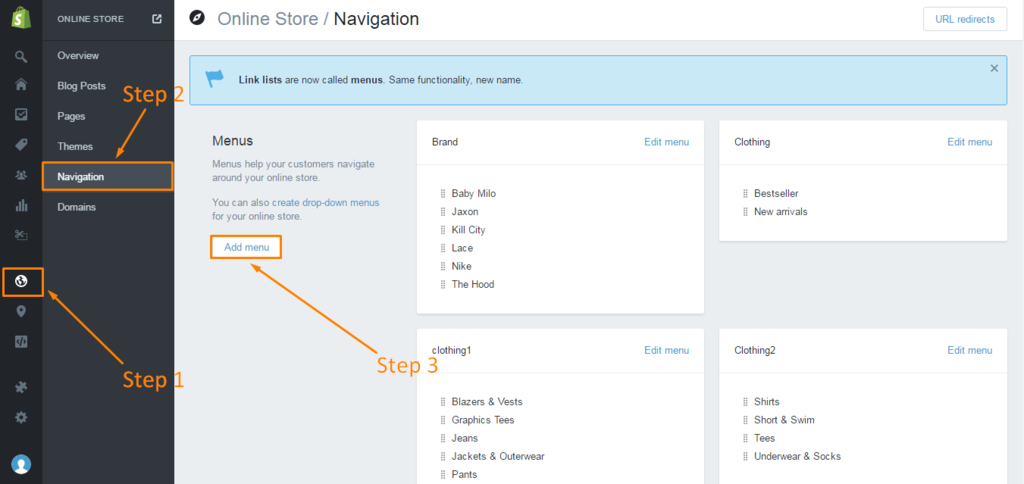
Login to your Shopify admin panel and go to Navigation:
Click Add a link list to create a link list.
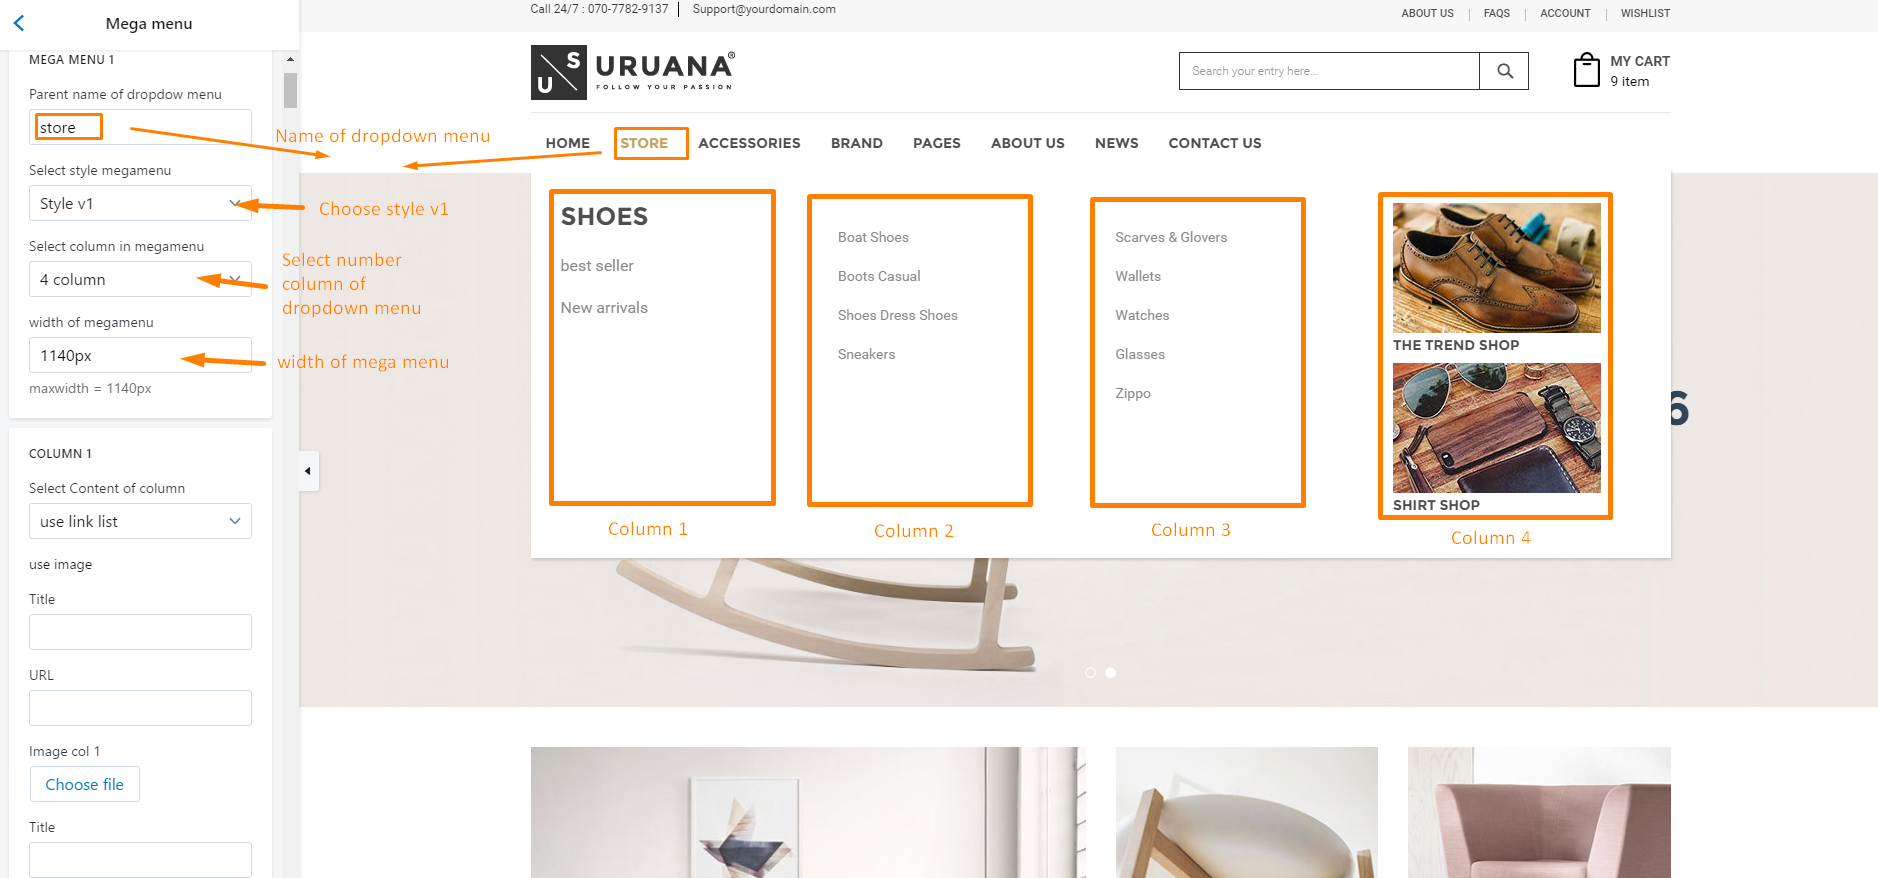
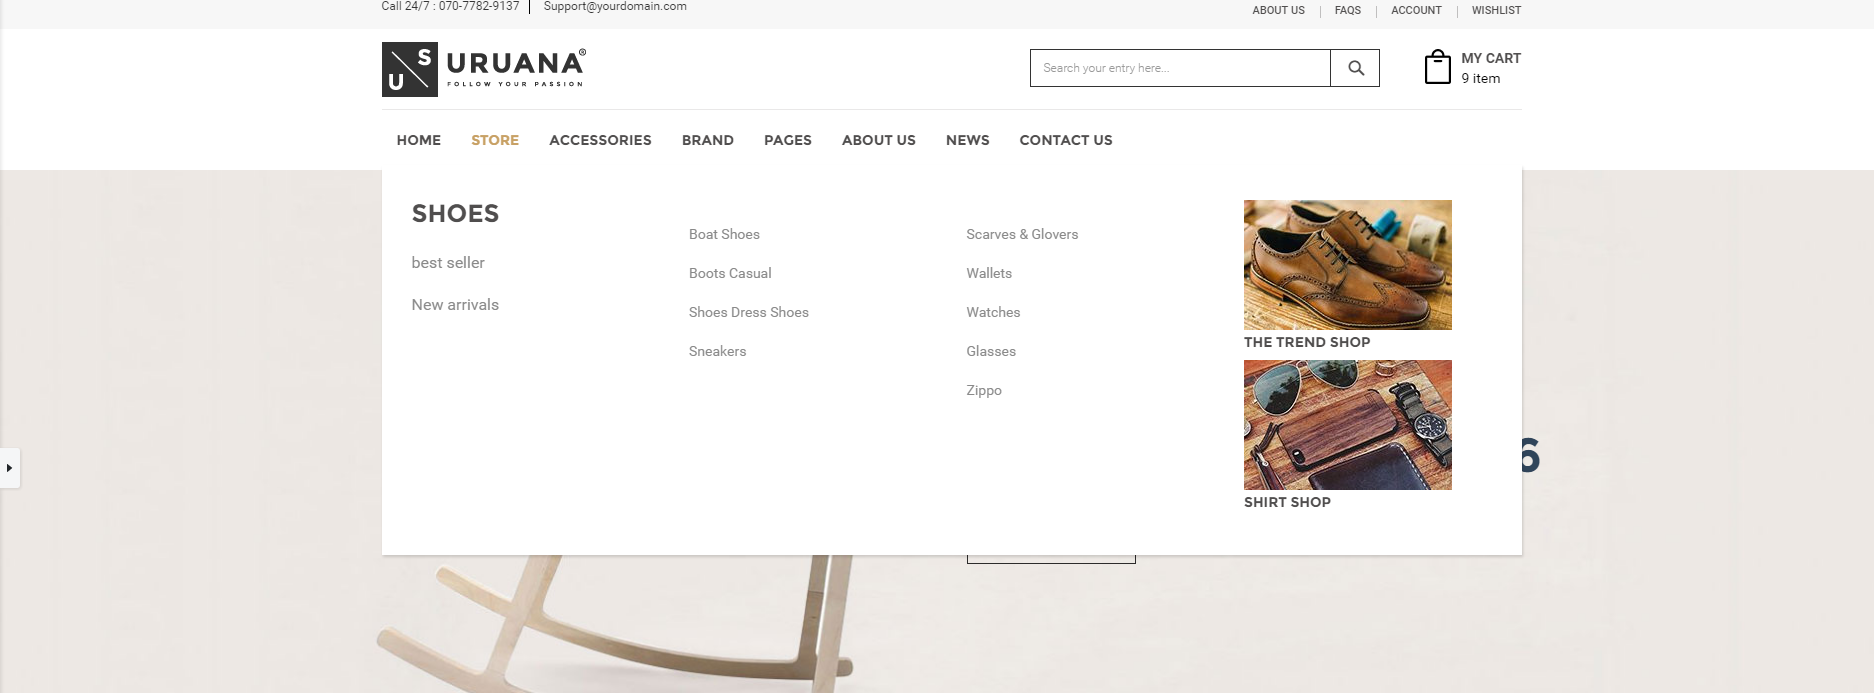
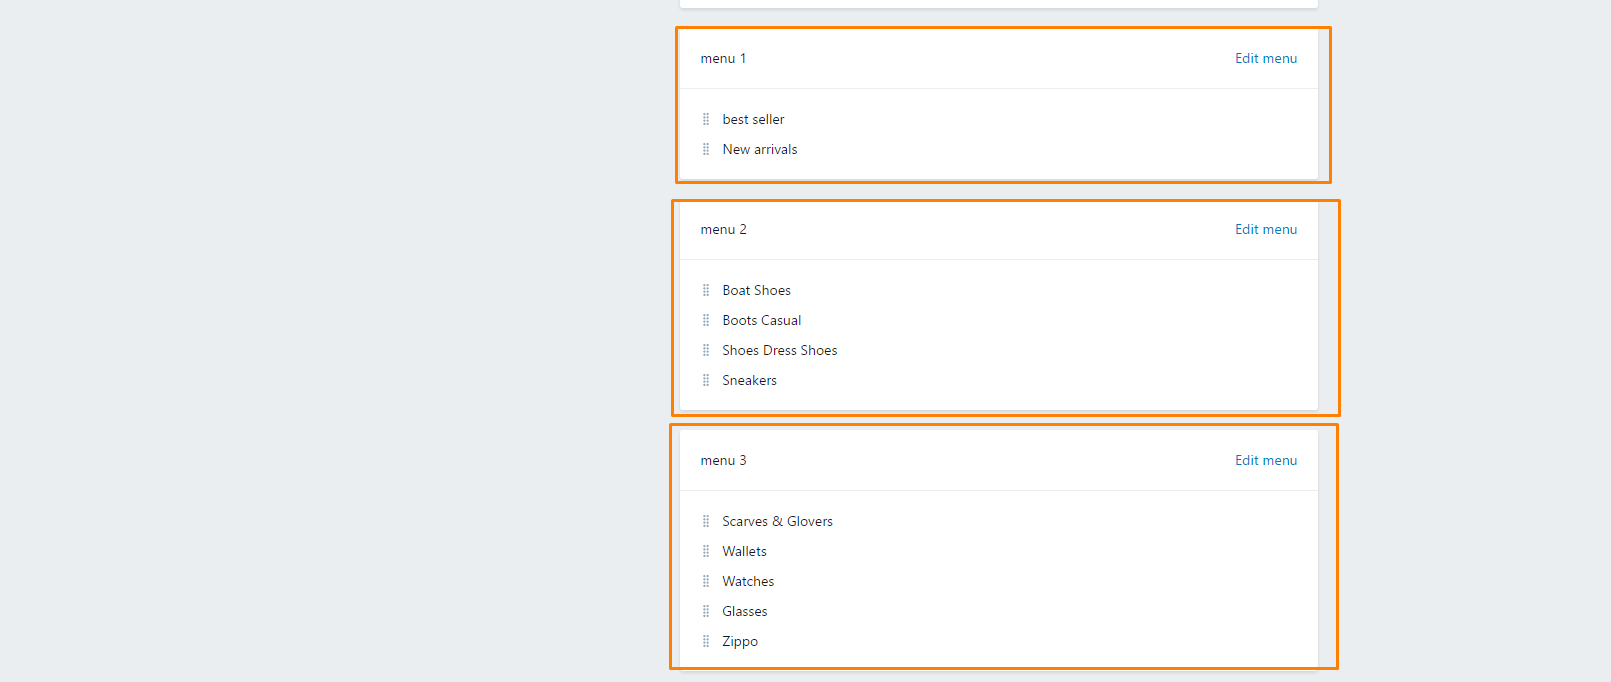
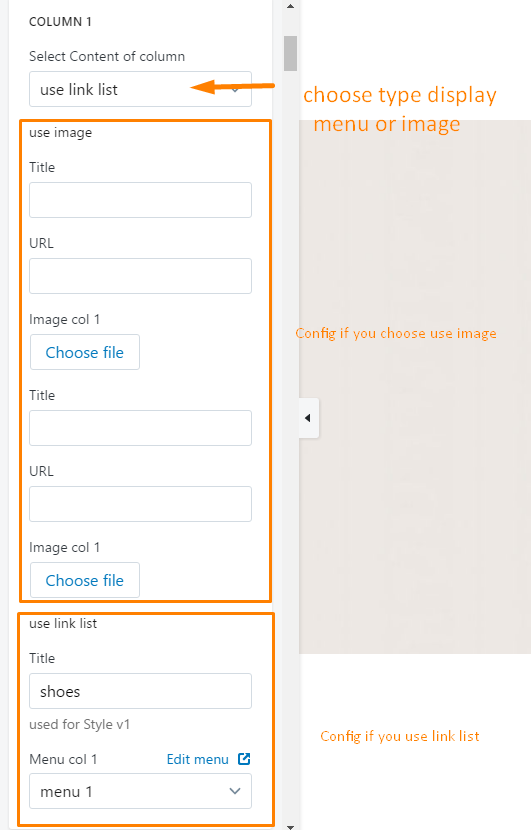
You need to create multi-level drop-down menus, after choose items you'd like to show as Mega Menu at anyMega Menu Item in Settings. (We created really 5items)
For example: You'd like to display Store as Mega Menu, you need config for 4 column in megamenu
To show Featured Product in Mega Menu, you need to choose the Collection to use in settings.
If you don't show megamenu, please empty "Parent name of dropdow menu".
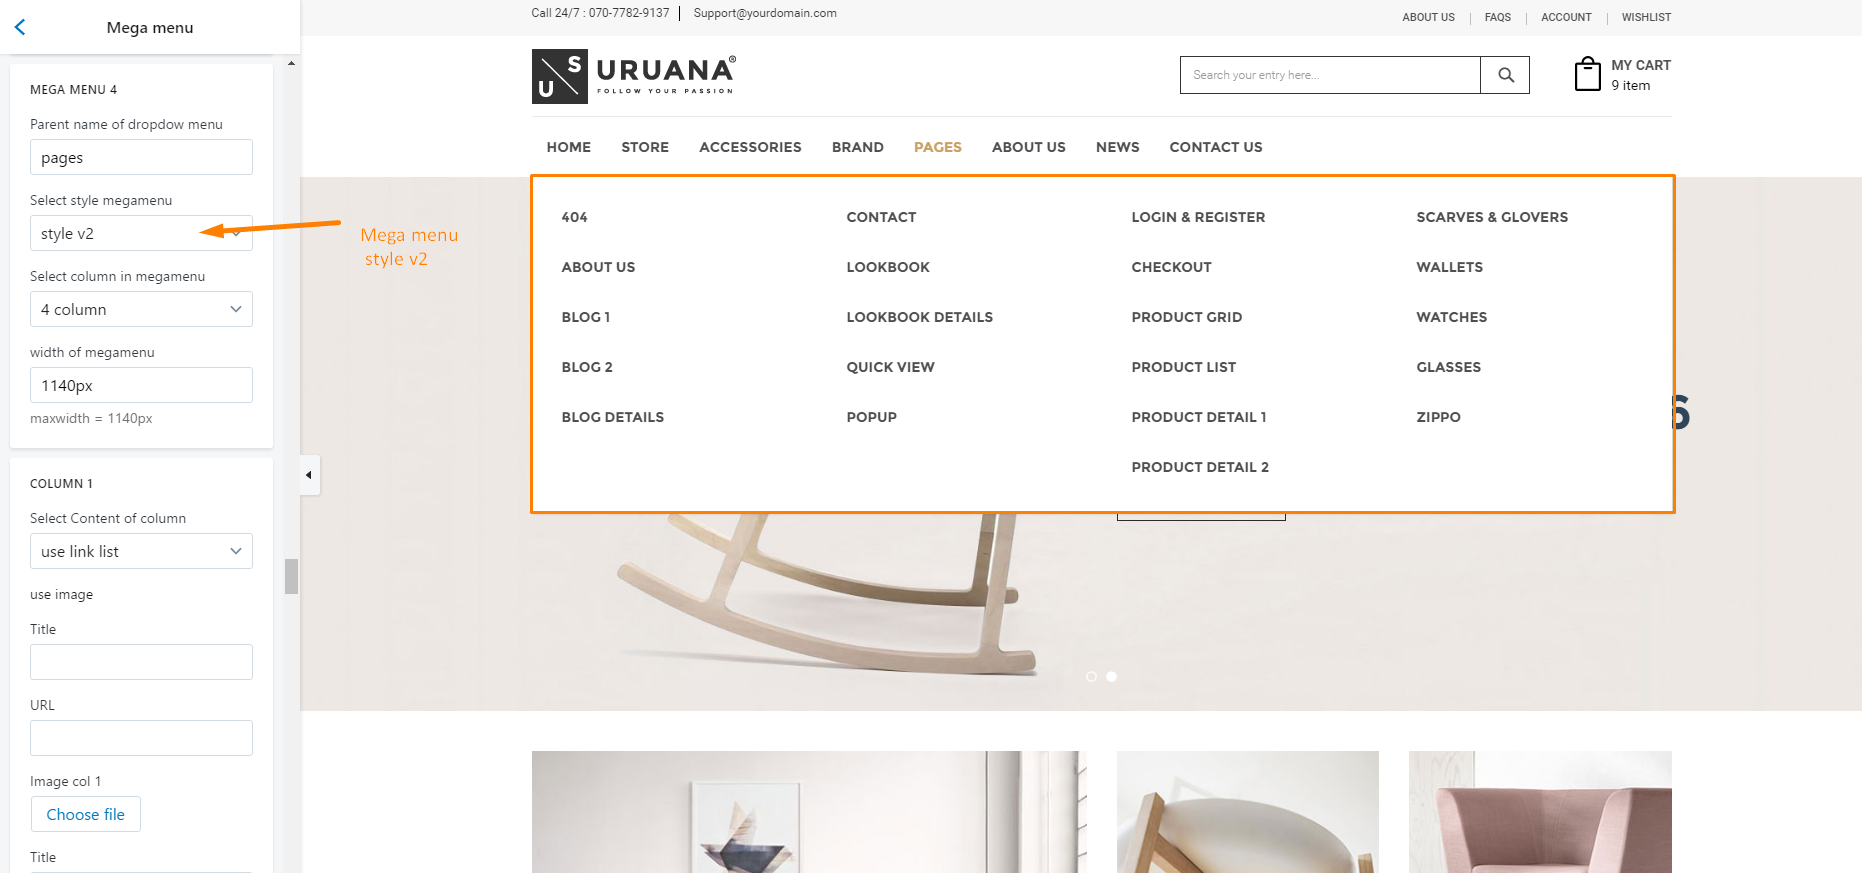
Megamenu style v2 the same firsts
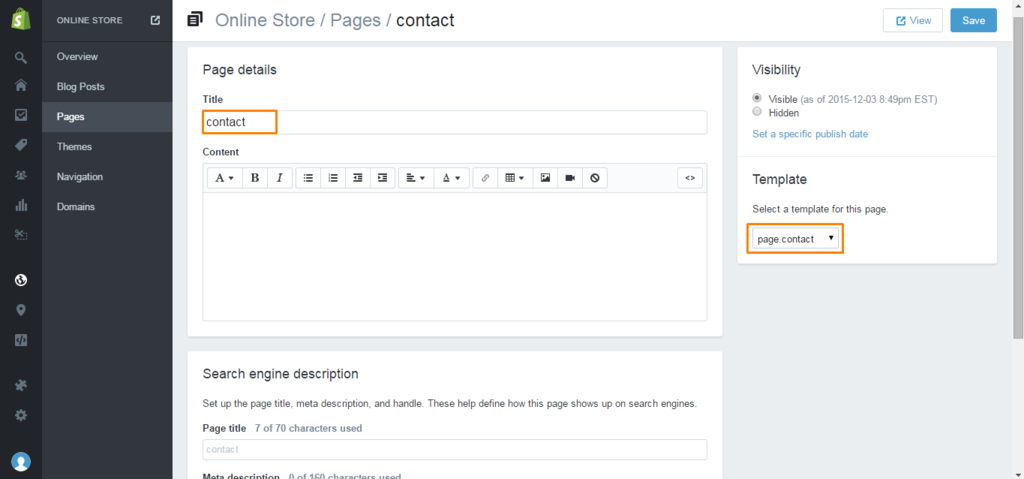
Create Contact Us Page
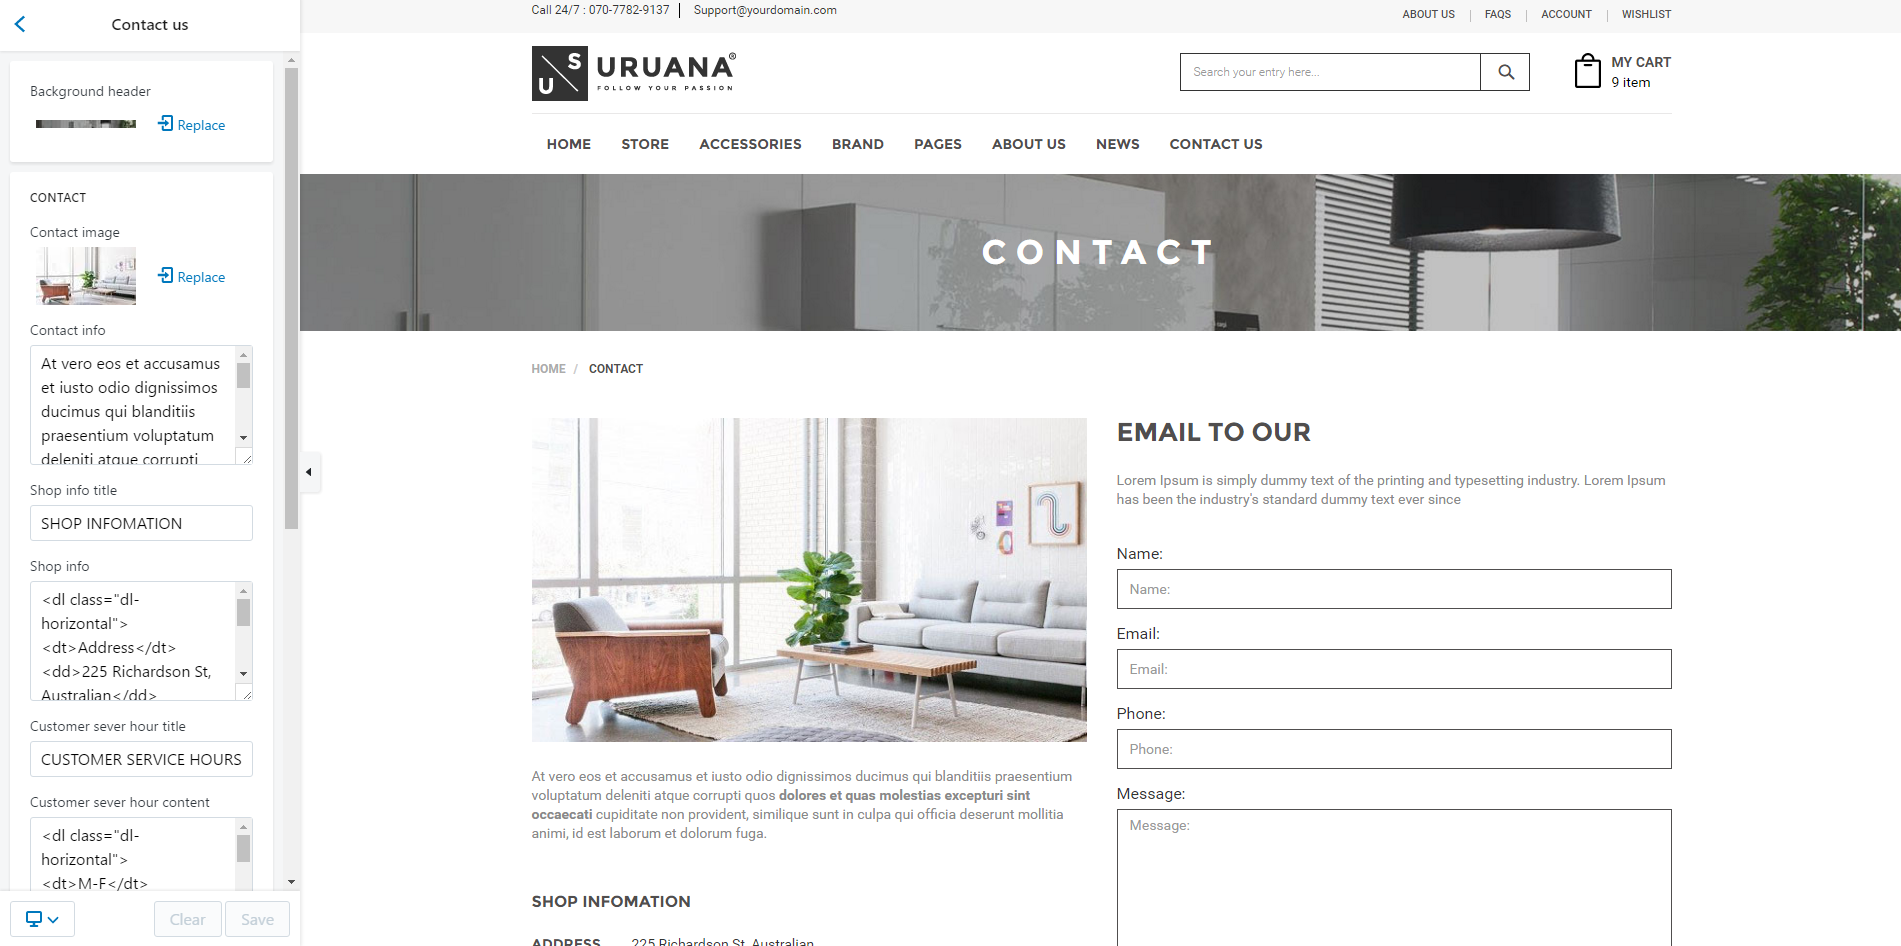
First we need to create a new page, then select the page template for it is page.contact:

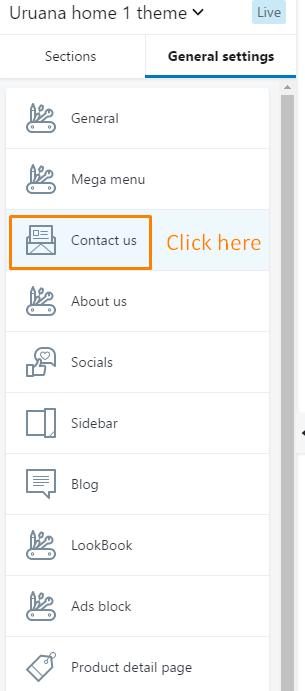
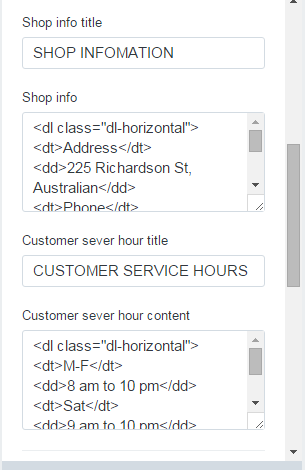
Then go to Online Store then Themes > Contact Us
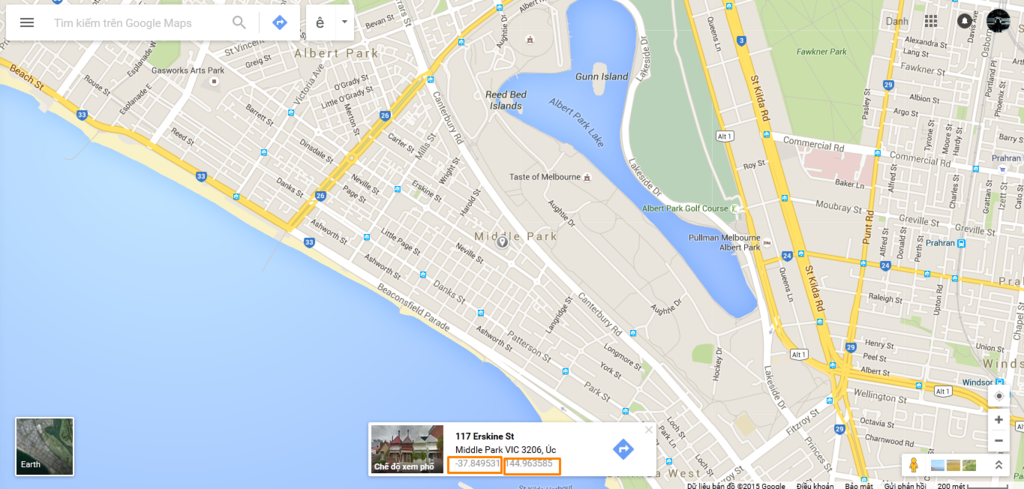
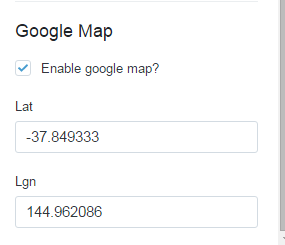
Google maps
Access map and right click your location to retrieve location
https://maps.google.com/
Then go to Online Store then Themes > Contact Us
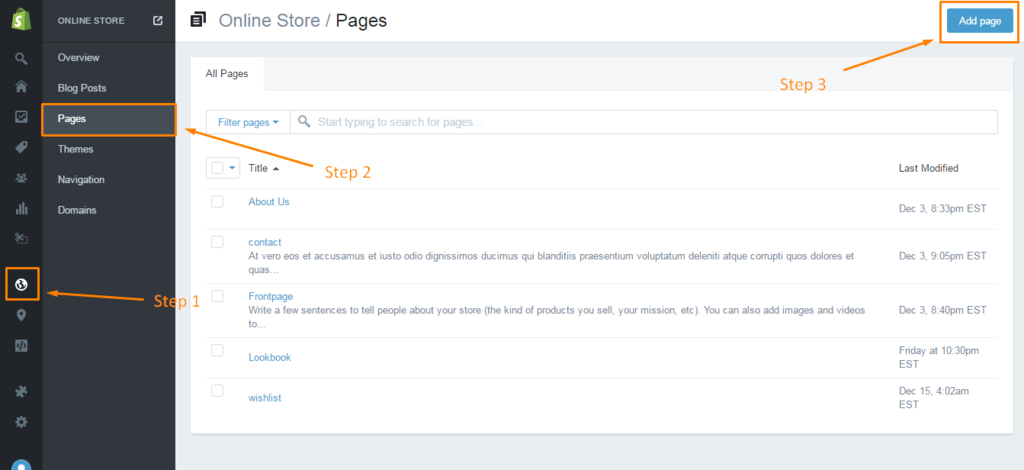
Login to your Shopify admin panel and go to Pages, click Add a page:
Create new page:
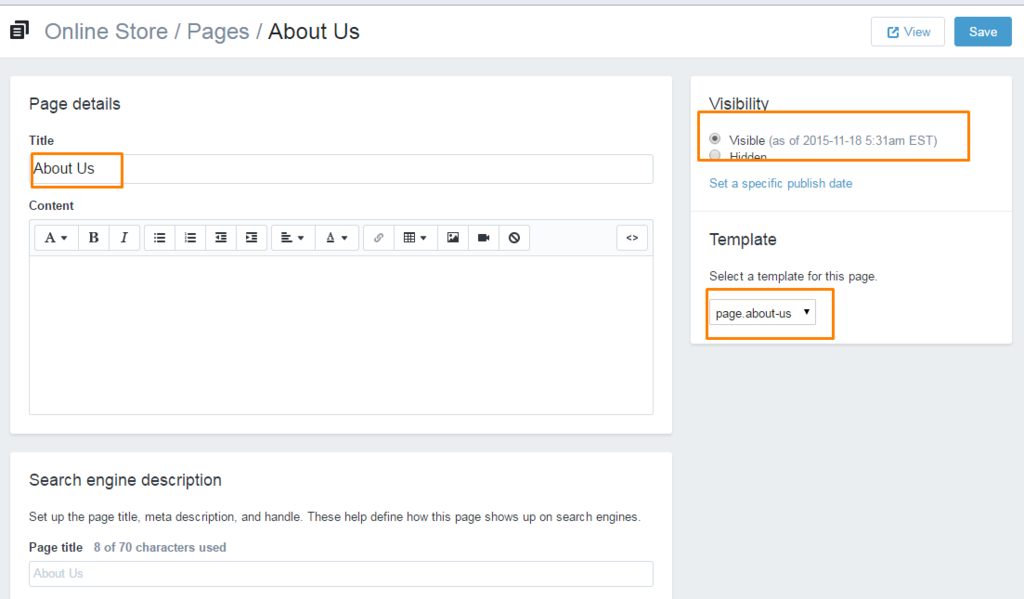
Similarly contact page, we create a page and then select the template page.about-us:
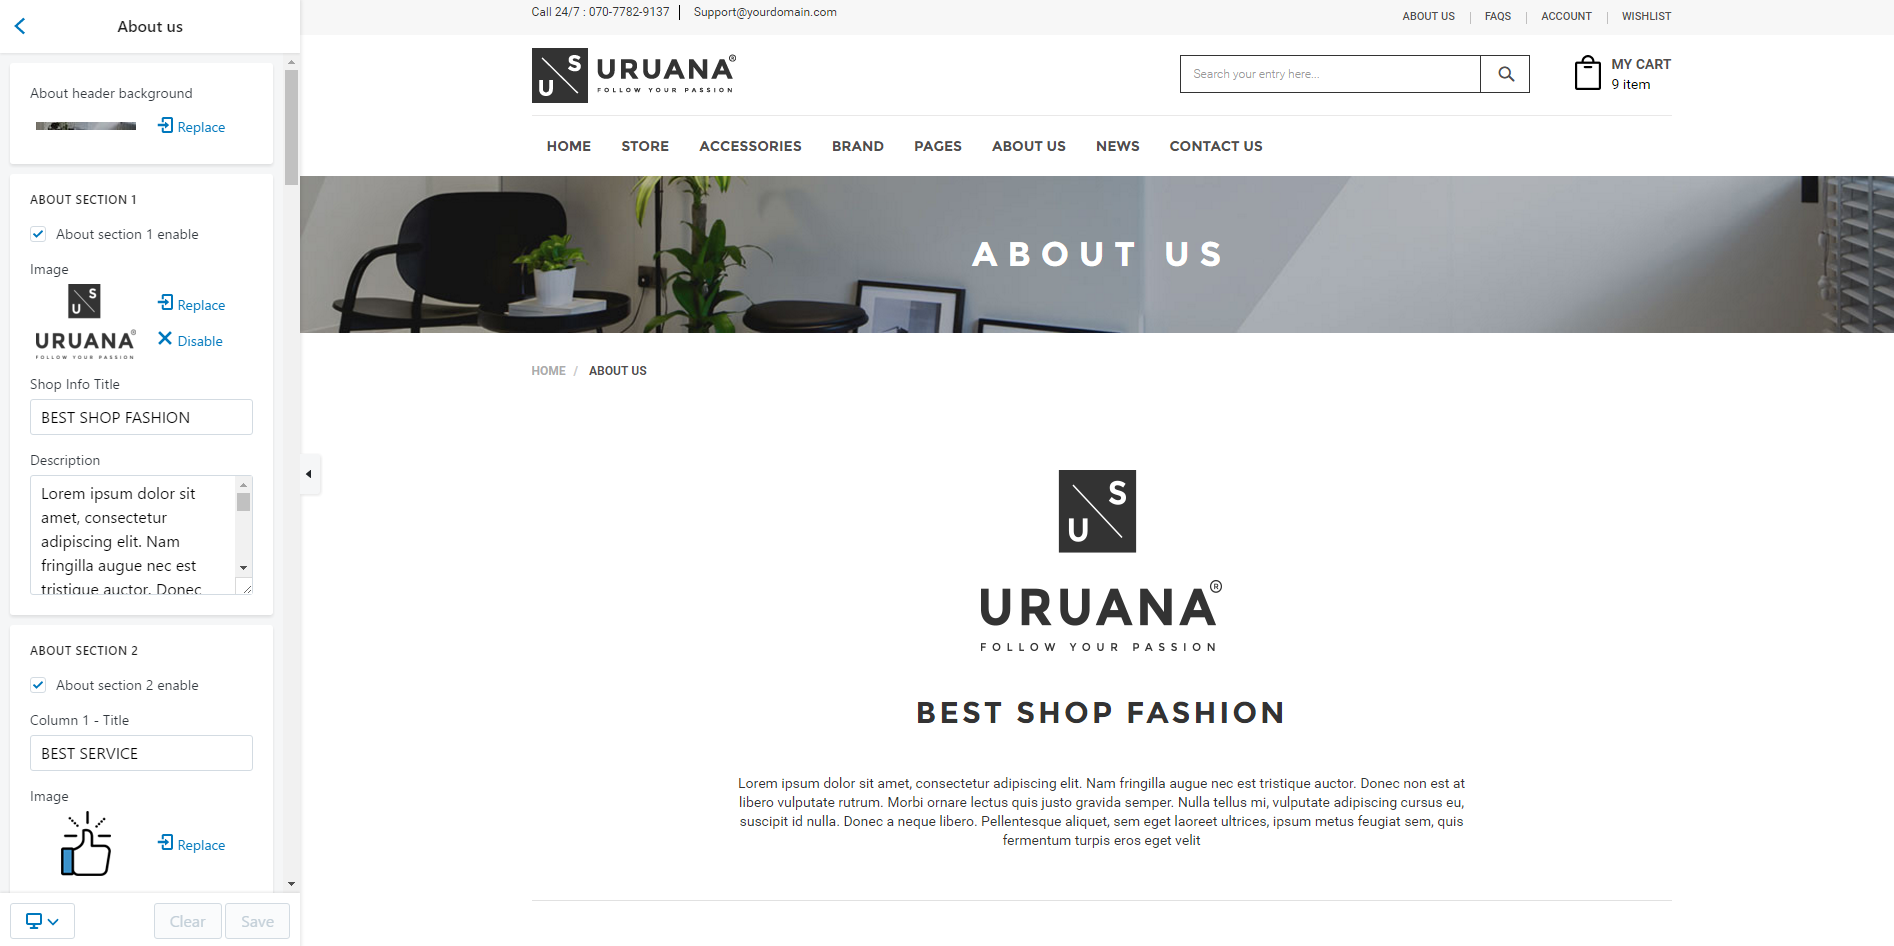
Then go to Online Store then Themes > About Us
Here, we have 5 different sections, lets you choose may display certain sections.
Please fill out the information, images and text in the fields, then save.
Create new page:
Create a page and put the template set page: page.wishlist:
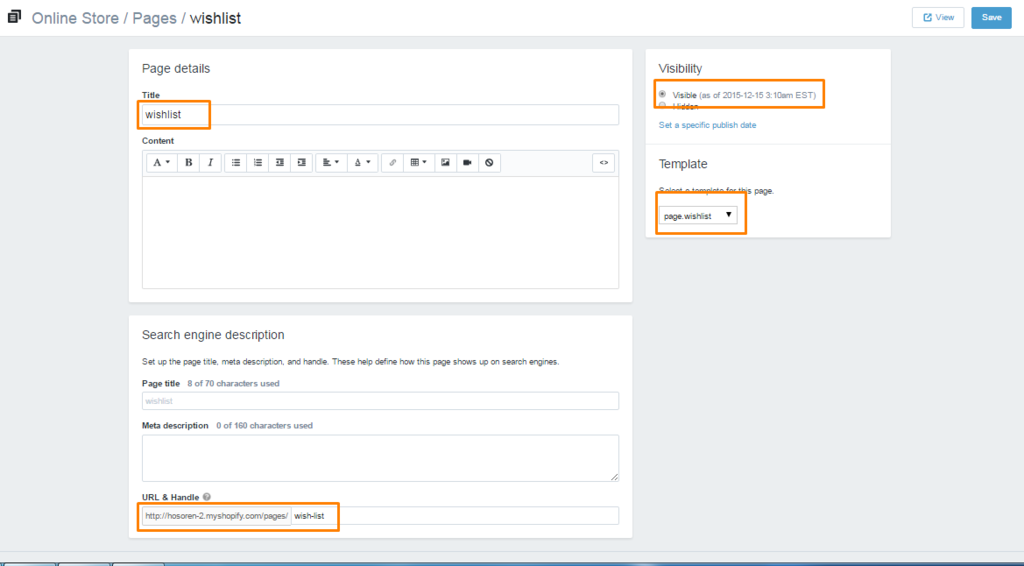
Simply, only that, you do not need anything more settings anymore!
Create new page:
Create a page and put the template set page: page.lookbook:
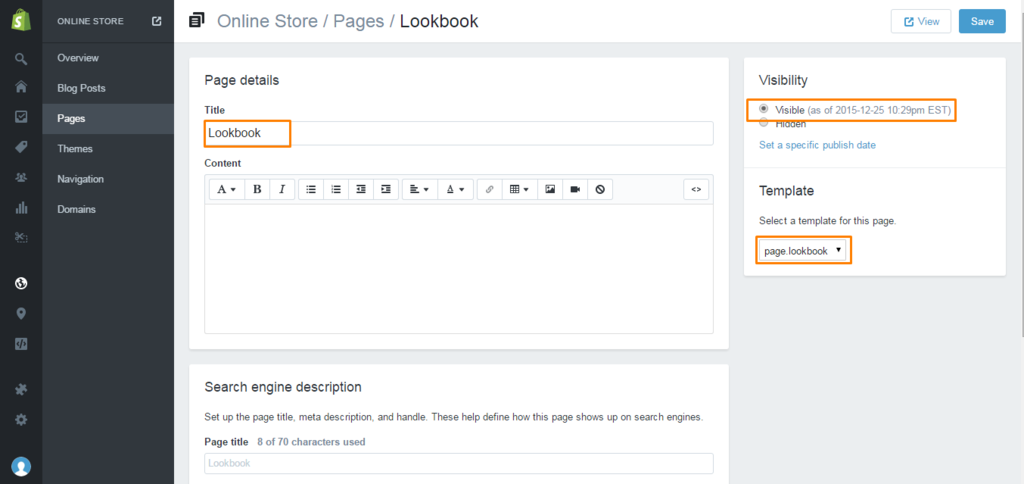
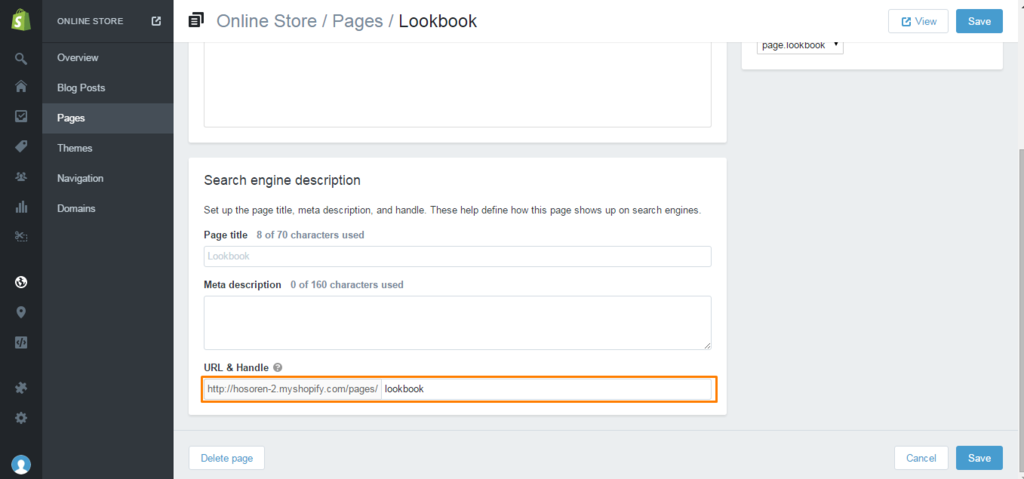
Config page:
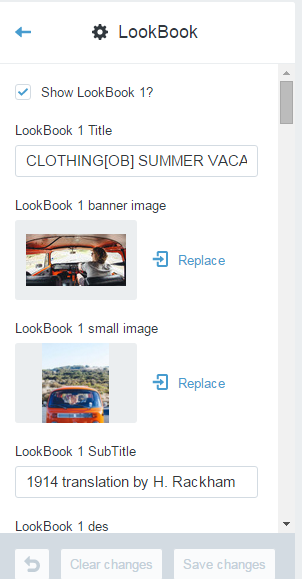
Access tab in the custom theme lookbook:
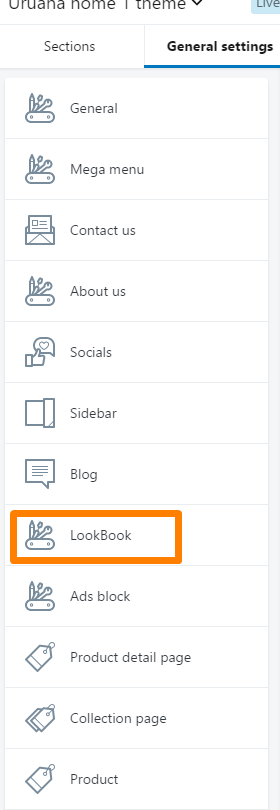
Enter the information for all fields including image and text and then save it:
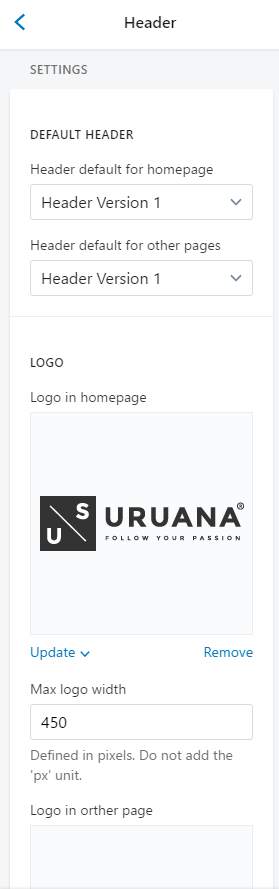
Access the Header in the section tab:
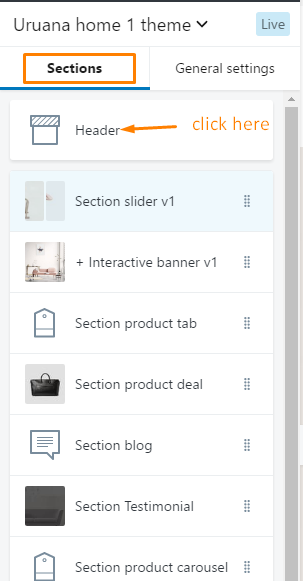
We have 3 different headers, you can optionally type header in the "header style '.
You must enter all the various fields in the header:
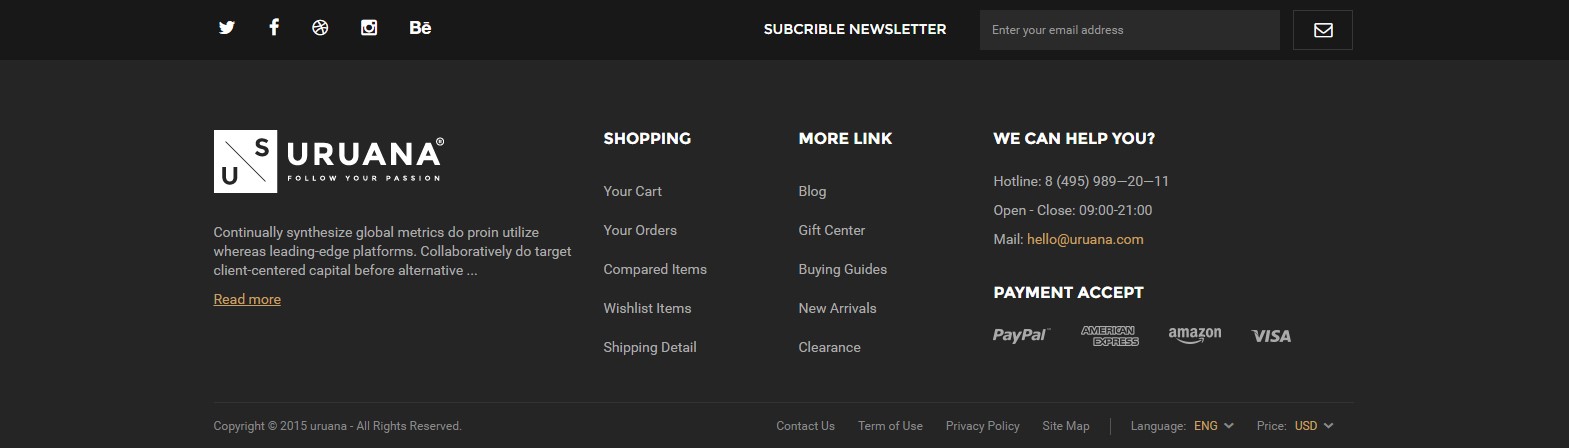
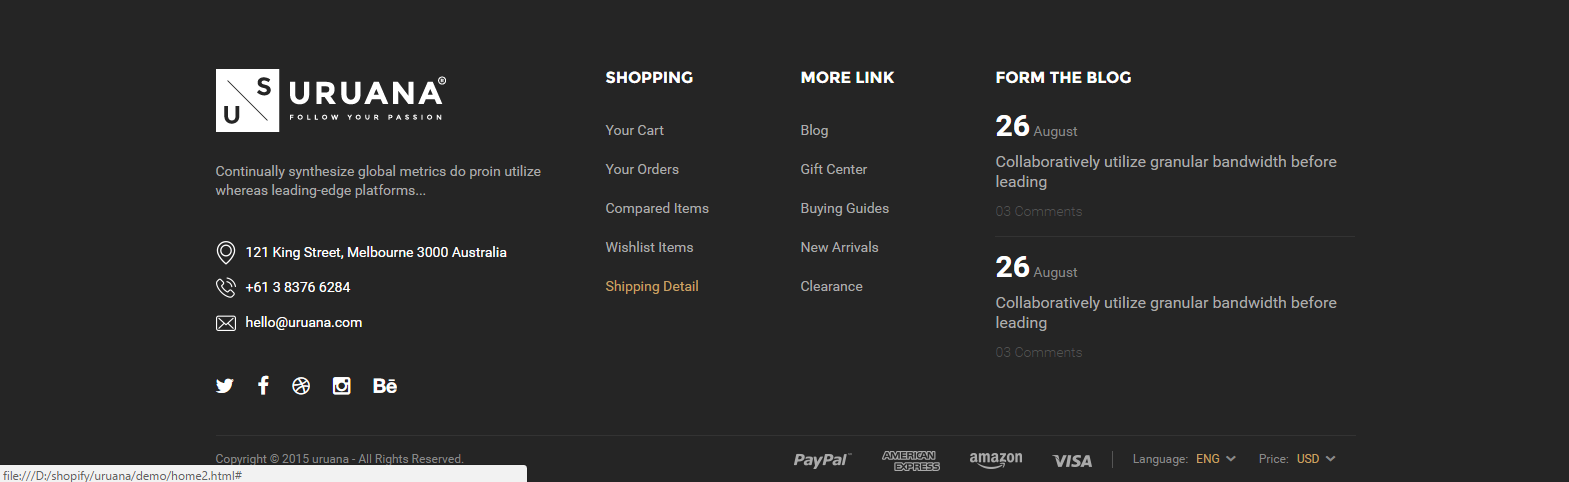
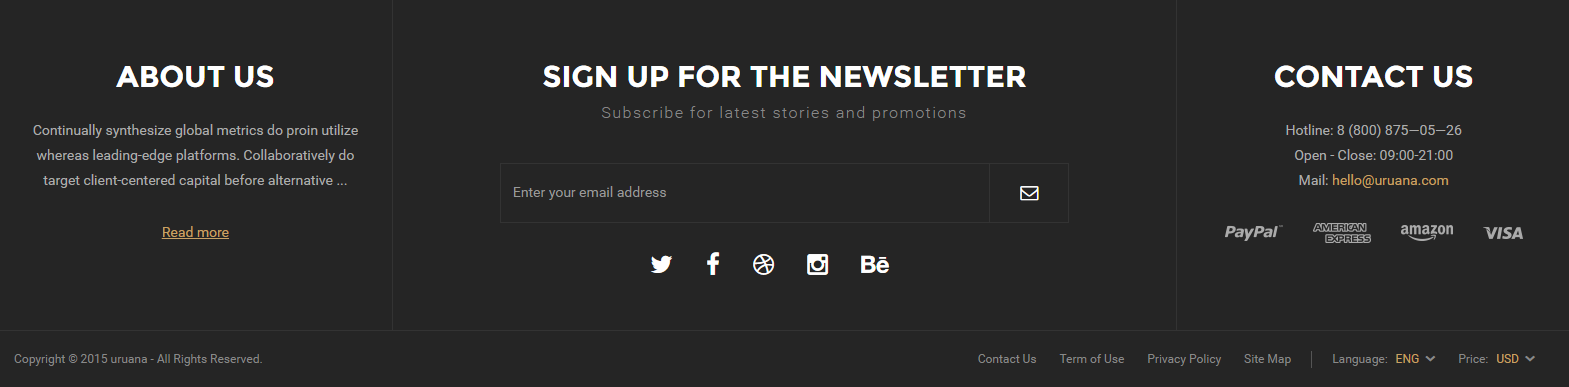
To install the footer, you must first make available the menu to display the footer:
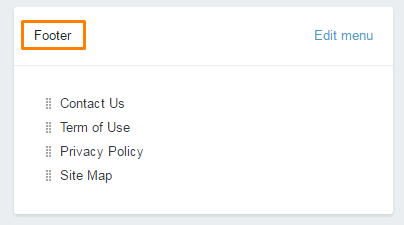
Then we visited tab footer in custom theme to set the information field.
There are 3 types footer and you can customize them
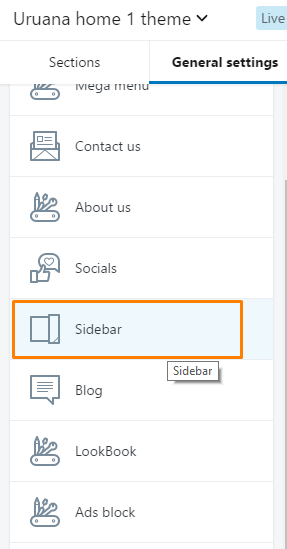
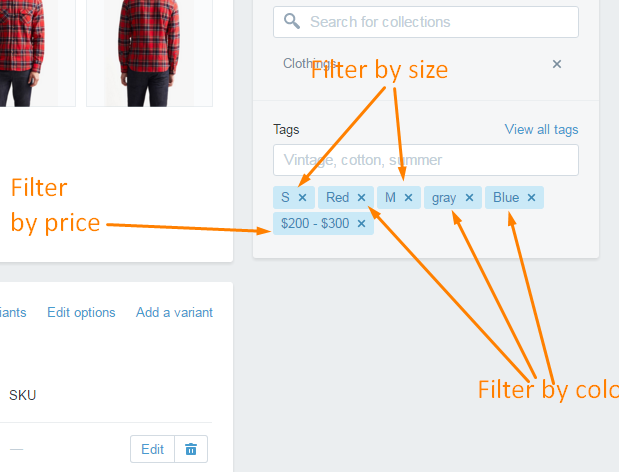
Advanced Filtering sidebar is built on top of Tags of Shopify. To make the feature work, you need to configure options in theme setting and add tags to your products (like variant option)
To use advanced filtering as in our demo page http://uruana.myshopify.com/collections/all you need to do following steps:
Login to your Shopify admin panel and go to Themes --> Customize theme:
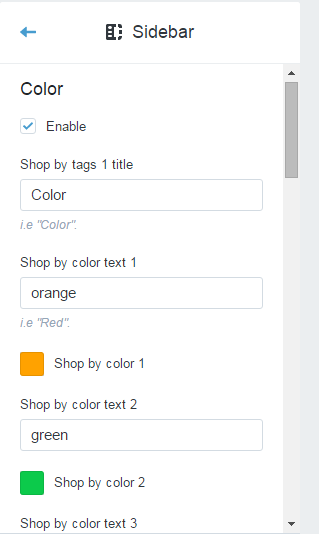
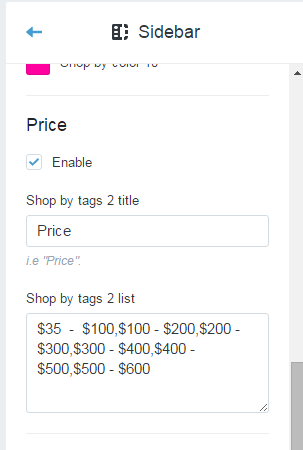
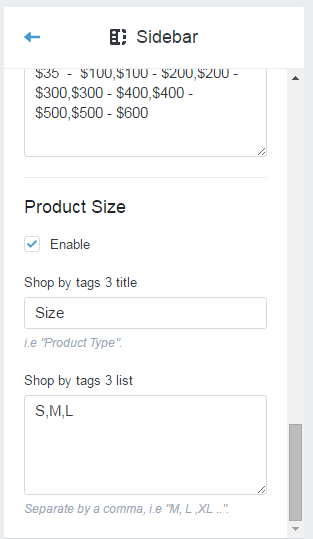
At Sidebar section, fill options that you'd like to show. We offer 5 options for you to show in your site: Color, Size, Price
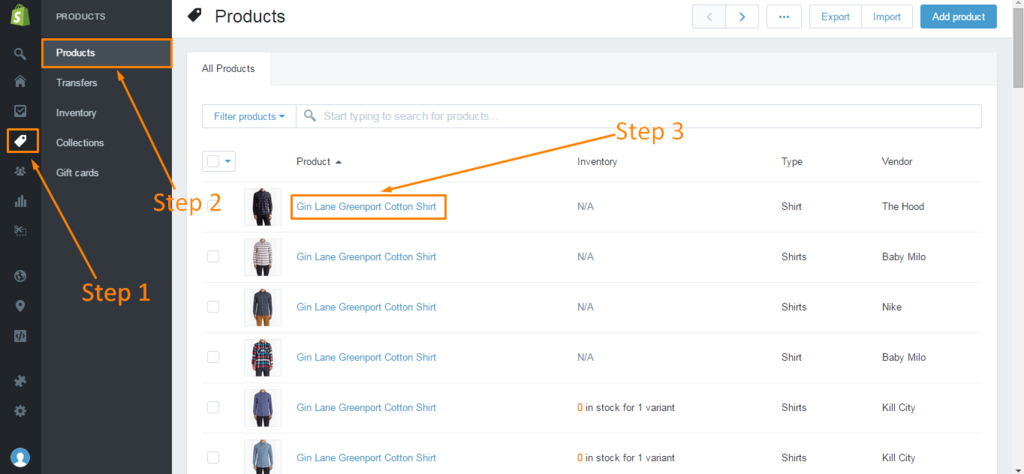
Go to Products, click on the product that you'd like to show these options.
In Tags sections, you need to put tags that you'd like to show for this product and filled in the sidebar option.
For example:
If you would like to filter by colour and size, your products have below options: red colour, gray colour, black colour, green colour, X size, XL size, M size. Then you need to fill in theme settings all these options.
For a product A which has below options: Red colour, Gray colour, X size, XL size, you need to add below tags: red, gray, x, xl for this product
Note: the tags must to be same exactly
You can see sections in customize control panel.
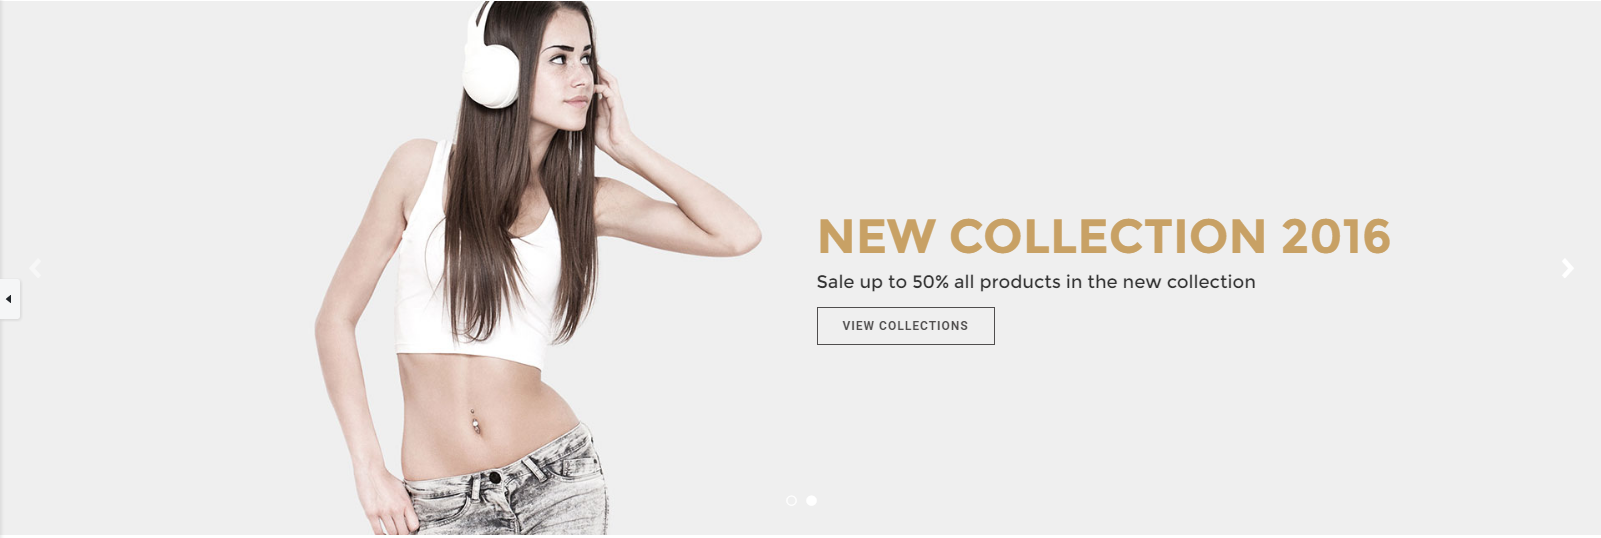
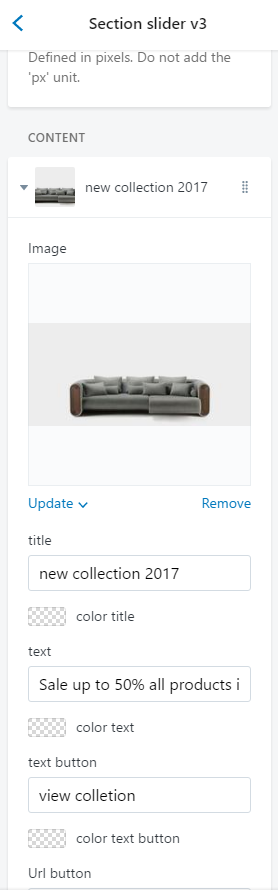
Here, get all the information and upload the pictures of the slider. We allow you to adjust the text, color, text button..
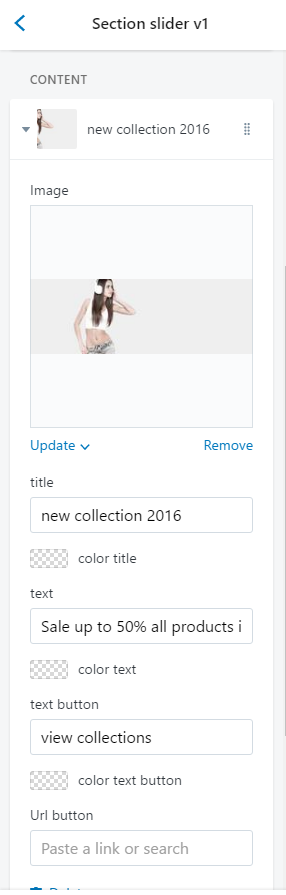
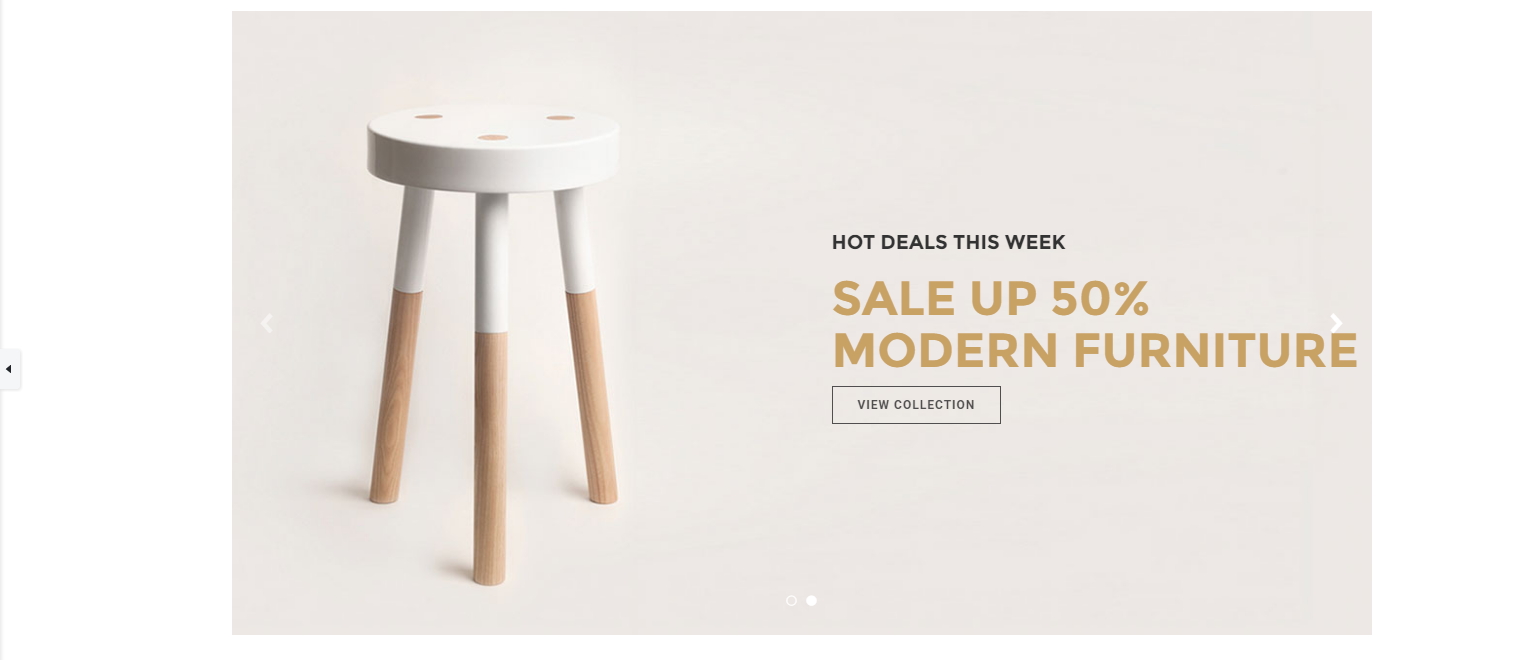
Here, get all the information and upload the pictures of the slider. We allow you to adjust the text, color, text button..
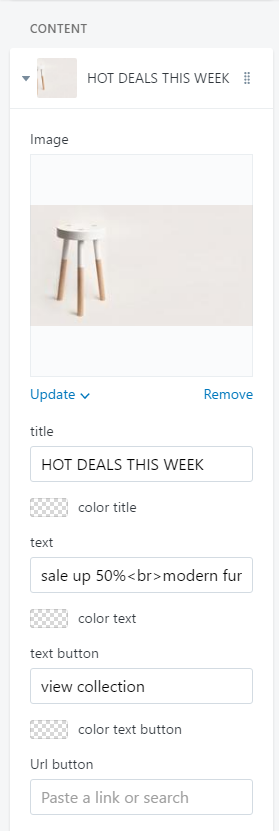
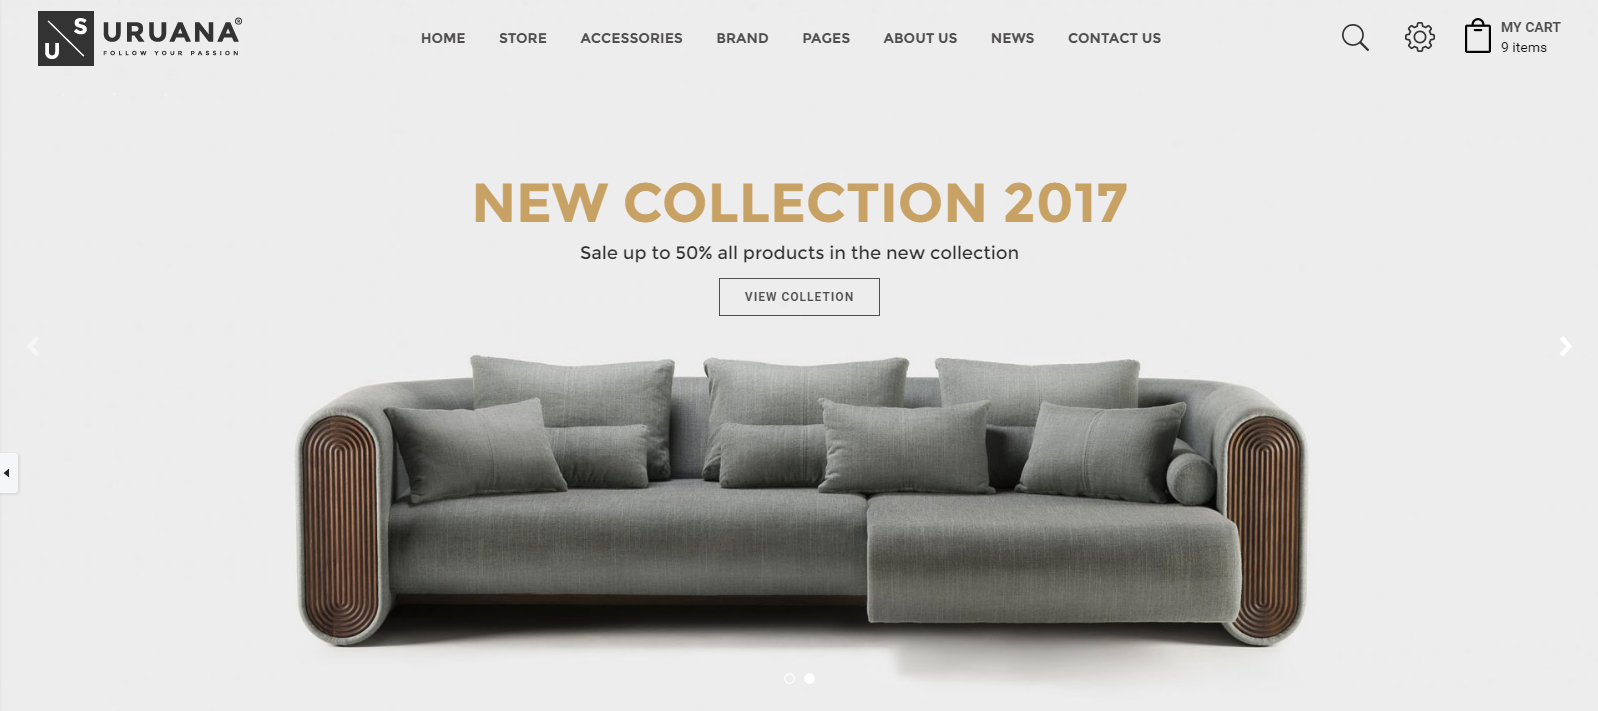
Here, get all the information and upload the pictures of the slider. We allow you to adjust the text, color, text button..
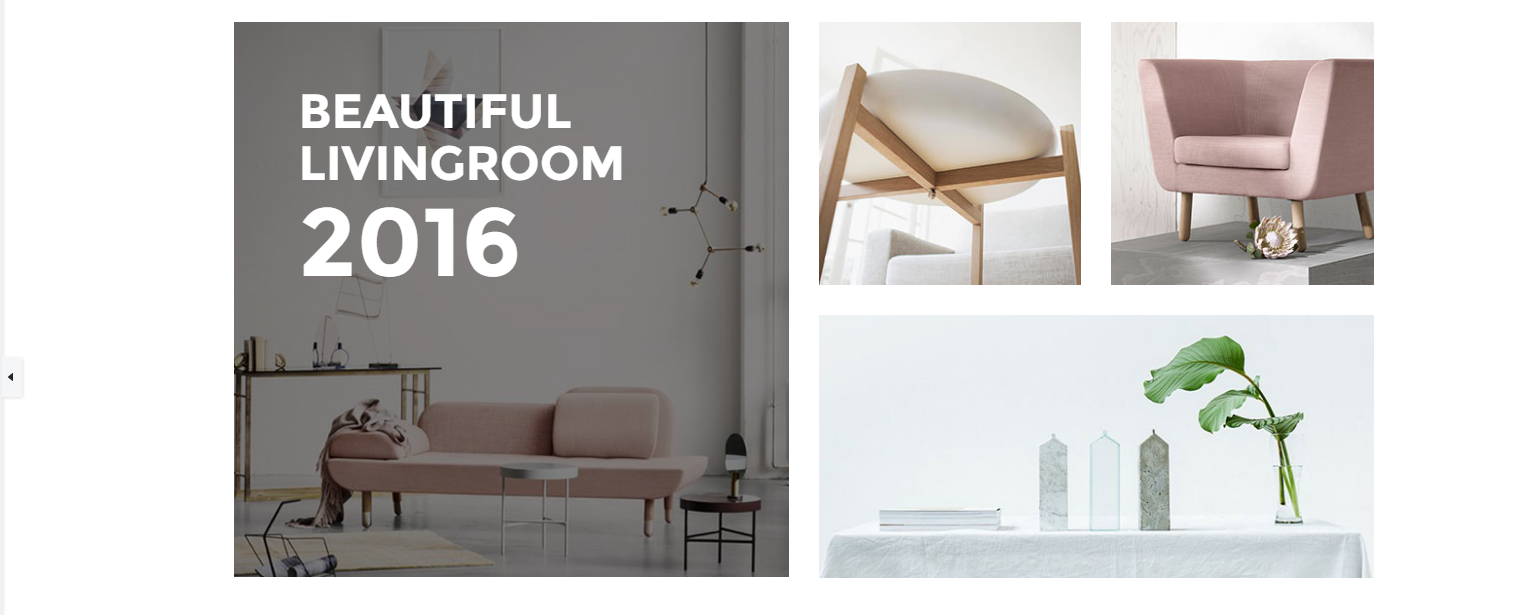
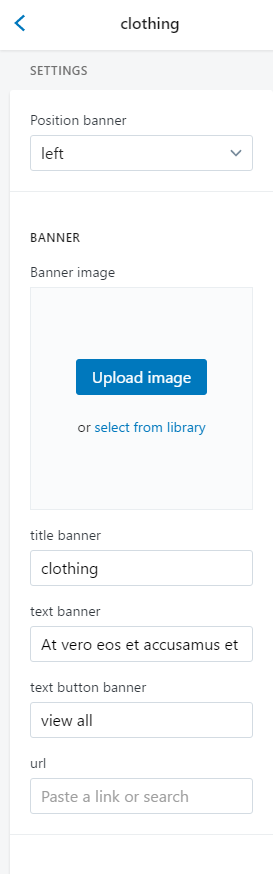
We have 4 banner, you need complete the information fields.
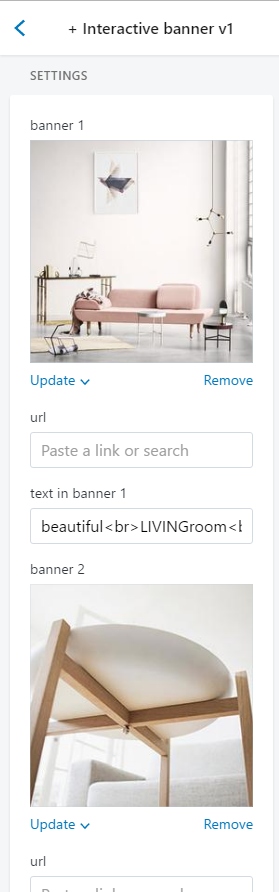
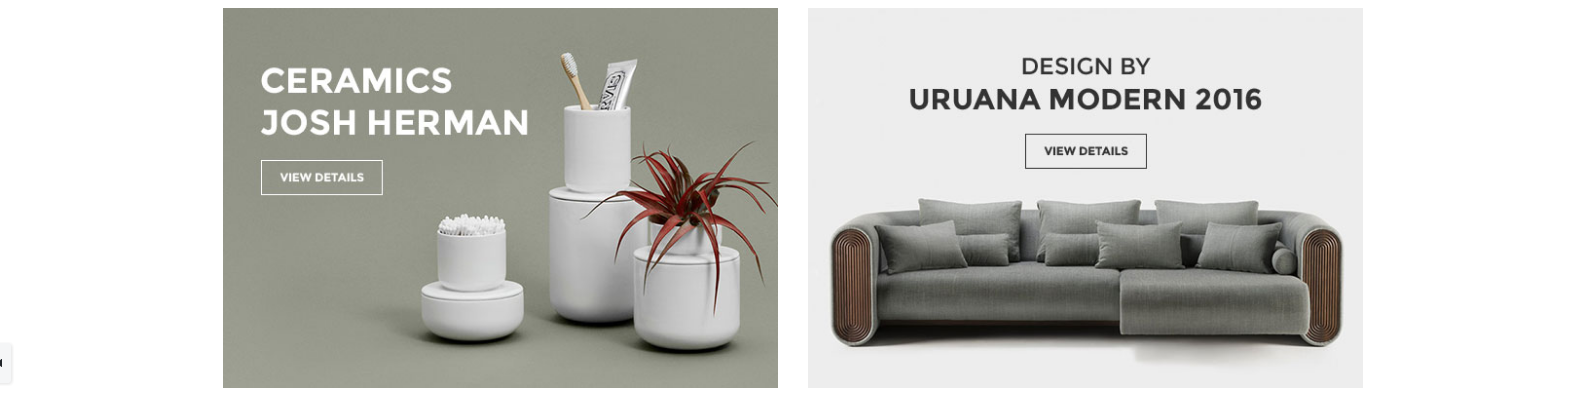
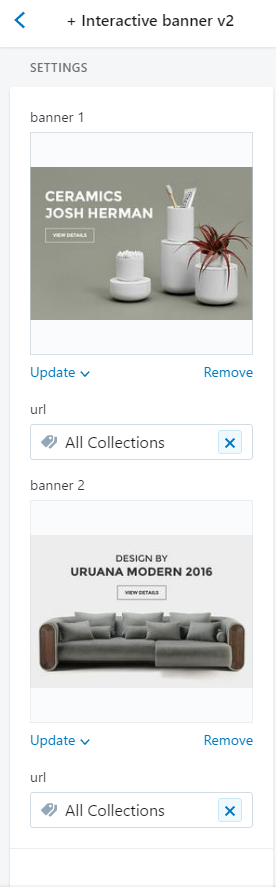
We have 2 banner, you need complete the information fields.
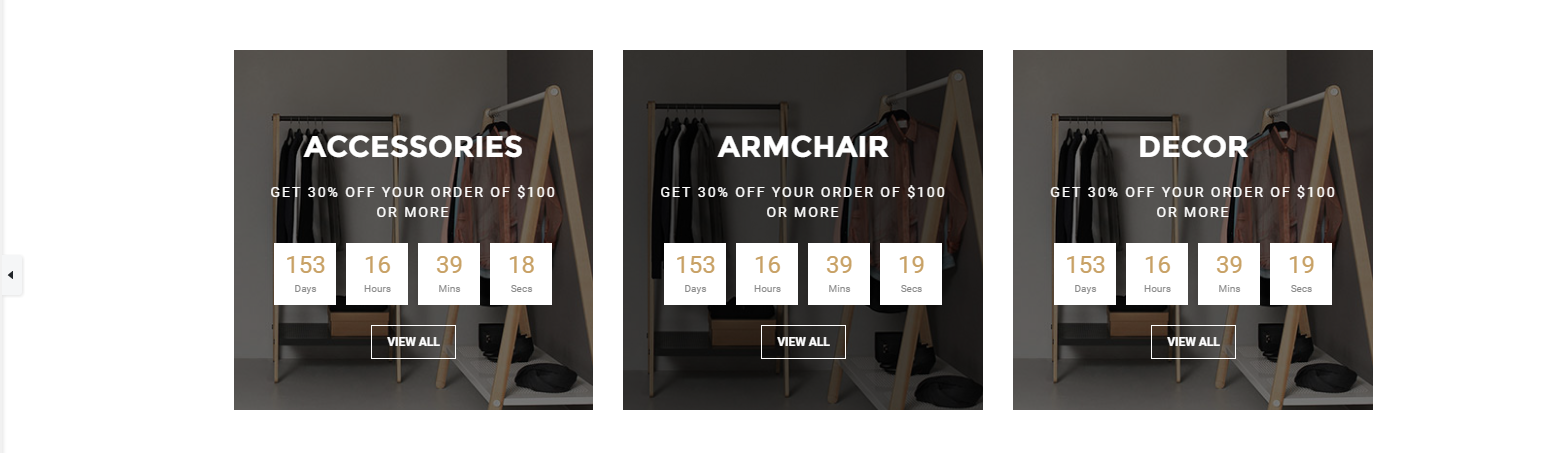
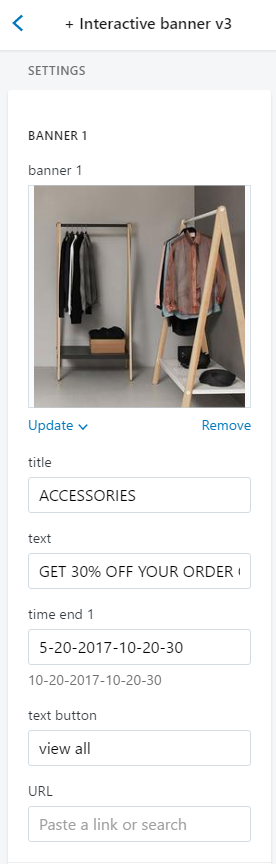
We have 3 banner, you need complete the information fields.
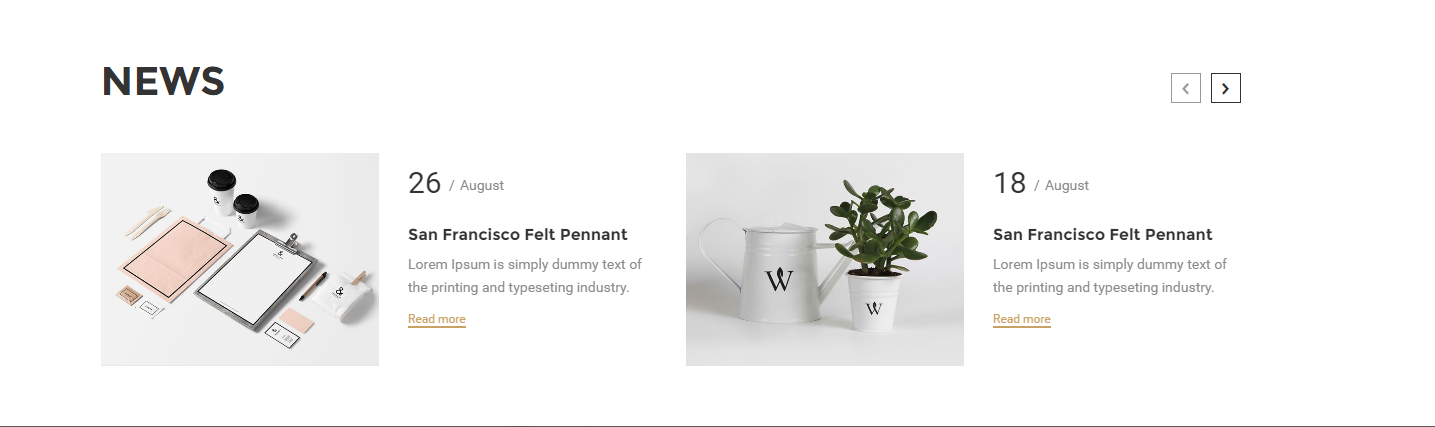
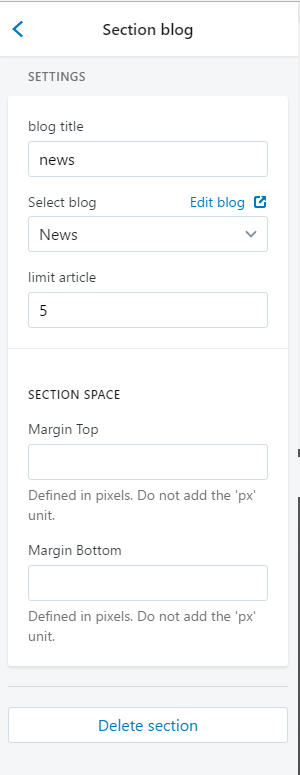
blog in the Customize Theme:
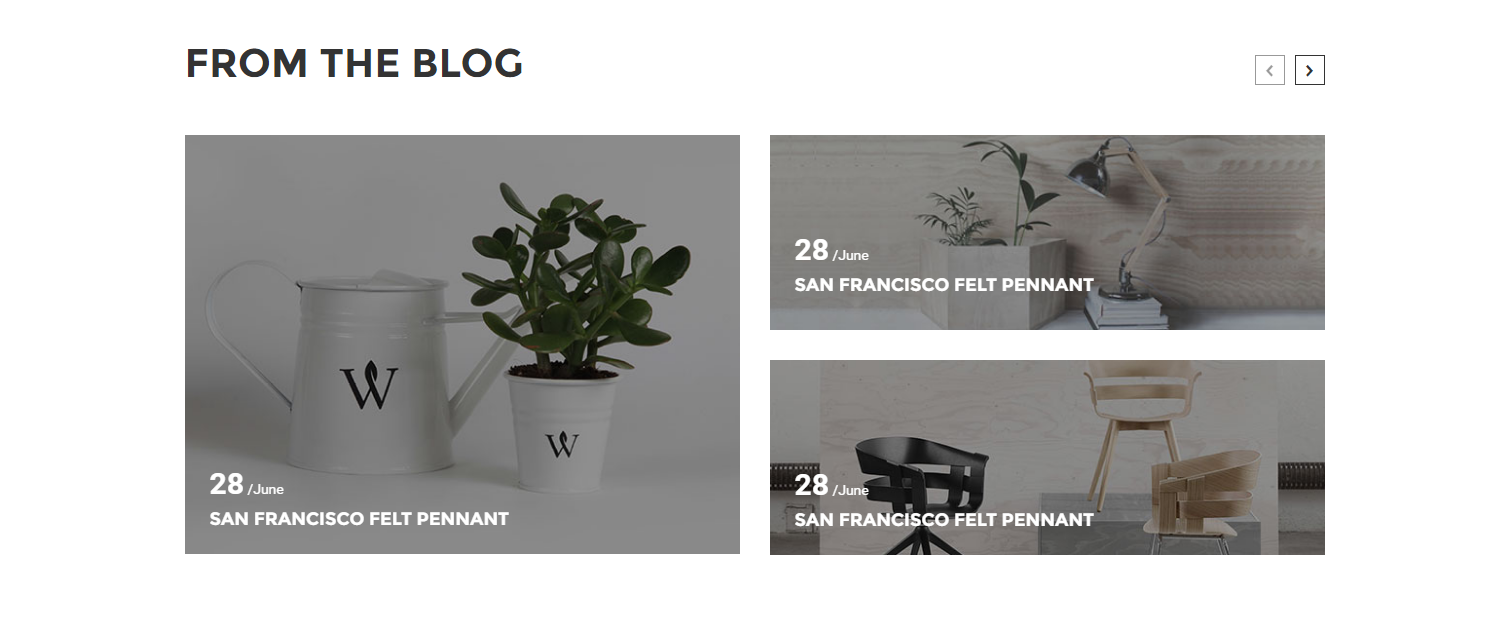
blog in the Customize Theme:
Access tab Homepage - Newletter in the Customize Theme:
Enter files, photos, and other information fields.
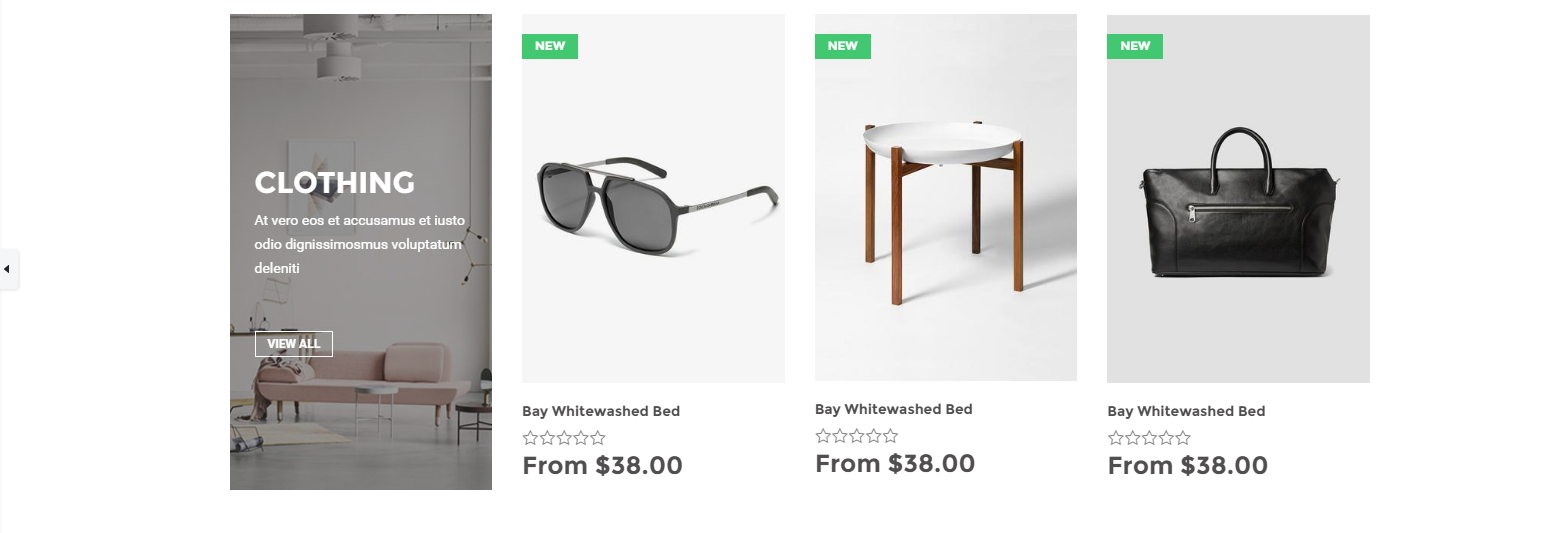
product carousel v1
Section product carousel in the Customize Theme:
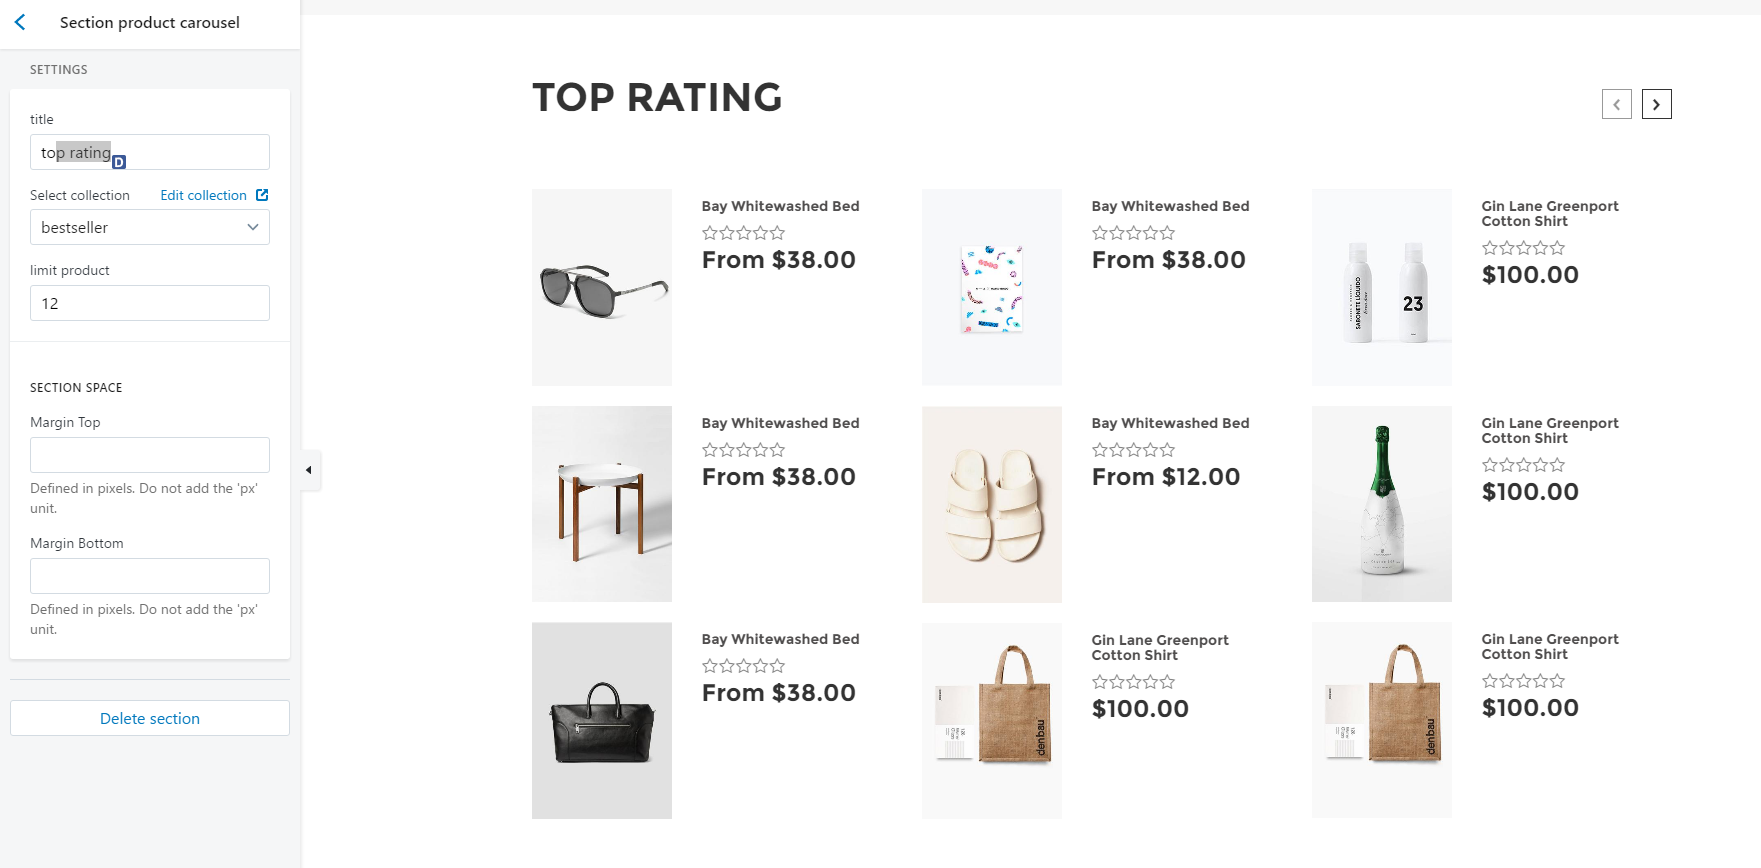
Enter all information fields.
product carousel v2
Section product carousel in the Customize Theme:
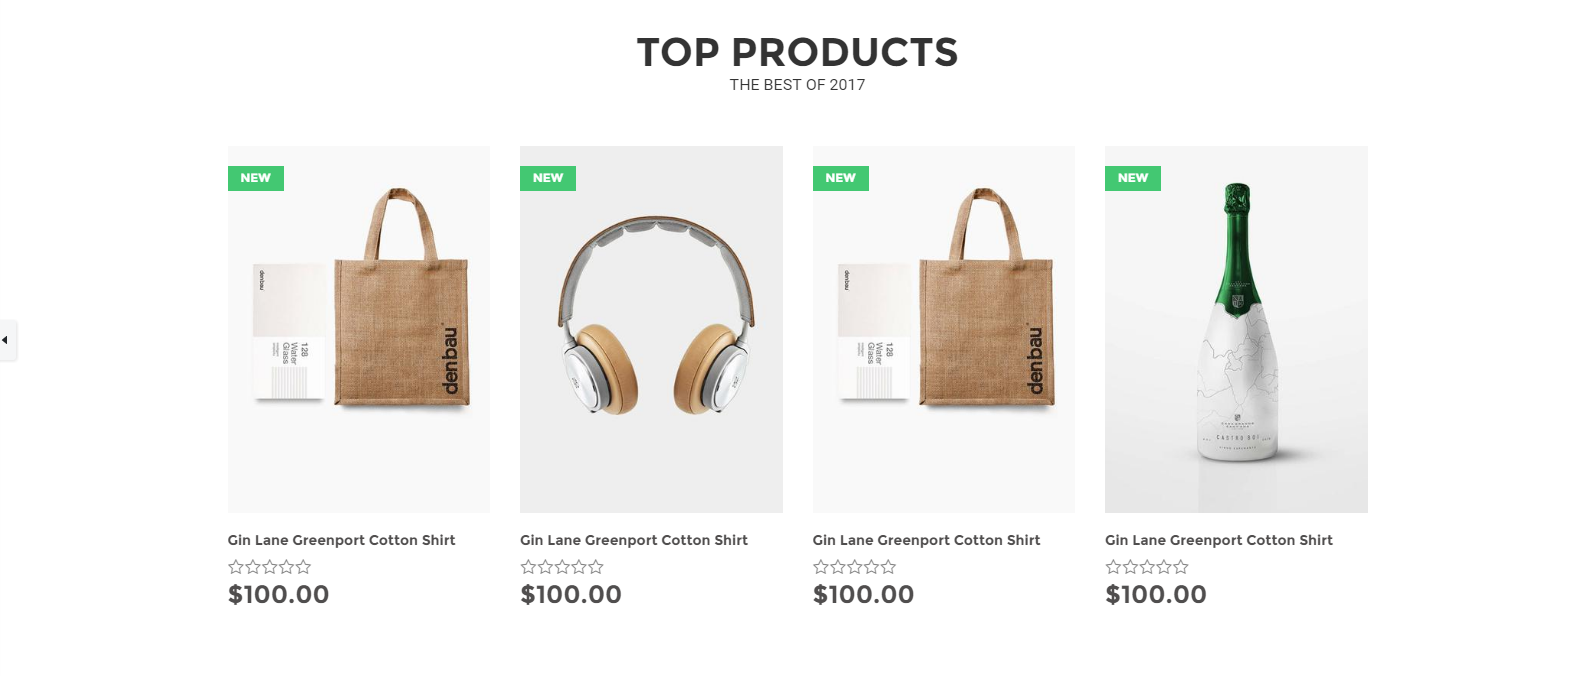
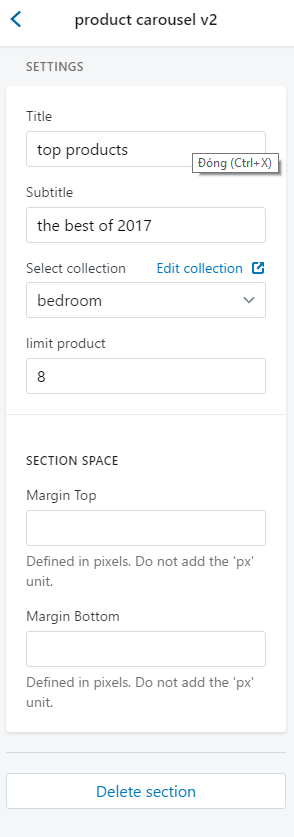
Enter all information fields.
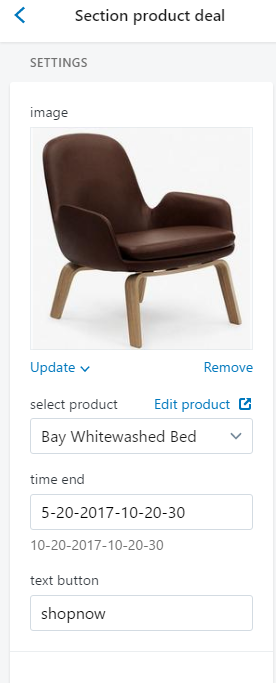
product deals
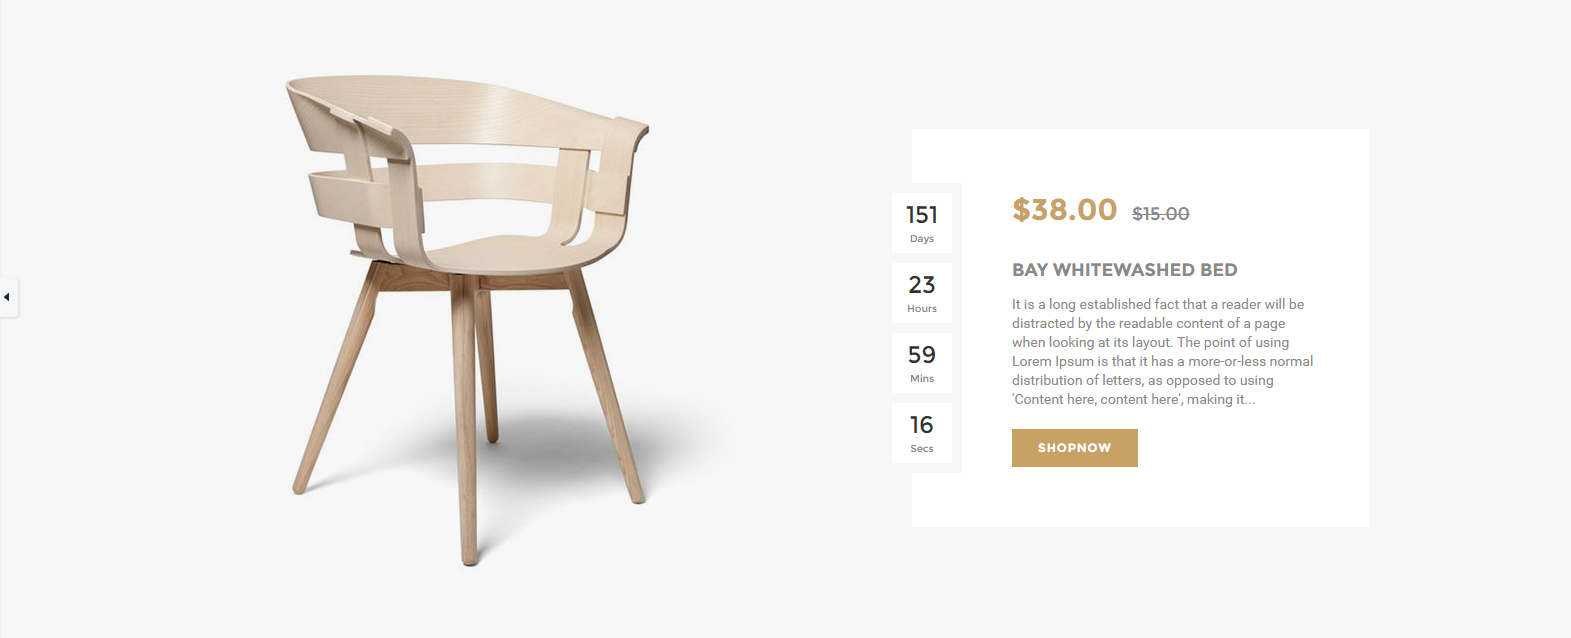
Customize section:
Section product tab
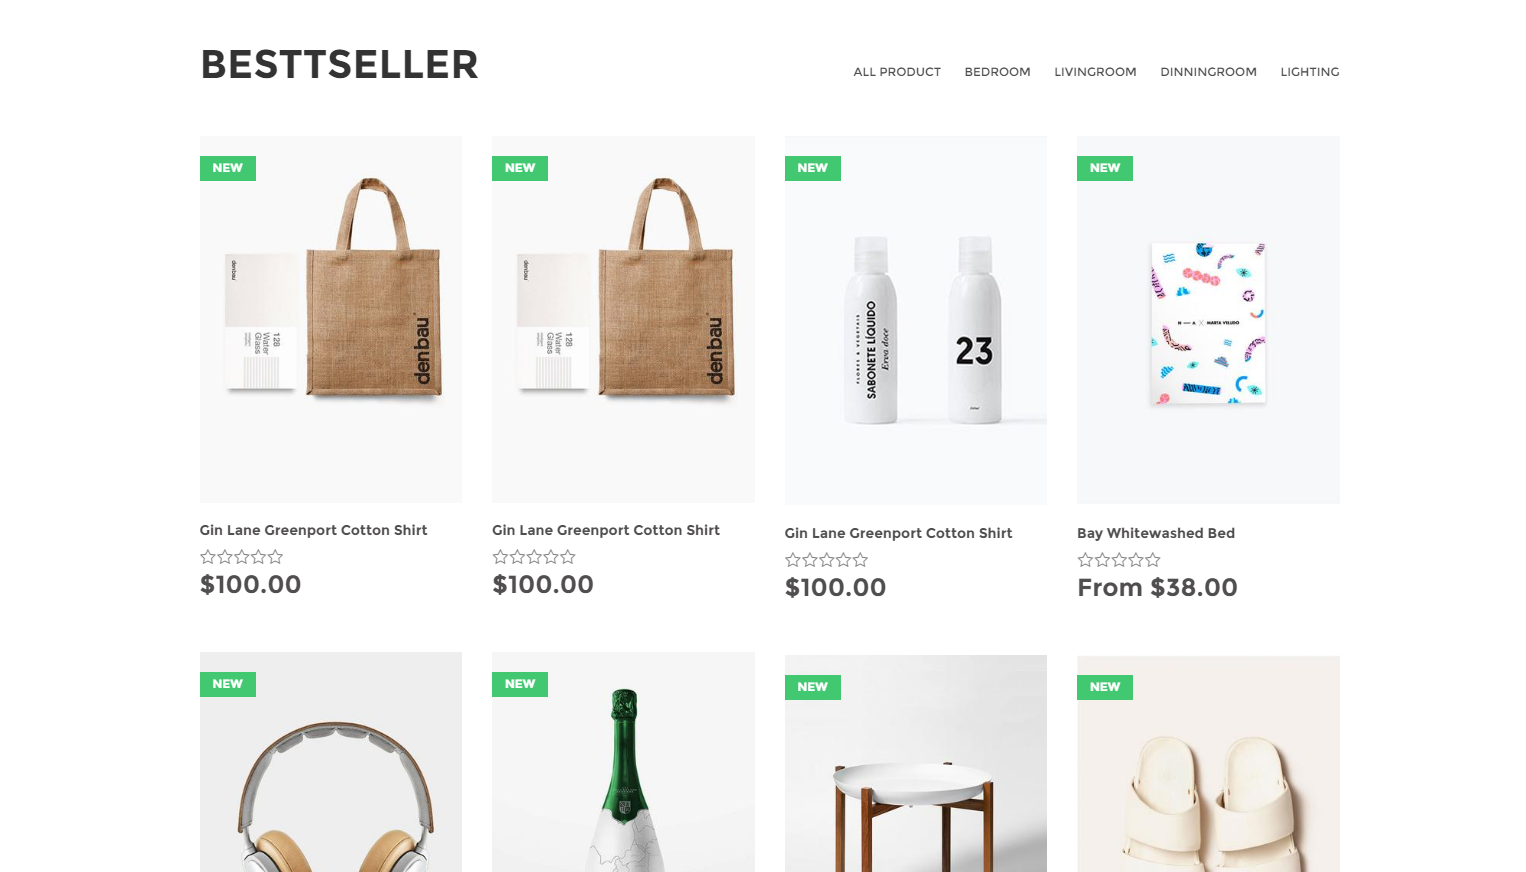
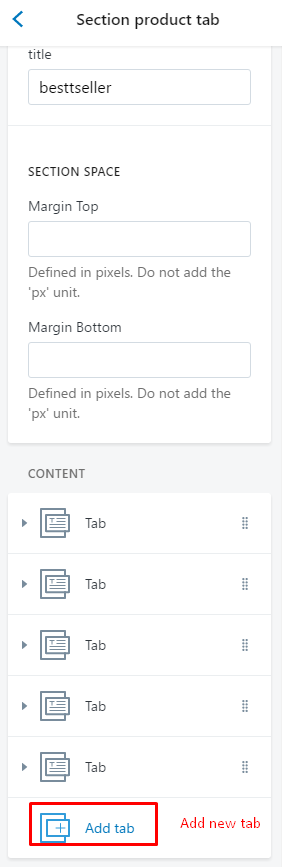

Customize section:
Enter files, photos, and other information fields.

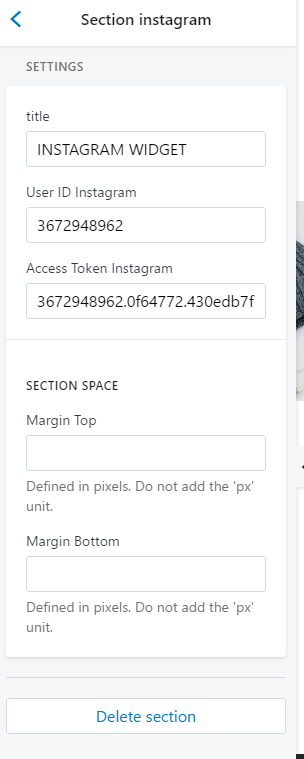
Customize section:
Enter title , User ID, and access token fields.

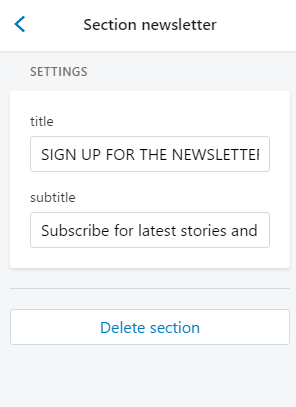
Customize section:
Enter title , subtitle fields, MailChimp form action URL in tab:general settings/newsletter

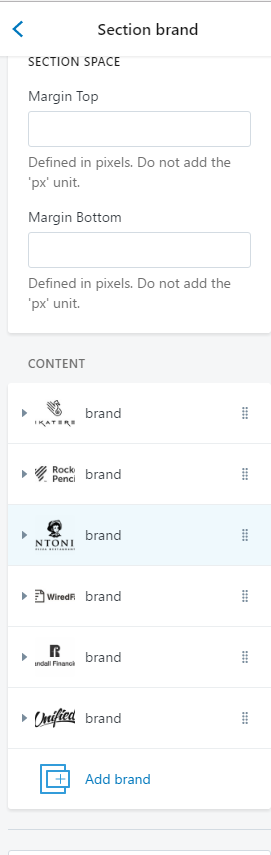
Customize section:
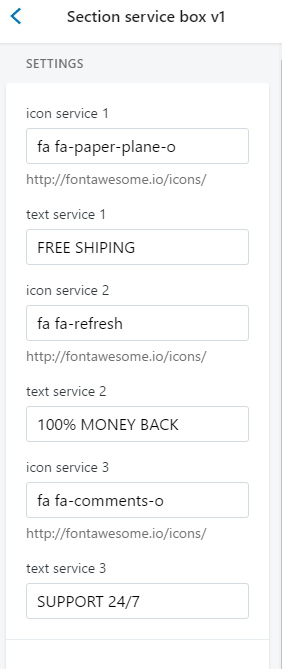

Customize section:
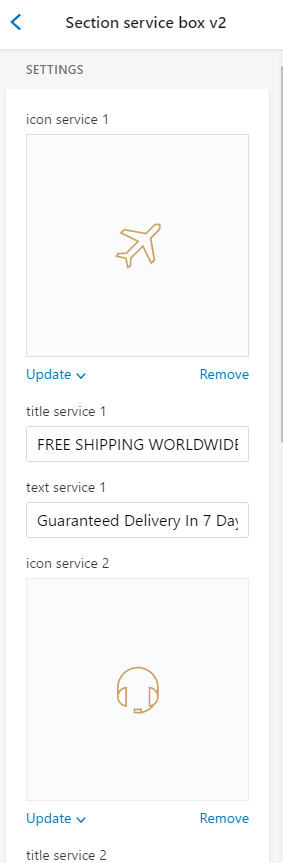
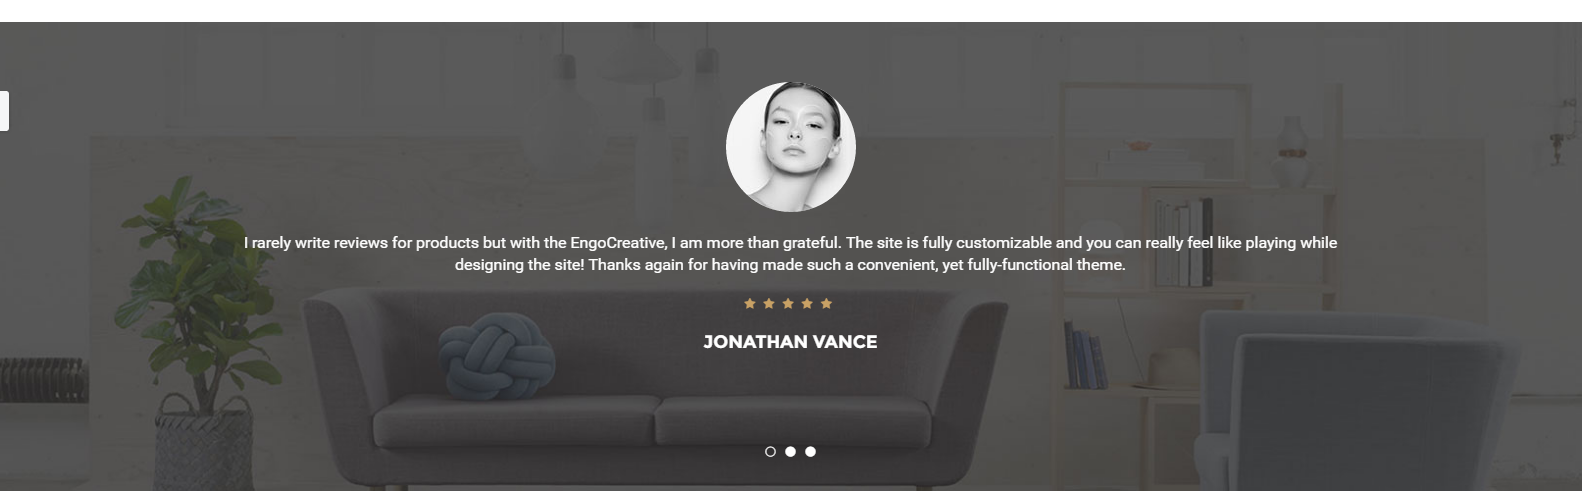
Customize section:
In Home page 1, we used sections bellow:
After custom home page 1:
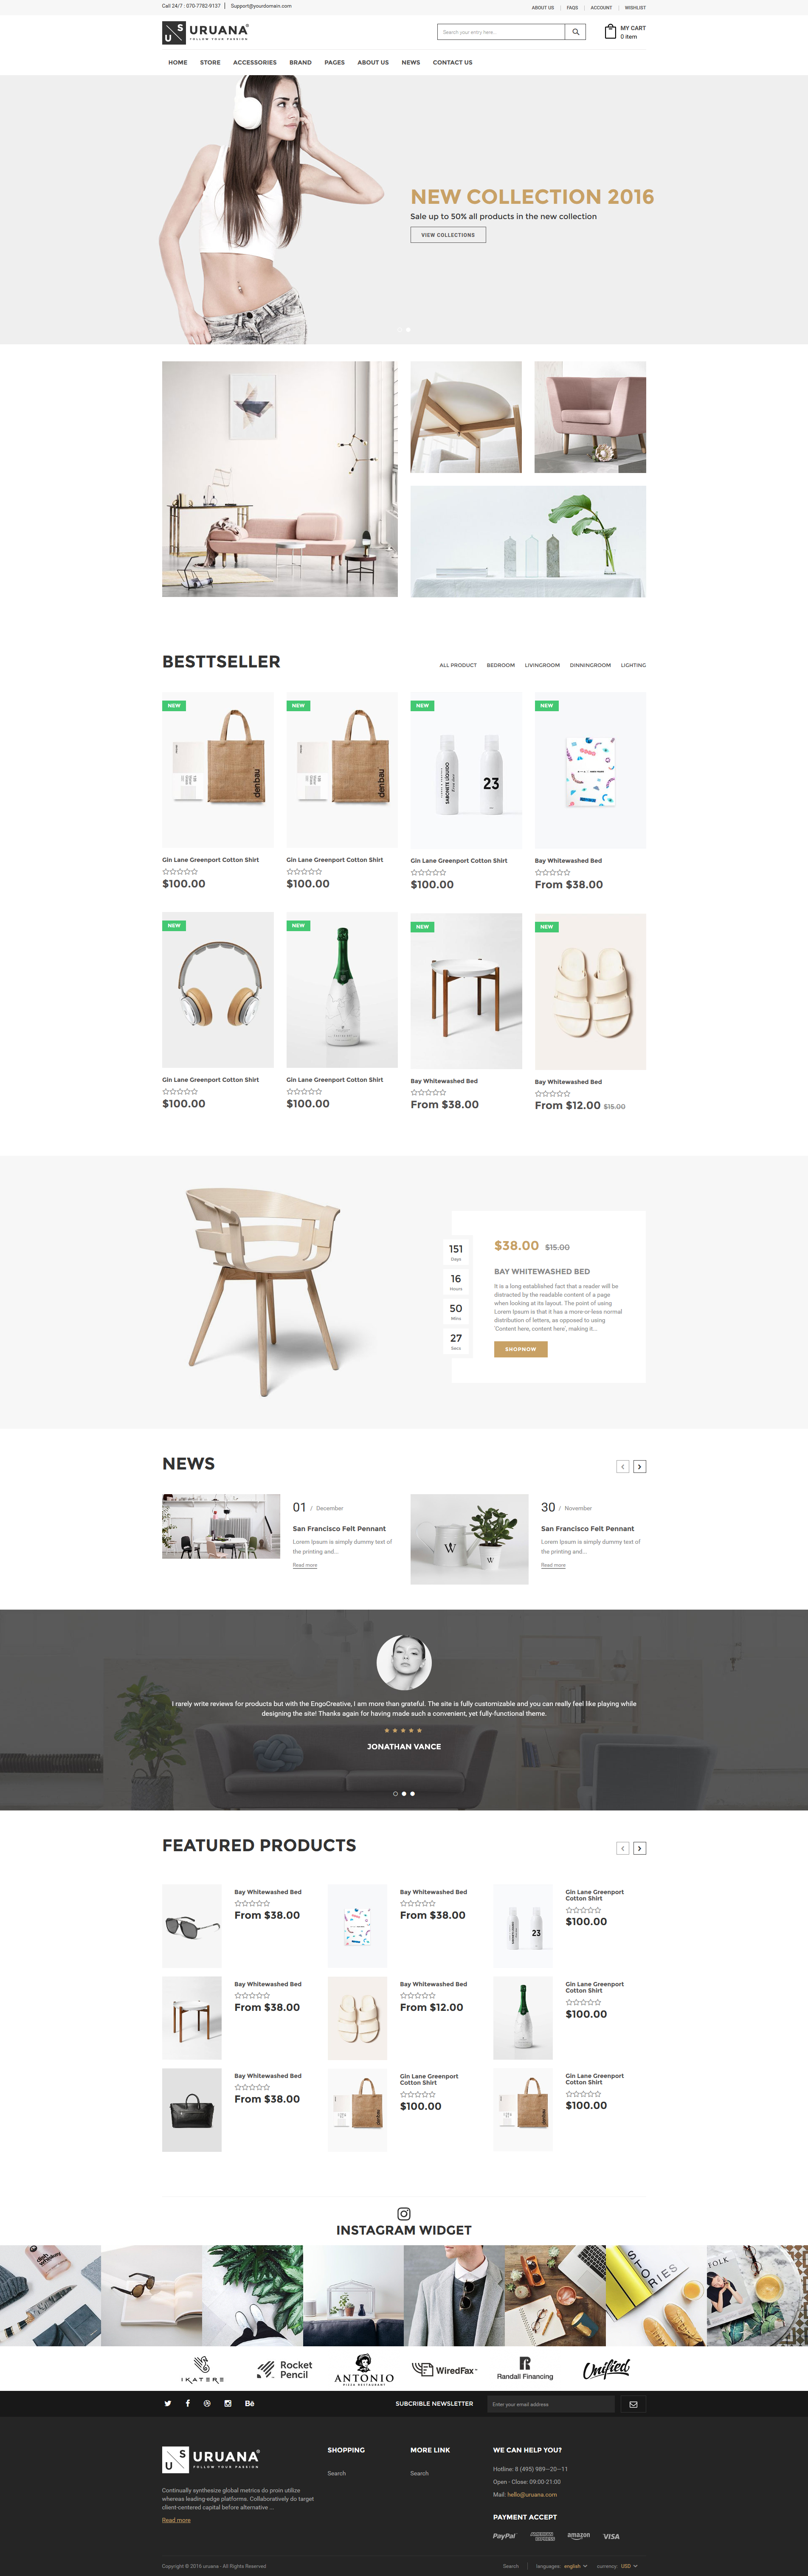
In Home page 2, we used sections bellow:

After custom home page 2:
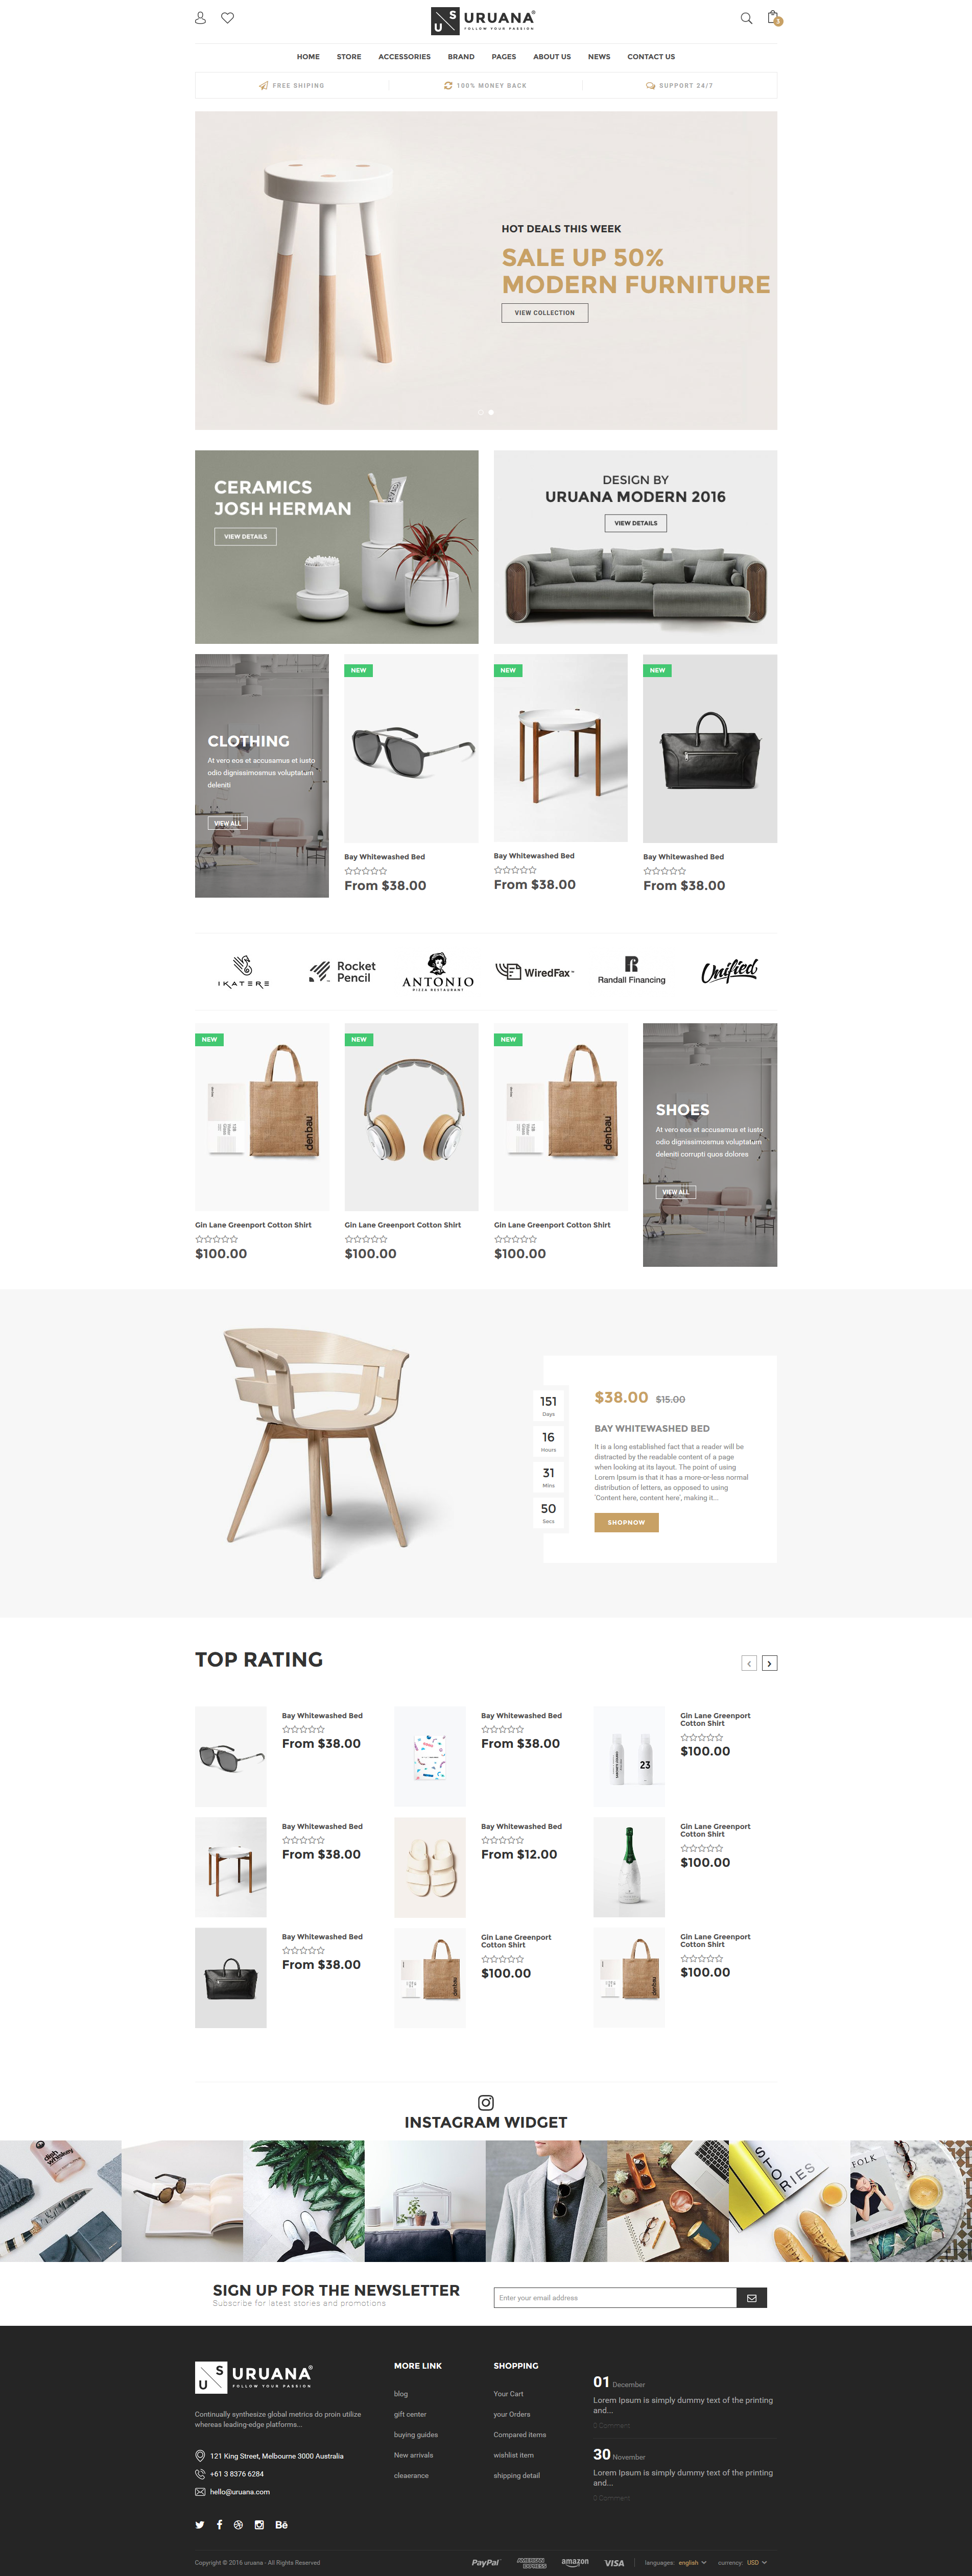
In Home page 3, we used sections bellow:

After custom home page 3:
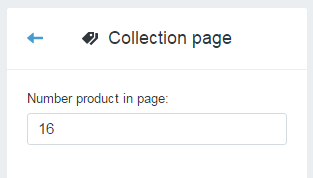
Access tab Collection in the Customize Theme:
Setting number of products displayed on the site collection.
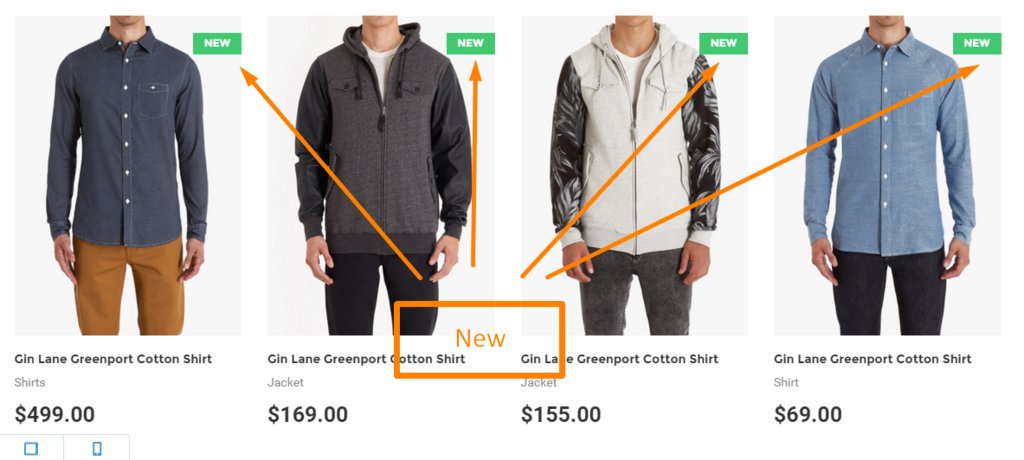
Access tab Product in the Customize Theme:

Note: The "New time" indicates the number of days the property posted as new products, here I put 30 days, this means the product is posted less than 30 days shall be considered as new products, and it will be able to label "New"
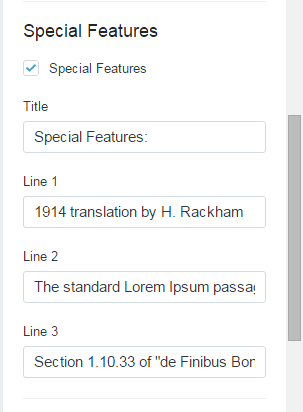
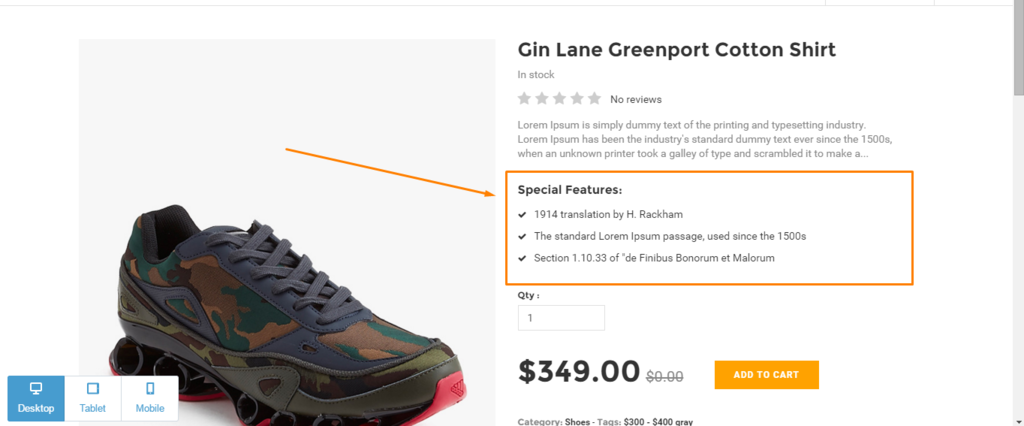
Access tab Product detail in the Customize Theme:
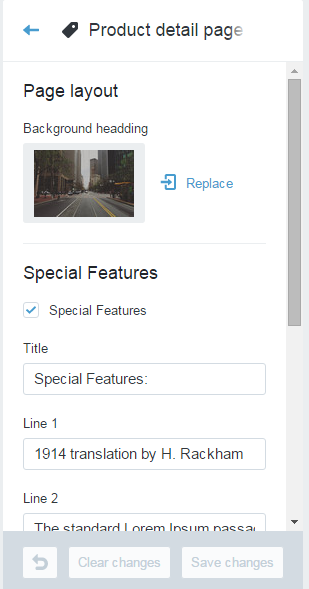
We create a block allows you can put your content and style to your liking:
Also you can add one custom tab also allows you to put your content in:

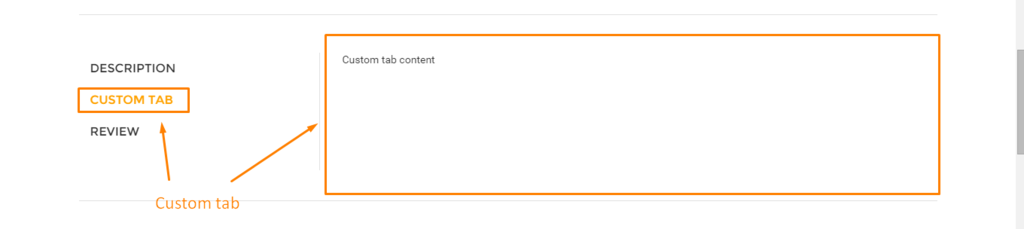
Enter files, photos, and other information fields.
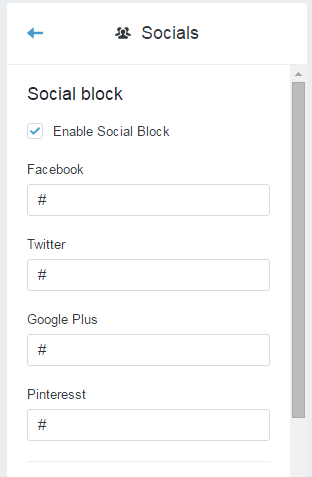
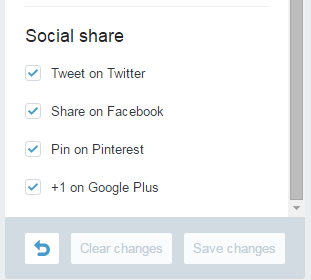
Access tab Socials in the Customize Theme:
Here consists of two types, block and share
Entries are displayed side slidebar, and social share buttons to share the product or the articles to social networks.

Access tab Socials in the Customize Theme:
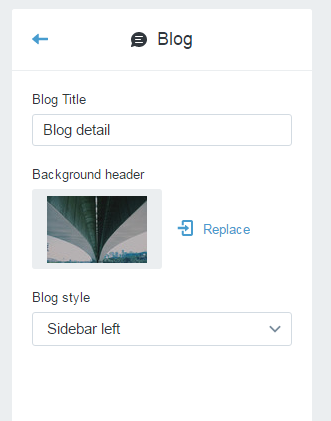
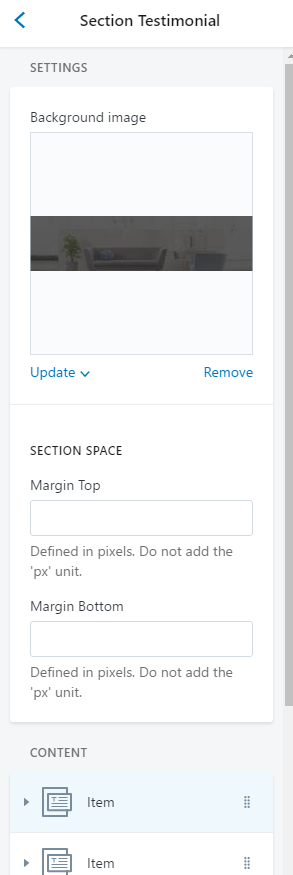
Please enter a title, and upload a background image for the header.
Then you can choose one of 3 types of blog pages
If you have any questions, please do not hesitate to contact us at hello@engocreative.com. We are happy to help!


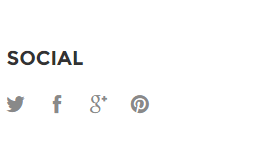
Social settings
Access tab Socials in the Customize Theme:
Here consists of two types, block and share